Введение
Use this disassembly guide if you require opening the HP Pavilion x360 m3-u101dx laptop to access the internal components for any maintenance or replacement.
The keyboard panel is the plastic panel that the keyboard and trackpad are attached to. When the laptop screen is lifted up and ready for usage, you can easily identify the black keyboard and trackpad that is supported by a black plastic frame.
If you have read through our troubleshooting page and verified that you are required to open the HP Pavilion x360 m3-u101dx, please proceed with this guide.
Make sure there are no external devices connected to the laptop such as a charger, mouse, memory stick, etc. Turn off the power to the laptop.
Выберете то, что вам нужно
-
-
Flip the laptop over so that the bottom of the laptop is facing up.
-
-
-
-
Remove the rubber grip using a plastic opening tool.
-
Remove five 1.7mm Phillips #1 screws.
-
-
-
Lift open the laptop screen and flip it around so that the keyboard is facing up.
-
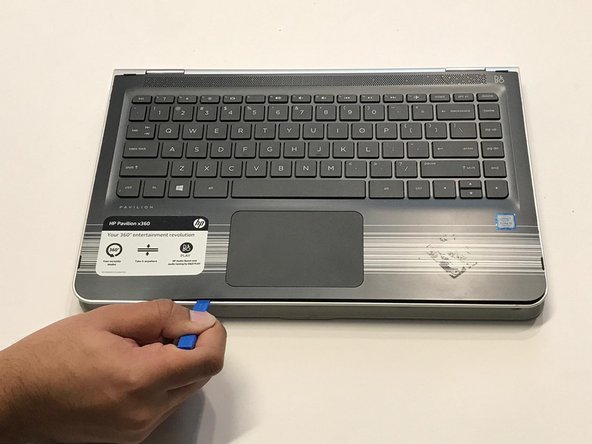
Insert a plastic opening tool into one of the corners to create a gap between the bottom panel and the keyboard panel.
-
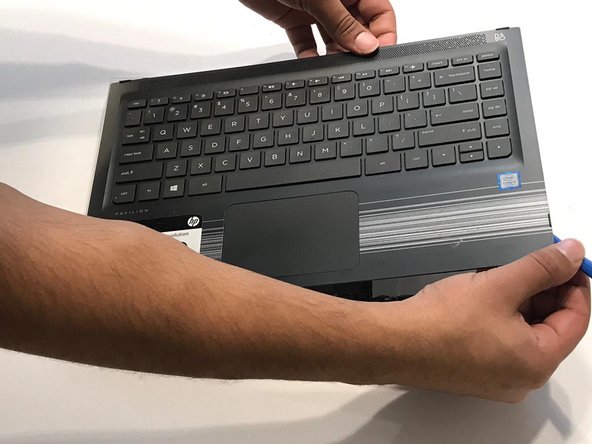
Guide the plastic opening tool around the perimeter of the panel to detach all the clips that are supporting it in place.
-
Detach the keyboard panel from the frame.
-
-
-
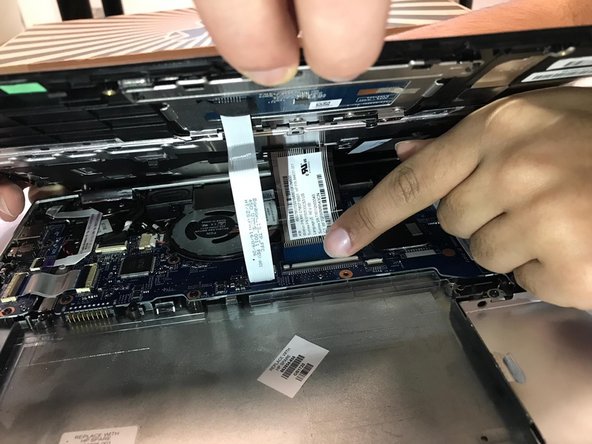
Remove the two ribbon cables connected to the inside of the laptop by using a finger to lift up on the latches.
-
Remove the keyboard panel from the rest of the laptop.
-


To reassemble your device, follow these instructions in reverse order.
To reassemble your device, follow these instructions in reverse order.

Команда

York University, Team S8-G1, Turner Winter 2020 Участник York University, Team S8-G1, Turner Winter 2020
YORK-TURNER-W20S8G1
5 членов
Автор 7 руководств