Введение
Use this replacement guide if your HP Pavilion x360 m3-u101dx motherboard is physically damaged or it has failed and the computer will no longer boot.
The motherboard is the main component inside the laptop that all other hardware components connect or plug into. Also identified as a circuit board, it is responsible for the communication between these hardware components so that they function simultaneously. The main hardware components that are connected to the motherboard are the CPU, hard drive, RAM, battery, and the display. The motherboard also allows for external components to be connected to it outside of your laptop such as a USB stick, a keyboard, a mouse, etc.
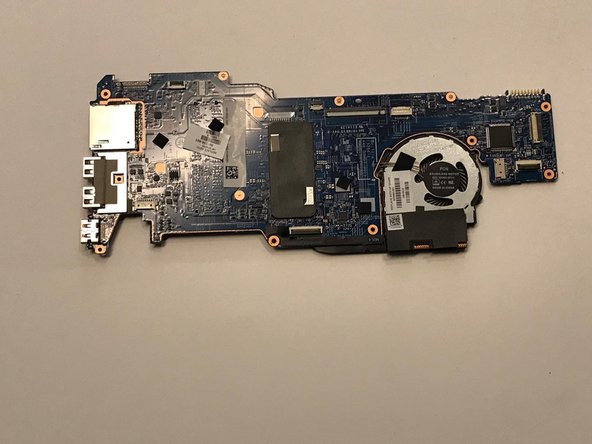
If you are unfamiliar what the motherboard looks like, it is quite simple to identify once the laptop is opened. It is the thin dark blue board made out of fibre glass that has pieces of copper embedded into it. You can also easily identify it by noting where the above mentioned hardware components are being plugged into by a ribbon cable.
A motherboard can fail for various reasons but the most common ones are when it has physical damage from being dropped multiple times, overheating, and electrical shocks.
IMPORTANT: Please ensure that you have thoroughly read through our troubleshooting page before proceeding to this replacement guide. You need to eliminate all other possible hardware issues that could be related to causing issues with the motherboard before spending time and money to replace this component.
Выберете то, что вам нужно
-
-
Flip the laptop over so that the bottom of the laptop is facing up.
-
-
-
Remove the rubber grip using a plastic opening tool.
-
Remove five 1.7mm Phillips #1 screws.
-
-
-
-
Lift open the laptop screen and flip it around so that the keyboard is facing up.
-
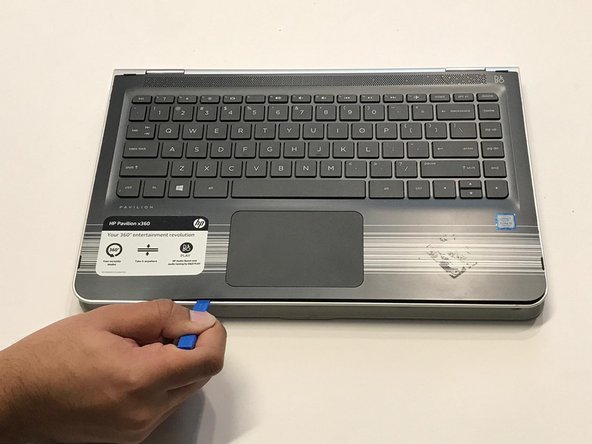
Insert a plastic opening tool into one of the corners to create a gap between the bottom panel and the keyboard panel.
-
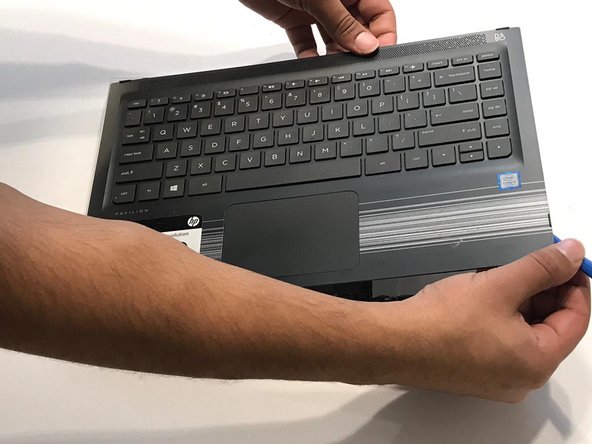
Guide the plastic opening tool around the perimeter of the panel to detach all the clips that are supporting it in place.
-
Detach the keyboard panel from the frame.
-
-
-
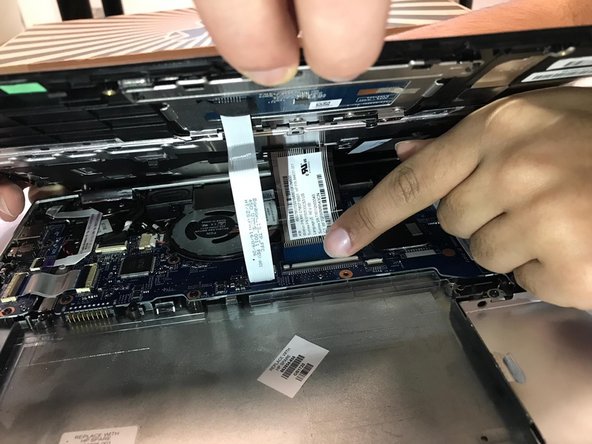
Remove the two ribbon cables connected to the inside of the laptop by using a finger to lift up on the latches.
-
Remove the keyboard panel from the rest of the laptop.
-
-
-
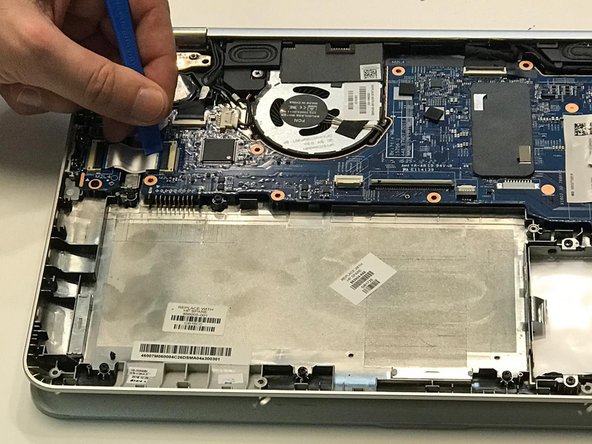
Use a plastic opening tool to lift the battery cable out from the motherboard.
-
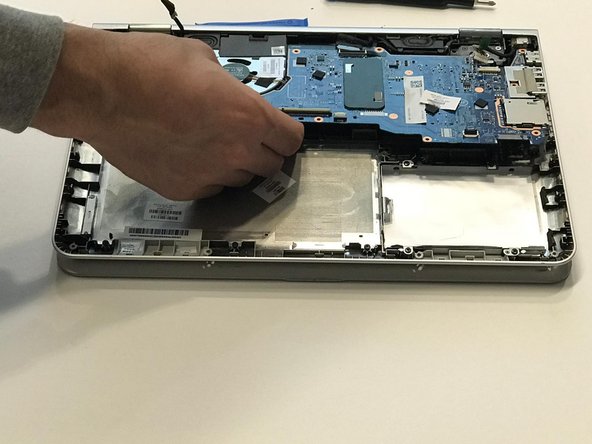
Disconnect the seven ribbon cables connected to the motherboard using a finger or plastic opening tool.
-
-
-
Remove the ten 1.2mm Phillips #1 screws that hold the motherboard into the frame of the laptop.
-
To reassemble your device, follow these instructions in reverse order.
To reassemble your device, follow these instructions in reverse order.


