Введение
Worried the government is watching you? Take out or replace your HP Stream webcam!
Выберете то, что вам нужно
-
-
Use a plastic spudger to remove two oblong screw covers on the bottom of the computer.
-
Use a plastic spudger to remove four rubber feet.
-
-
-
Remove the eleven 5 millimeter housing screws from the bottom of the computer using a #00 Phillips head screwdriver.
-
-
-
Turn the computer over and open it.
-
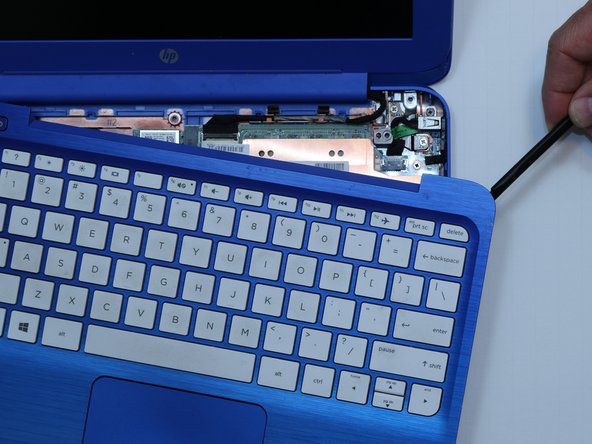
Use a plastic spudger to pry the keyboard bezel away from the base. Pry around the edge, being careful not to jam the spudger too far underneath the bezel (potentially damaging internal components).
-
-
-
-
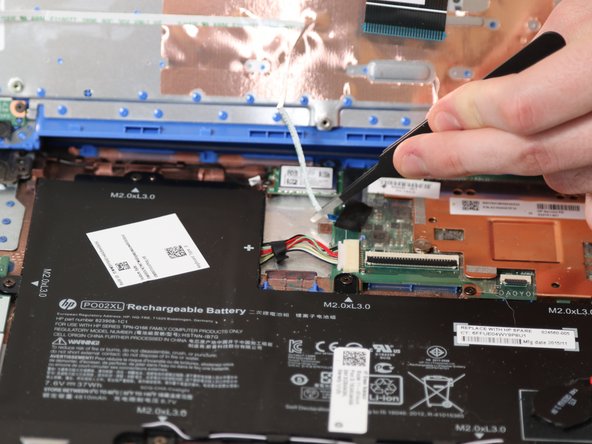
Identify two ribbon connectors and the ZIF cable underneath the keyboard.
-
Use tweezers to disconnect both ribbon cables and the ZIF connector.
-
-
-
Remove five 4 millimeter hinge-screws from the hinges of the laptop using a #00 Phillips head screwdriver.
-
-
-
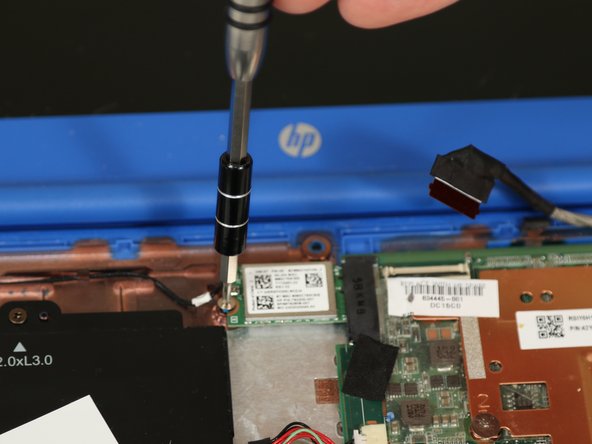
Use tweezers to disconnect the black power cable.
-
Remove the 3.5 millimeter screw from the WiFi chip using a #00 Phillips head screwdriver.
-
-
-
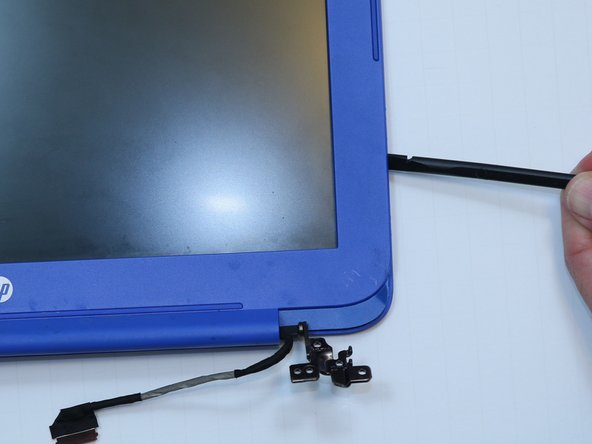
Remove two 2 millimeter bezel screws using a #00 Phillips screwdriver.
-
Use a plastic spudger to pry the bezel away from the screen.
-
-
-
Use steady pressure with a plastic spudger to break the glue seal and release the webcam.
-
Use tweezers to disconnect the cable that connects the webcam to the laptop.
-


To reassemble your device, follow these instructions in reverse order.
To reassemble your device, follow these instructions in reverse order.
Отменить: Я не выполнил это руководство.
2 участников успешно повторили данное руководство.

Команда

Linn Benton Community College, Team S1-G3, Johnson Spring 2018 Участник Linn Benton Community College, Team S1-G3, Johnson Spring 2018
LBCC-JOHNSON-S18S1G3
4 членов
Автор 5 руководств