Введение
The dv5-1125nr keyboard is a single piece of plastic and is easy to replace when removed. New keyboards can be bought from HP or online. Unfortunately, it is one of the more difficult pieces to remove.
Выберете то, что вам нужно
-
-
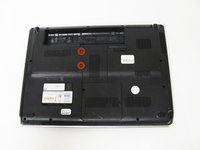
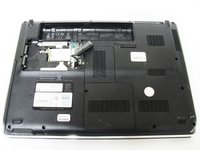
Remove the two 5mm Phillips screws on the hard drive cover using a Phillips #00 screwdriver.
-
-
-
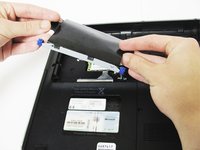
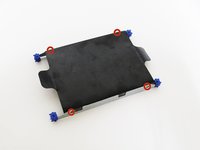
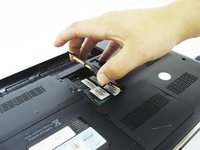
Gently lift the ribbon cable away from the hard drive enclosure to free the drive.
-
-
-
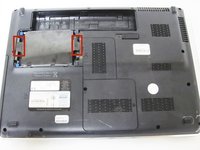
Locate four 2mm Phillips screws on the side of the enclosure and remove them using a Phillips #00 screwdriver.
-
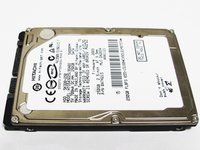
Slide the hard drive out of the enclosure to complete the removal process.
-
-
-
-
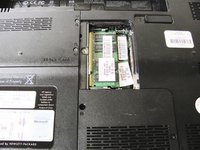
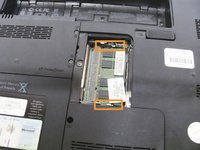
Remove the one 4mm Phillips screw from the RAM cover using a Phillips #00 screwdriver.
-
-
-
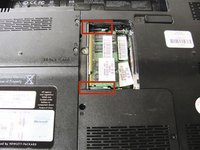
Push the two metal tabs on the side of the RAM module outwards, towards the battery and CMOS compartments (up and down).
-
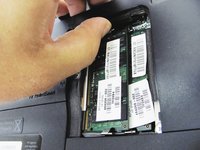
Once the module is released, gently pull the module upwards.
-
Repeat for the RAM module underneath the first one.
-
-
-
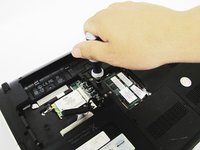
Begin by unscrewing the three 3mm Phillips head screws inside the battery bay with the Phillips #00 screwdriver.
-
-
-
Locate the hole in between the hard drive and RAM compartments.
-
Unscrew the 4mm Phillips head screw from this hole.
-
-
-
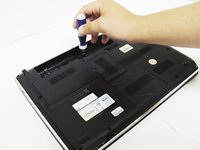
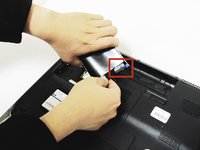
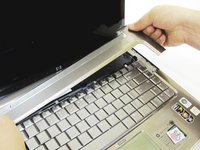
Flip the laptop, and use the plastic opening tool on the side seam to remove the top cover.
-
-
Инструмент, используемый на этом этапе:Flathead 3/32" or 2.5 mm Screwdriver$5.49
-
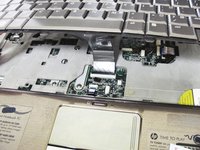
Use a 2.5mm flathead screwdriver to remove the four 3mm screws on top of the keyboard.
-
-
-
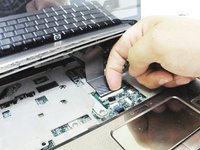
Locate the ribbon cable connection between the keyboard and motherboard.
-
Pull upwards on the small black bar to release the ribbon cable and remove it.
-


To reassemble your device, follow these instructions in reverse order. When reinserting the ribbon cable, it should click into place.
To reassemble your device, follow these instructions in reverse order. When reinserting the ribbon cable, it should click into place.
Отменить: Я не выполнил это руководство.
2 человек успешно провели ремонт по этому руководству.

Команду

Cal Poly, Team 9-15, Regan Spring 2014 Участник Cal Poly, Team 9-15, Regan Spring 2014
CPSU-REGAN-S14S9G15
4 членов
Автор 10 руководств