Введение
This repair is needed when your charging port is faulty or not working properly. Be cautious of sharp metal parts in a device as they can cause bodily injury.
Выберете то, что вам нужно
-
-
Remove the white portion of the top cover as shown. Push down on it to slide it off using just your fingers. Be careful not to break the clips holding it in place with removing it.
-
-
-
Remove full frame on the back. A tip is to tape the volume button to the frame before removing it, as the volume button will fall out.
-
-
-
-
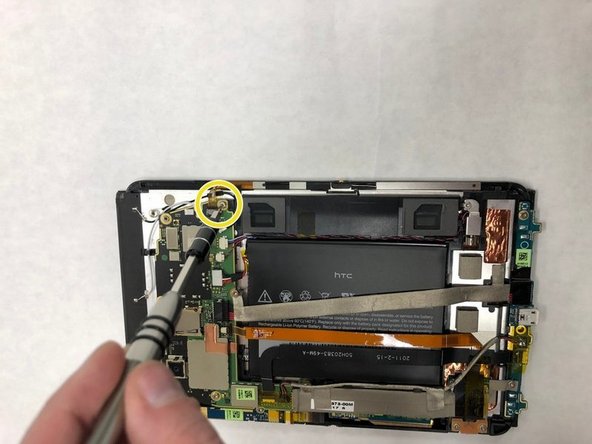
Release the flex-screen touch cable. It is held in place with clips. Use the safe open pry tool to unclip it. Note that it will still be connected to the base and the motherboard.
-
-
-
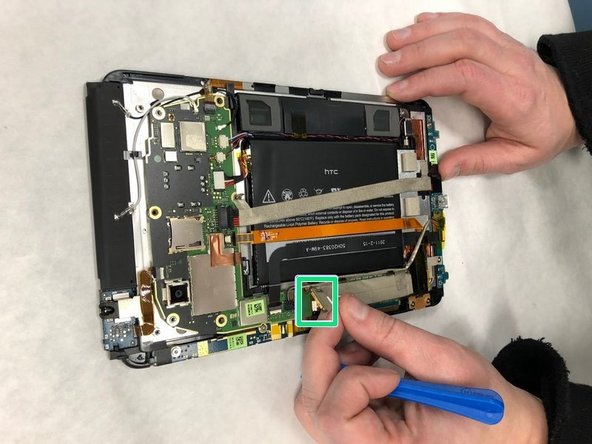
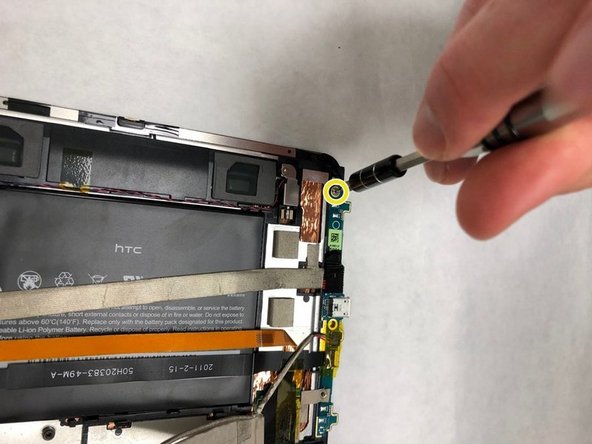
Remove the motherboard. Note that the flex screen will not be removed with it and will remain attached to the tablet frame.
-
-
-
Remove the motherboard. Note that the flex screen will not be removed with it and will remain attached to the tablet frame.
-
-
-
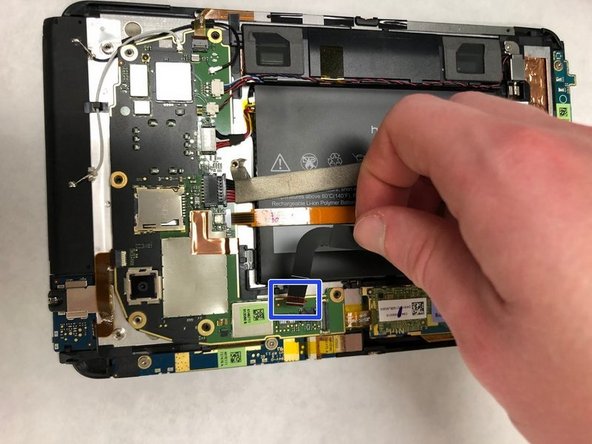
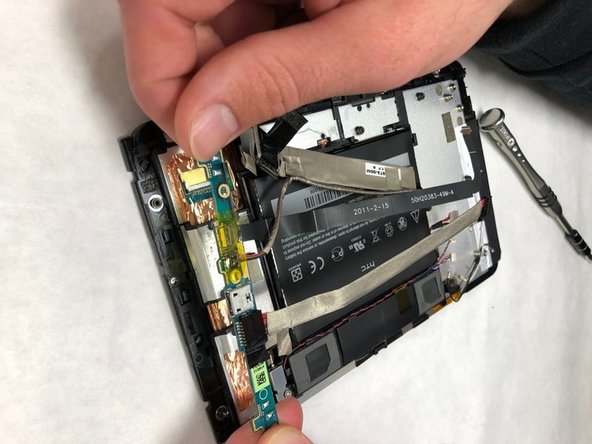
Remove the dock port flex cable. It will be tangled around other cables, so take care not to rip it while removing.
-


To reassemble your device, follow these instructions in reverse order.
To reassemble your device, follow these instructions in reverse order.
Команда

IUPUI, Team S5-G5, Wilson Fall 2018 Участник IUPUI, Team S5-G5, Wilson Fall 2018
IUPUI-WILSON-F18S5G5
4 членов
Автор 3 руководств