Перейти к основному содержанию

Эта версия возможно содержит некорректные исправления. Переключить на последнюю проверенную версию.

Выберете то, что вам нужно

  1. Этот шаг не переведен. Помогите перевести

    : шаг 1, изображение 1 из 3 : шаг 1, изображение 2 из 3 : шаг 1, изображение 3 из 3
    • Switch-off the phone (if you can).

    • Remove the SIM tray.

    • The back cover is sticked to the phone with adhesive tape. Is good to use some hot air to do removing of the back cover easier.

  2. Этот шаг не переведен. Помогите перевести

    : шаг 2, изображение 1 из 3 : шаг 2, изображение 2 из 3 : шаг 2, изображение 3 из 3
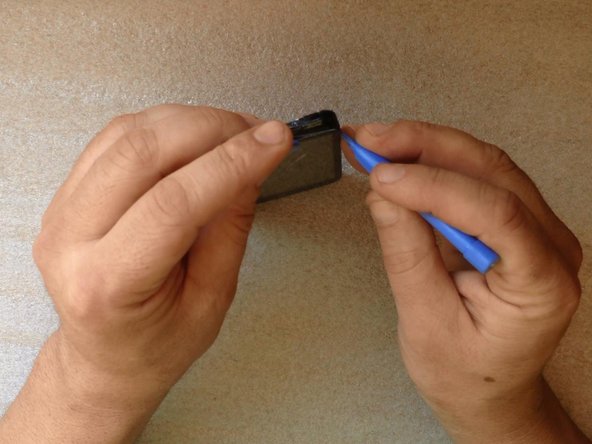
    • Start opening from the bottom side.

    • For separating the back cover, use only plastic tools.

  3. Этот шаг не переведен. Помогите перевести

    : шаг 3, изображение 1 из 3 : шаг 3, изображение 2 из 3 : шаг 3, изображение 3 из 3
    • The mother board is held by 6x Philips screws.

  4. Этот шаг не переведен. Помогите перевести

    : шаг 4, изображение 1 из 3 : шаг 4, изображение 2 из 3 : шаг 4, изображение 3 из 3
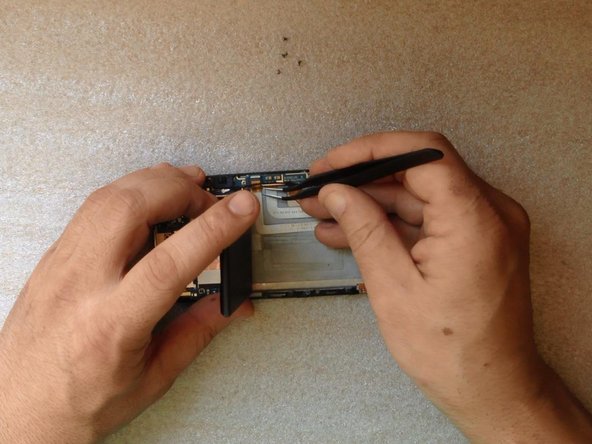
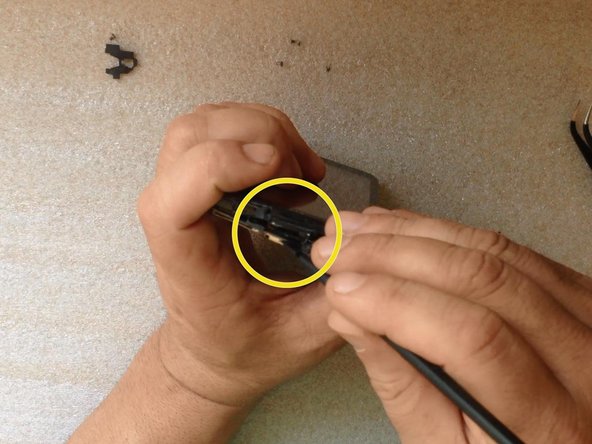
    • Disconnect one by one:

    • the Touchscreen flex cable

    • the Volume buttons & Mic flex cable

    • the Dock connector flex cable

    • Use a plastic tool to unstick the battery.

    • Be careful, there are flex cables under the battery. At the last picture in this step you can see the cables and the place were is adhesive tape.

    • Now you can separate the Dock flex cable.

  5. Этот шаг не переведен. Помогите перевести

    : шаг 5, изображение 1 из 3 : шаг 5, изображение 2 из 3 : шаг 5, изображение 3 из 3
    • Lift the motherboard slightly to disconnect two flex cables:

    • the LCD Display flex cable

    • the Navigation buttons flex cable

    • Disconnect the Power On button flex cable at the upper side of the phone

    • Now the mainboard and the battery are free.

    • Disconnect the battery from the mainboard.

  6. Этот шаг не переведен. Помогите перевести

    : шаг 6, изображение 1 из 3 : шаг 6, изображение 2 из 3 : шаг 6, изображение 3 из 3
    • At the beginning you can use a cutter to make a room for the plastic tool.

    • During the procedure of the separating the LCD Display & Touchscreen from the frame, you can use again hot air. This will make separating more easy.

  7. Этот шаг не переведен. Помогите перевести

    : шаг 7, изображение 1 из 3 : шаг 7, изображение 2 из 3 : шаг 7, изображение 3 из 3
    • The original adhesive tape is left on the frame, but I prefer to put new. I put it onto the original.

    • Gently assemble the screen to the frame.

  8. Этот шаг не переведен. Помогите перевести

    : шаг 8, изображение 1 из 1
Финишная черта

14 участников успешно повторили данное руководство.

ZFix

Участник с: 12/09/13

191 368 Репутация

Автор 330 руководств

Команда

Master Techs Участник Master Techs

Community

322 членов

Автор 2 542 руководств

Один комментарий

i need touch panel do you have available

osama siddique - Ответить

Добавить комментарий

Просмотр статистики:

За последние 24часов: 2

За последние 7 дней: 15

За последние 30 дней: 29

За всё время: 38,280