Перейти к основному содержанию

HTC Ozone Keyboard Replacement

Выберете то, что вам нужно

  1. HTC Ozone Keyboard Replacement, Rear Battery Cover: шаг 1, изображение 1 из 1
    • Flip the phone over to have the rear cover facing up.

    • The camera lens should be towards the top of the phone.

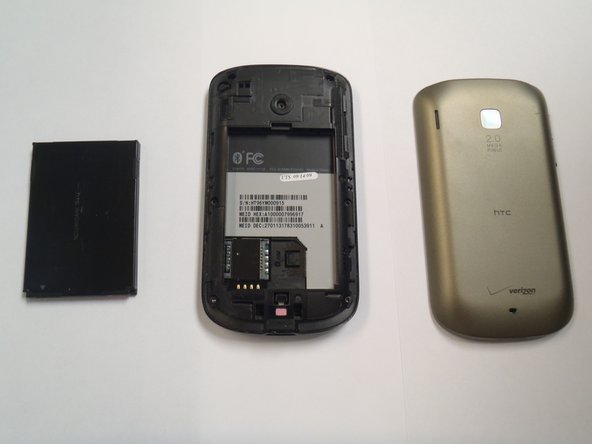
  2. HTC Ozone Keyboard Replacement: шаг 2, изображение 1 из 2 HTC Ozone Keyboard Replacement: шаг 2, изображение 2 из 2
    • Slide the cover up, towards the top of phone, to unlock the battery cover.

    • Lift the cover off phone and remove it.

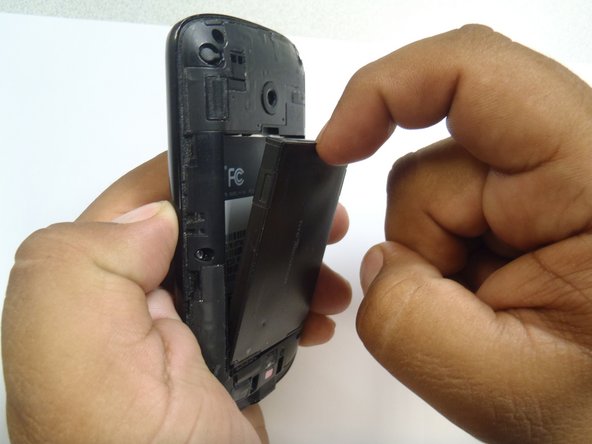
  3. HTC Ozone Keyboard Replacement, Battery: шаг 3, изображение 1 из 3 HTC Ozone Keyboard Replacement, Battery: шаг 3, изображение 2 из 3 HTC Ozone Keyboard Replacement, Battery: шаг 3, изображение 3 из 3
    • Use your finger to push the top of the battery downwards and lift the battery out of the phone.

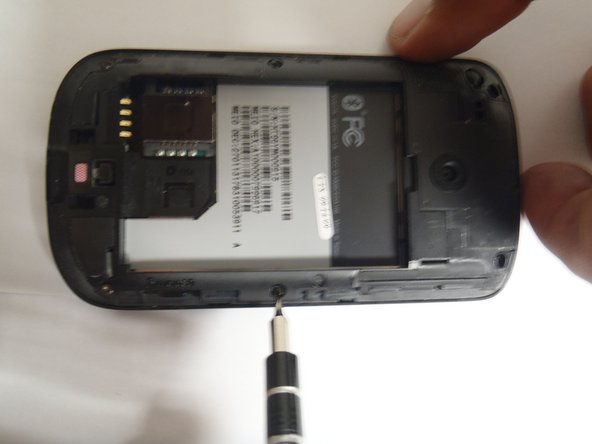
  4. HTC Ozone Keyboard Replacement, Frame: шаг 4, изображение 1 из 3 HTC Ozone Keyboard Replacement, Frame: шаг 4, изображение 2 из 3 HTC Ozone Keyboard Replacement, Frame: шаг 4, изображение 3 из 3
    • Remove the six Torx #5 screws that are securing the rear frame.

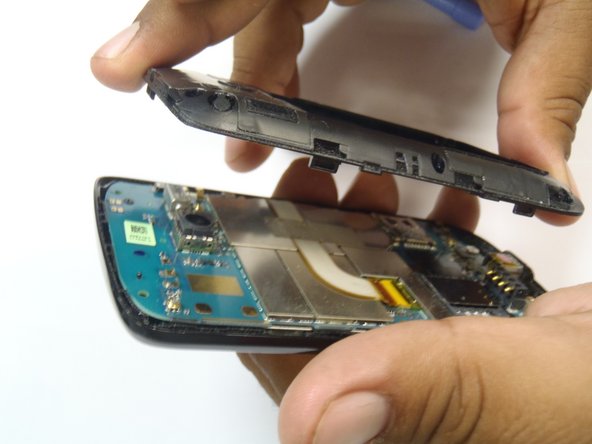
  5. HTC Ozone Keyboard Replacement: шаг 5, изображение 1 из 3 HTC Ozone Keyboard Replacement: шаг 5, изображение 2 из 3 HTC Ozone Keyboard Replacement: шаг 5, изображение 3 из 3
    Инструмент, используемый на этом этапе:
    Plastic Cards
    $2.99
    Купить
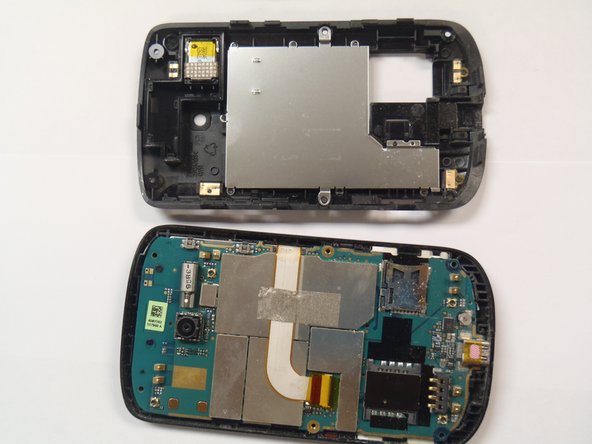
    • Pry the frame open, releasing the eight plastic tabs around the edge of the frame, using the plastic opening tool.

    • A plastic card can be used instead of the plastic opening tool.

  6. HTC Ozone Keyboard Replacement, Motherboard: шаг 6, изображение 1 из 2 HTC Ozone Keyboard Replacement, Motherboard: шаг 6, изображение 2 из 2
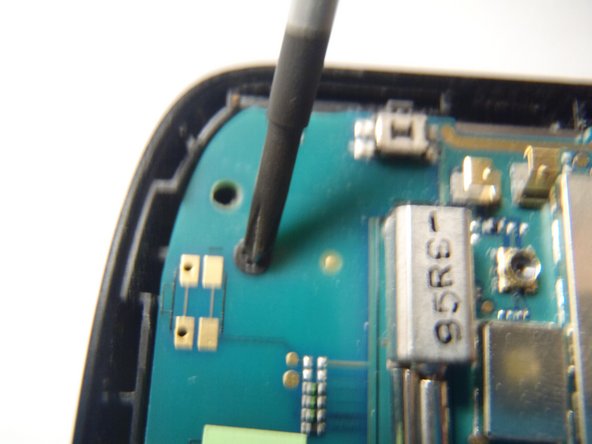
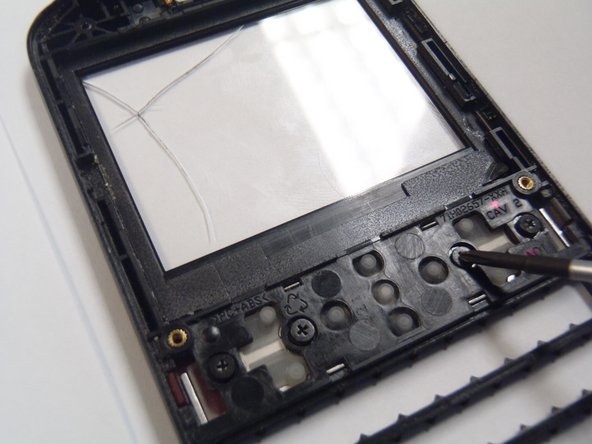
    • Remove the single Phillips #0 screw that is securing the motherboard to the front case of the phone.

  7. HTC Ozone Keyboard Replacement: шаг 7, изображение 1 из 2 HTC Ozone Keyboard Replacement: шаг 7, изображение 2 из 2
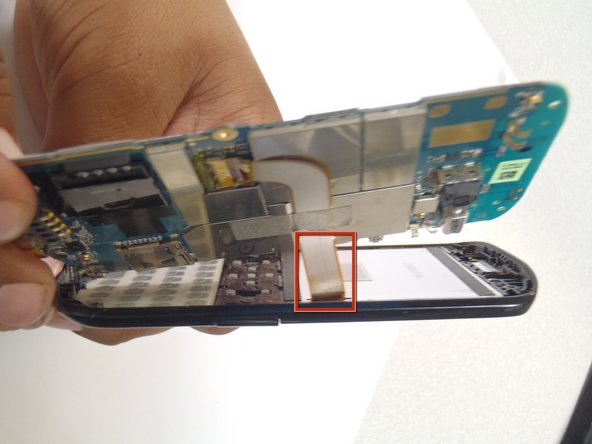
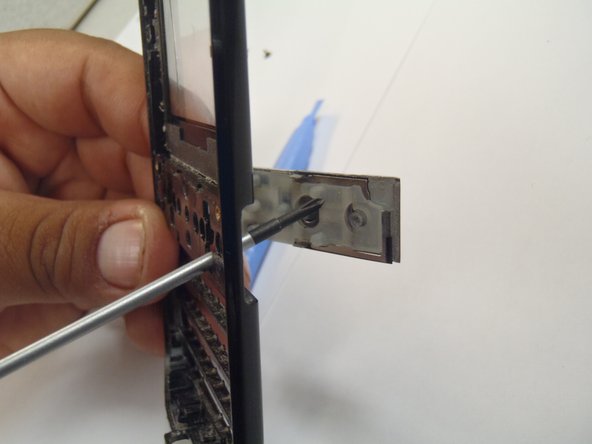
    • Pry the motherboard away from the front of the plastic case using a plastic opening tool.

    • Be careful not to break the ribbon cable when prying away the motherboard.

  8. HTC Ozone Keyboard Replacement: шаг 8, изображение 1 из 3 HTC Ozone Keyboard Replacement: шаг 8, изображение 2 из 3 HTC Ozone Keyboard Replacement: шаг 8, изображение 3 из 3
    • Remove the plastic cover from the LCD display and the motherboard.

    • The Motherboard and the LCD are still attached together.

  9. HTC Ozone Keyboard Replacement, LCD Display: шаг 9, изображение 1 из 2 HTC Ozone Keyboard Replacement, LCD Display: шаг 9, изображение 2 из 2
    • Remove the gray tape securing the ribbon cable.

  10. HTC Ozone Keyboard Replacement: шаг 10, изображение 1 из 1
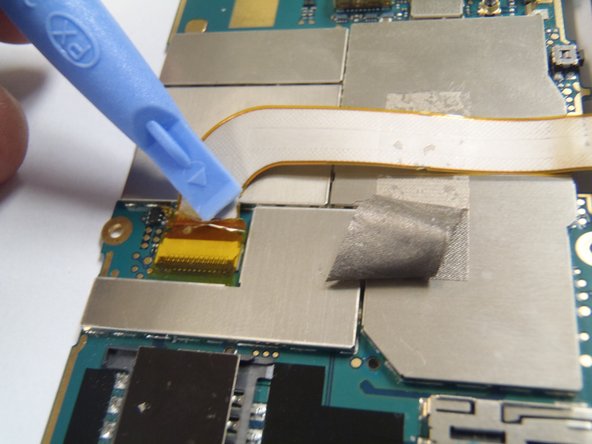
    • Remove the yellow tape securing the connector lock.

  11. HTC Ozone Keyboard Replacement: шаг 11, изображение 1 из 2 HTC Ozone Keyboard Replacement: шаг 11, изображение 2 из 2
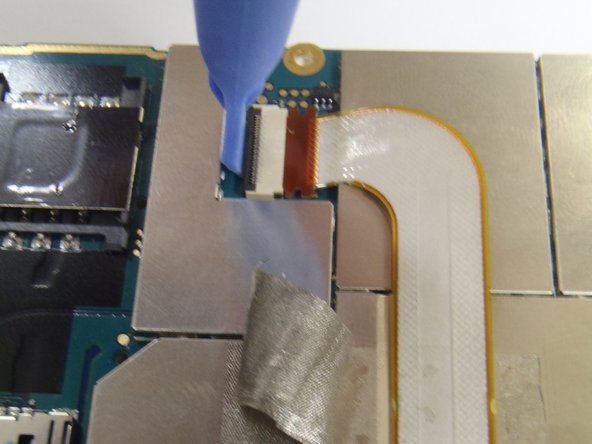
    • Carefully lift the black lock to release the ribbon cable, using the plastic opening tool.

  12. HTC Ozone Keyboard Replacement: шаг 12, изображение 1 из 1
    • Pull the ribbon cable upwards, disconnecting it from the Motherboard.

  13. HTC Ozone Keyboard Replacement: шаг 13, изображение 1 из 1
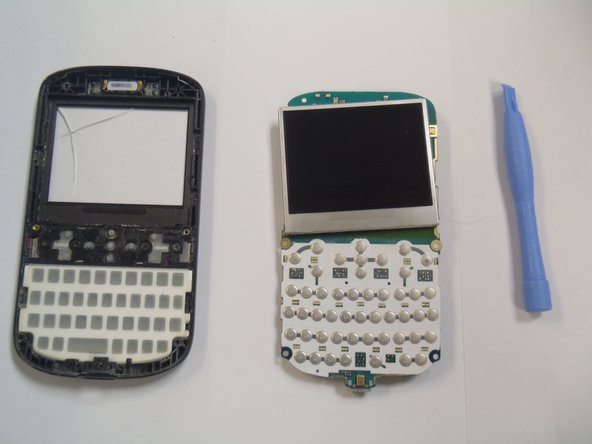
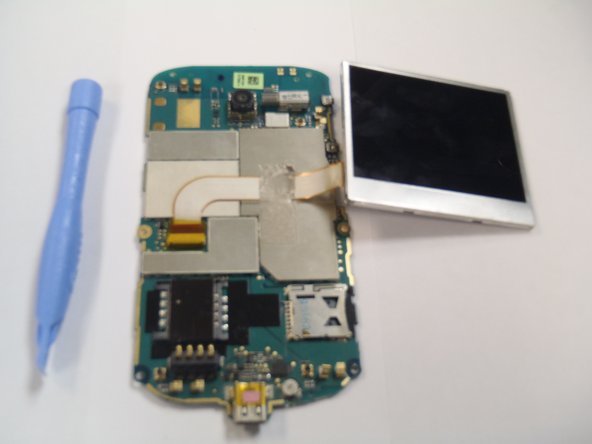
    • Lift the Motherboard away from the LCD display.

  14. HTC Ozone Keyboard Replacement, Keyboard: шаг 14, изображение 1 из 2 HTC Ozone Keyboard Replacement, Keyboard: шаг 14, изображение 2 из 2
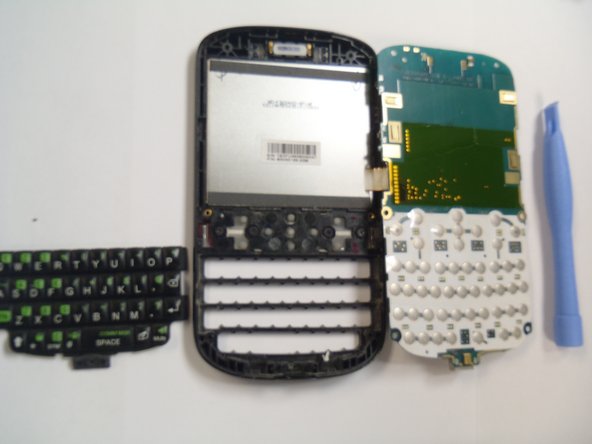
    • Lift off main keyboard from front plastic case using plastic opening tool.

  15. HTC Ozone Keyboard Replacement: шаг 15, изображение 1 из 2 HTC Ozone Keyboard Replacement: шаг 15, изображение 2 из 2
    • Remove four Phillips #00 screws securing function keys.

  16. HTC Ozone Keyboard Replacement: шаг 16, изображение 1 из 2 HTC Ozone Keyboard Replacement: шаг 16, изображение 2 из 2
    • Pop keys out by pushing keys from back of the phone.

Заключение

To reassemble your device, follow these instructions in reverse order.

Еще один человек закончил это руководство.

Marco Jokada

Участник с: 04/28/11

247 Репутация

Автор 6 руководств

Команда

CSU Los Angeles, Team 1-2, Nelson Spring 2011 Участник CSU Los Angeles, Team 1-2, Nelson Spring 2011

CSULA-NELSON-S11S1G2

5 членов

Автор 12 руководств

0 Комментариев

Добавить комментарий

Просмотр статистики:

За последние 24часов: 0

За последние 7 дней: 0

За последние 30 дней: 1

За всё время: 1,769