Эта версия возможно содержит некорректные исправления. Переключить на последнюю проверенную версию.
Выберете то, что вам нужно
-
Этот шаг не переведен. Помогите перевести
-
First, flip the phone over so that the back is facing upwards.
-
-
Этот шаг не переведен. Помогите перевести
-
Using both thumbs, push the back side of the phone's exterior up and remove the front face of the phone.
-
-
Этот шаг не переведен. Помогите перевести
-
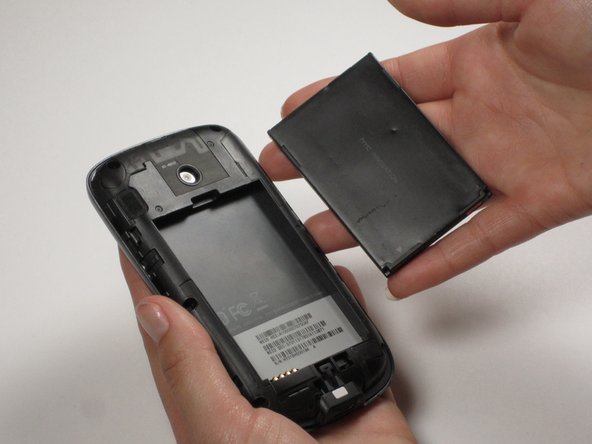
Insert your finger or a pry tool into the slot above the battery. Remove it and set aside.
-
-
-
Этот шаг не переведен. Помогите перевести
-
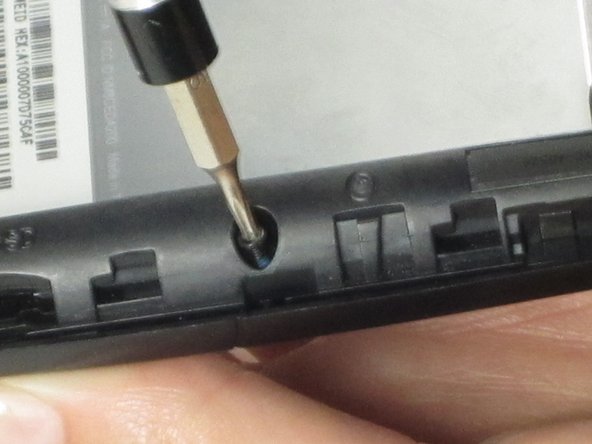
To remove the case, use a small, pentagonal screwdriver to unscrew the 6 screws that can be found around the edges.
-
-
Этот шаг не переведен. Помогите перевести
-
Next, unscrew the top screw using a small, Philips screwdriver.
-
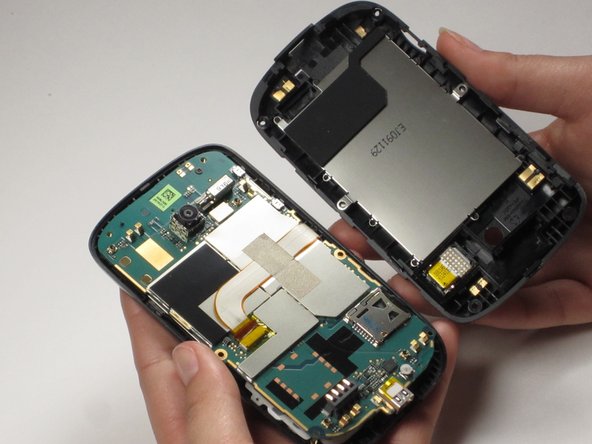
Pull back the motherboard.
-
-
Этот шаг не переведен. Помогите перевести
-
Using a spudger, remove the display screen from its cell within the front case. Insert the spudger next to the LCD on the opposite side of where the motherboard is attached.
-
-
Этот шаг не переведен. Помогите перевести
-
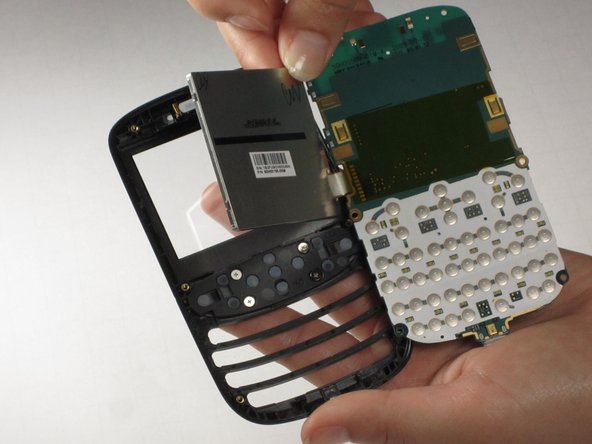
Place the motherboard down on top of the LCD. Using tweezers, remove the yellow piece of tape covering the end of the flat ribbon cable.
-
-
Этот шаг не переведен. Помогите перевести
-
Peel off the silver tape covering the flat ribbon cable. The motherboard is now free from the rest of the phone.
-


Отменить: Я не выполнил это руководство.
Еще один человек закончил это руководство.
Команда

Cal Poly, Team 25-29, Garner Spring 2011 Участник Cal Poly, Team 25-29, Garner Spring 2011
CPSU-GARNER-S11S25G29
3 членов
Автор 10 руководств