Введение
This is a repair guide for replacing the broken touchscreen/digitizer on a HTC Sensation.
Выберете то, что вам нужно
-
-
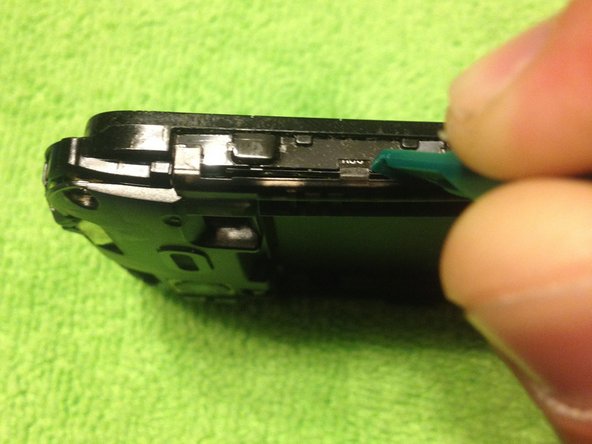
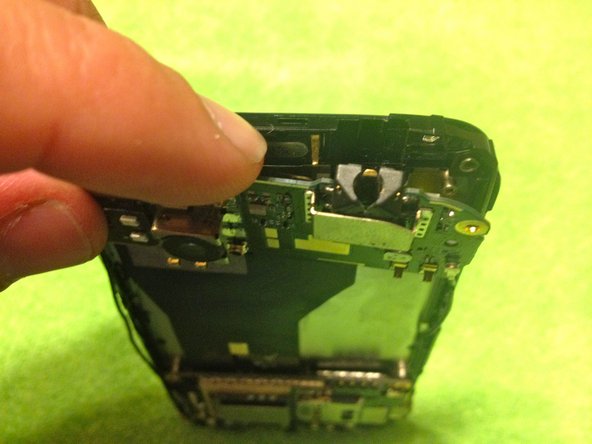
DO NOT pry loose as shown in this picture. The button in the middle that is pictured can be pressed in, releasing the back housing which can then be easily lifted free.
-
-
-
Using a plastic pry tool, at the top, the right and left sides and the bottom, carefully insert and pry to pop loose the plastic frame from the LCD/Touchscreen Housing.
-
-
-
Remove the one Phillips head screw from the motherboard.
-
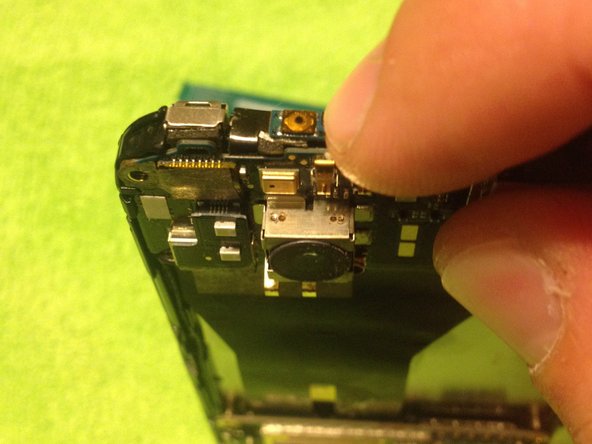
Remove the silver tape/adhesive covering 2 jawbone connectors.
-
-
-
-
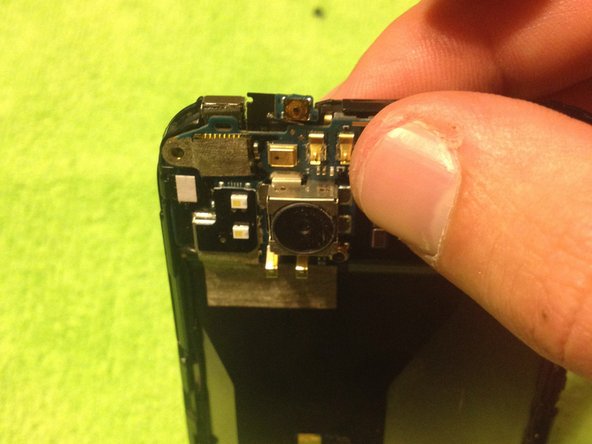
Remove the same black plastic from the top power button. Be careful to only remove the plastic as there is a flex cable under.
-
-
-
With the power button flex up you can now carefully pull up the motherboard.
-
On the underside you will barely see the jawbone connectors. Go ahead and flip them open to release the cables.
-
-
-
Before lifting up the motherboard, be sure to release the 2nd jawbone connector. This one is for the touchscreen/digitizer. (Photo is with motherboard already out to show you exactly where it is.
-
With the flex cable removed you can now lift up on the motherboard. There is still a cable attached, but it is the touchscreen/digitizer cable. So, if you have a broken screen it IS ok if you break this cable.
-
-
-
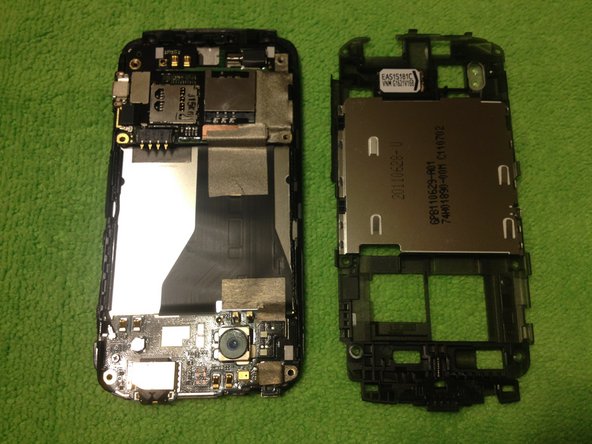
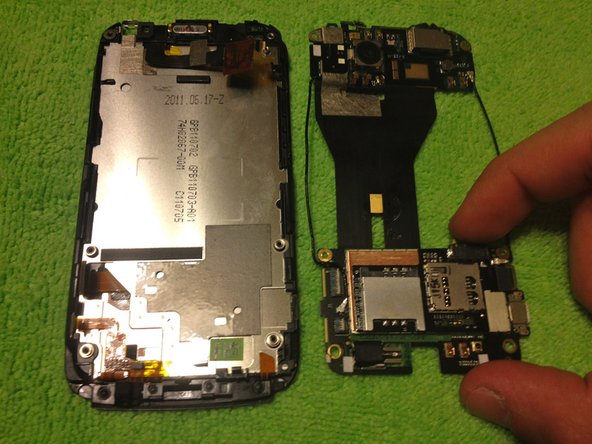
Now can you completely remove the motherboard.
-
There are little "teeth" around the mother board so if you are having some trouble it's because the motherboard is still caught under the teeth.
-
-
-
Using a heat gun, carefully heat the glass all around the screen. Be careful not to overheat as this can cause damage to the LCD.
-
-
-
Starting at the top and then going down the sides, carefully insert a plastic pry too and begin to separate the touchscreen glass from the LCD assembly.
-
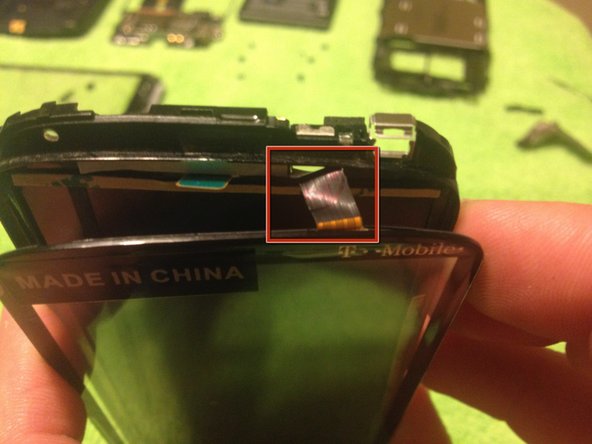
Be careful as you get to the bottom when removing the glass. There is a thin strip that needs to stay in tact.
-
When at the bottom you will notice a white strip. Do not tear this or the buttons on the bottom of your screen will not light up!
-
Go ahead and remove the glass completely.
-
-
-
Remove the top layer of sticky black tape, then prep the LCD assembly and new touchscreen/digitizer with new adhesive--I just used thin strips of two-sided tape.
-
Using a microfiber cloth remove any dust from the LCD display.
-
Slide the new touchscreen/digitizer cable between the frame and LCD display.
-
Once the cable is through go ahead and remove all paper from adhesives and set the screen in place.
-
Now you can begin reconstructing your phone. Go ahead and go through the steps backwards.
-
Reattaching the cables is the trickiest part but not impossible.
-


To reassemble your device, follow these instructions in reverse order.
To reassemble your device, follow these instructions in reverse order.
Отменить: Я не выполнил это руководство.
29 участников успешно повторили данное руководство.
2 Комментариев
Hello, good afternoon!
I wonder what the material used between the screen and the lcd display?
I realized that there is a sort of black film behind the touch screen. What would it be?
Jean Carlos