Выберете то, что вам нужно
-
-
Begin by inverting the coffee maker and resting it on a flat surface to make working on the bottom easier.
-
Now use a Y0 bit to remove all of the .46 inch long screws from the bottom.
-
Lift the plate to remove it from the rest of the machine.
-
-
-
Once the bottom plate is removed, use a PH1 bit to remove the .525 inch long screws holding the motherboard bracket in the main housing.
-
-
-
Using a PH1 bit, remove the two .425 inch long screws holding down the white power cord bracket. This will give you the slack in the wire that you need to work on the motherboard.
-
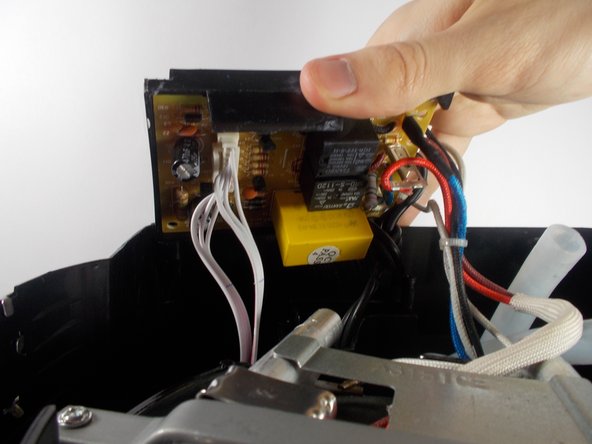
Carefully remove the large white connector that has multiple wires attached to it. This is the wire connected to the button functions on the interface of the coffee maker.
-
-
-
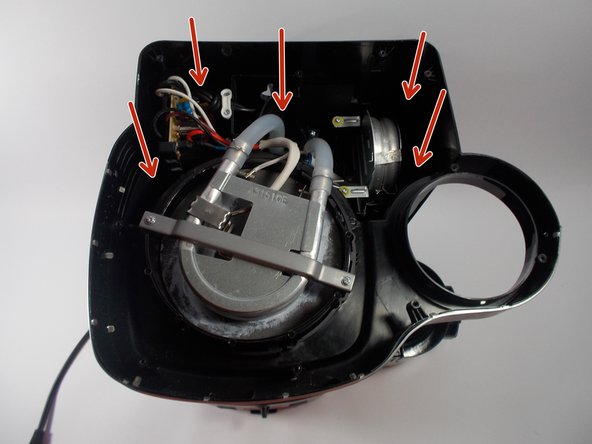
After removing the motherboard. Proceed to remove the inner housing which holds the excess power cord. This can be removed by using the PH1 bit to remove the .525 inch long screws that hold the housing in the main housing.
-
-
-
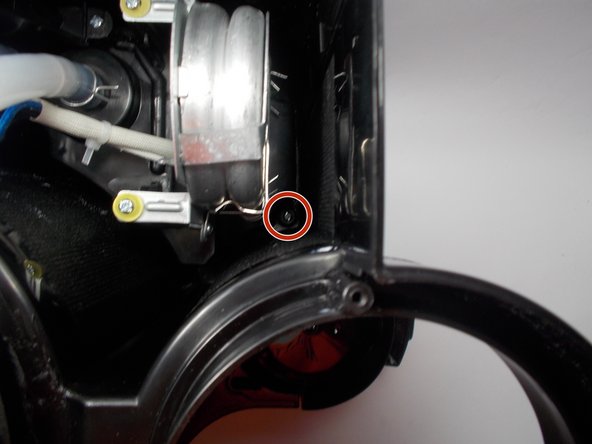
Use a long screwdriver with the PH1 bit to access the screws holding the main housing to the top of the machine.
-
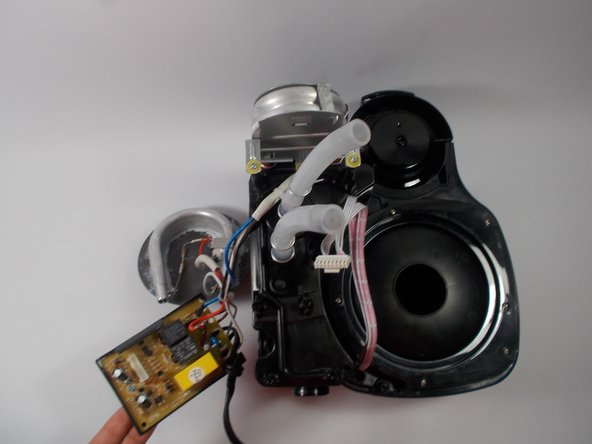
Pull main housing up and be sure to run all of the inner parts through the cavity at the bottom. This may take a few tries since components can easily get caught on each other
-
-
-
-
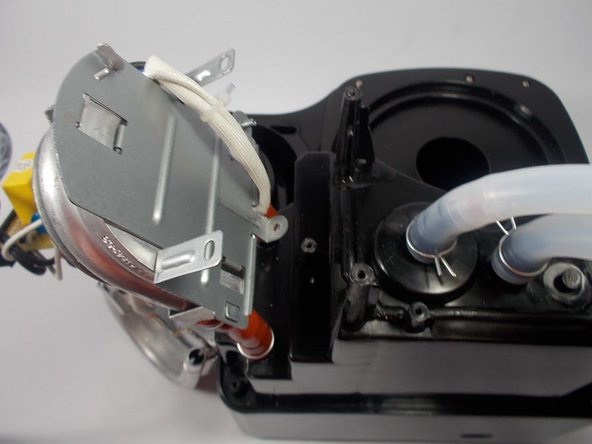
After separating the main housing of the Hamilton Beach 49980A, locate the small heating unit which will be standing vertically on two tubes.
-
Using a PH1 bit, remove the three .77 inch long screws with the washers to free the component from the machine.
-
-
-
Locate the top two spring clamps on the tube attached to the small heating unit. Pinch these clips while pulling down to release the tube from the heating unit. Pliers will make this task easier.
-
-
-
After pushing the clips down, pull the tube from the heating unit. This may be difficult, so use a spudger to pry the tube off as you pull the unit up.
-
-
-
After removing the heating unit from the tube, the heating unit should come free. It will still be attached to the motherboard by three wires. They will be black, blue, and white.
-
-
-
In order to remove the small housing that covers the motherboard, remove the lone screw with a PH1 bit. After this the plastic cover should easily snap off.
-
-
-
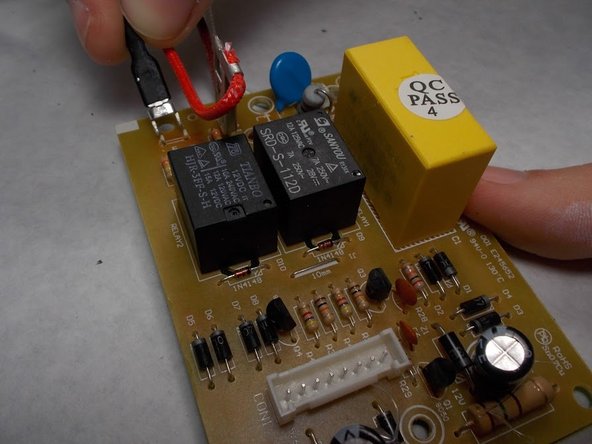
First, remove the blue wire from the motherboard. This wire will have a black connector on the end connecting to the motherboard. It is found here. Heat up the solder on the bottom of the circuit board and remove the wire from its connection.
-
-
-
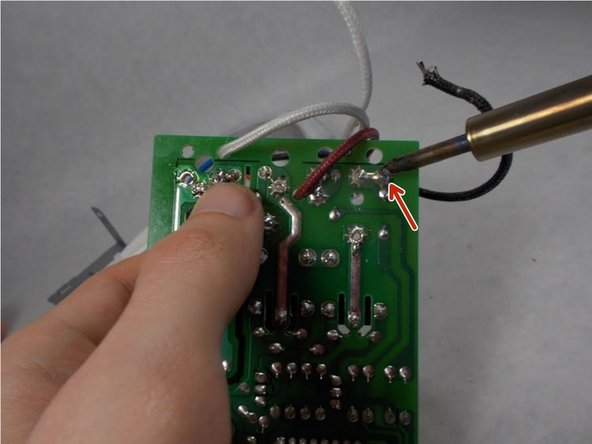
Next, on the underside of the motherboard heat up the soldered connection of the white wire. This wire is located in the top corner.
-
-
-
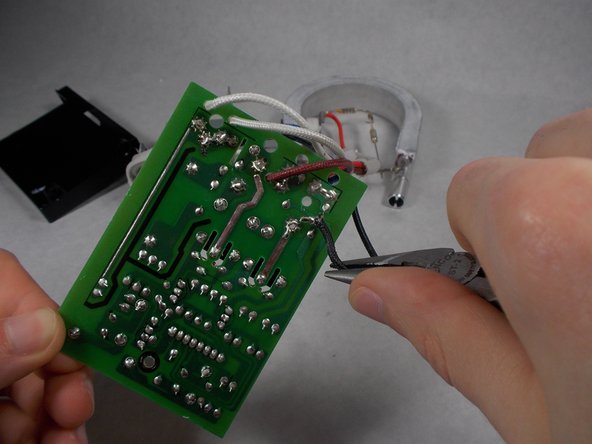
Lastly, on the bottom of the motherboard heat up the soldered connection for the black wire. While the solder is melted, remove the wire from the connection.
-


To reassemble your device, follow these instructions in reverse order.
To reassemble your device, follow these instructions in reverse order.
Команда

UMass Dartmouth, Team 1-7, Miles Spring 2016 Участник UMass Dartmouth, Team 1-7, Miles Spring 2016
UMASSD-MILES-S16S1G7
3 членов
Автор 7 руководств