Введение
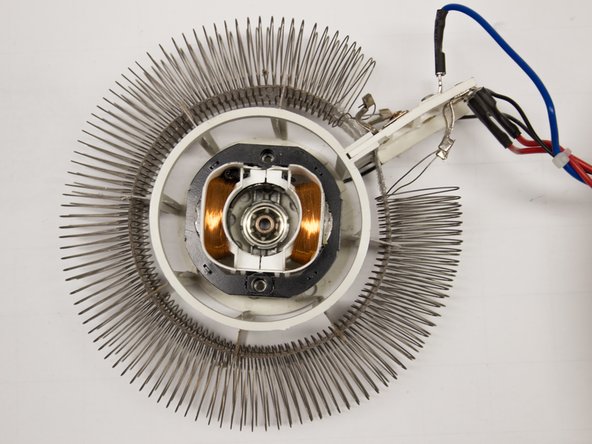
By replacing the electro motor, which powers the blades in the fan, users kan keep using their fan heater for much longer. This electro motor (yj58-12a1) is very easy to acquire online, and fairly easy to replace.
We will provide a step-by-step manual to disassemble the fan heater down to the motor by unscrewing the housing and the parts inside the housing, taking the parts apart, cutting the wire, connecting the new wire and engine to the old wire and assembling the whole thing back together.
Minimal tools are needed to do so. We used Pozidrive screwdrivers (1x75), a small pick, pliers, stripping pliers, heat shrink sleeves, a lighter and some lubricant to disassemble the product and replace the motor.
Выберете то, что вам нужно
-
-
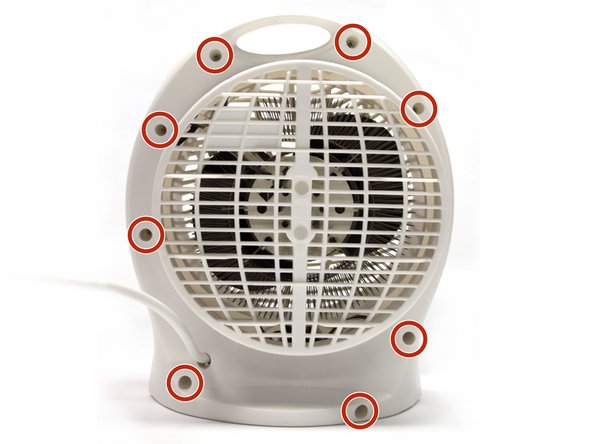
Flip the device over so the bottom is revealed.
-
Unscrew the nine screws (3x12mm) using a Phillips (1x75) screwdriver to open up the housing of the fan heater.
-
-
-
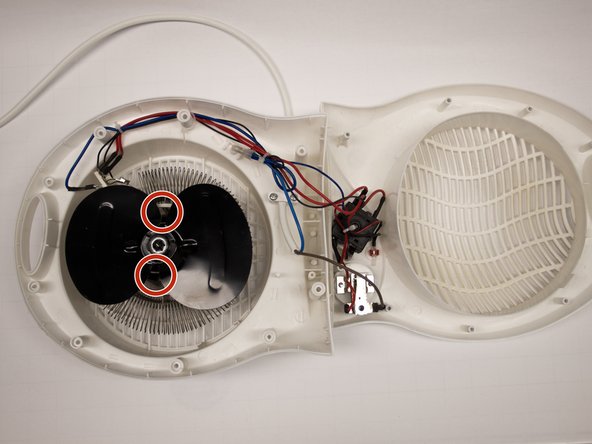
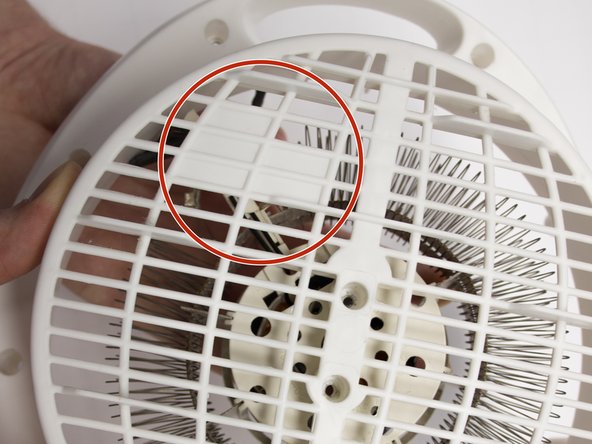
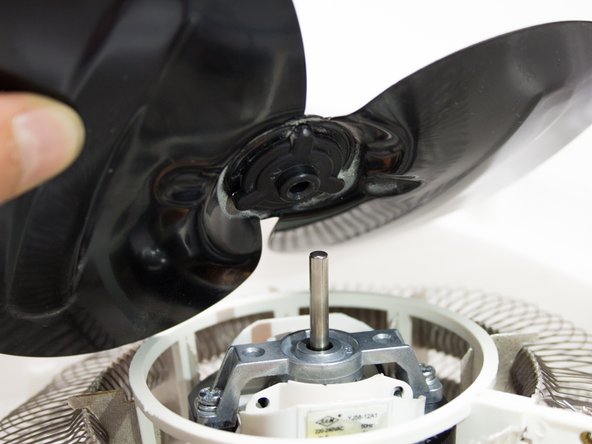
Unscrew the two screws (3x40mm) on either side of the blades using a Phillips (1x75) screwdriver.
-
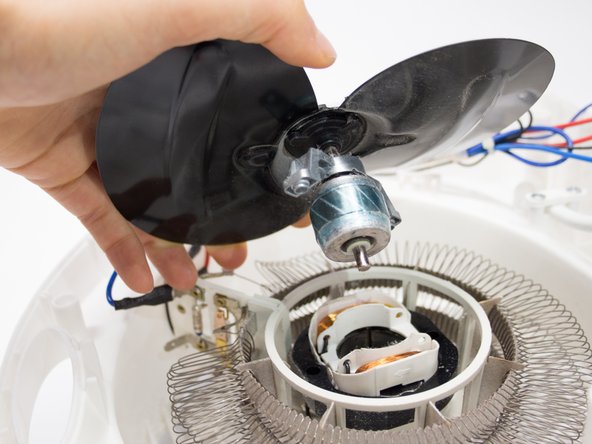
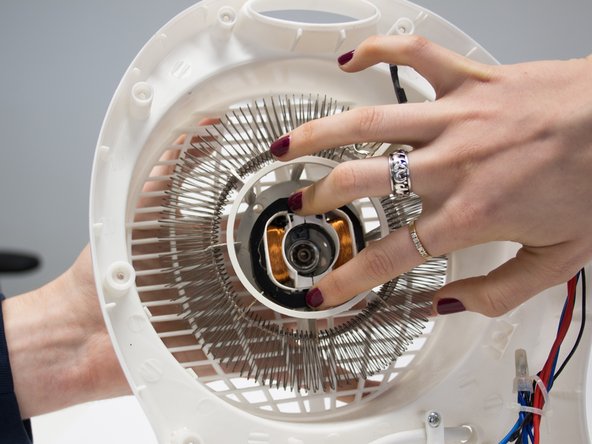
Take off the blades by gently pulling up the middle.
-
-
-
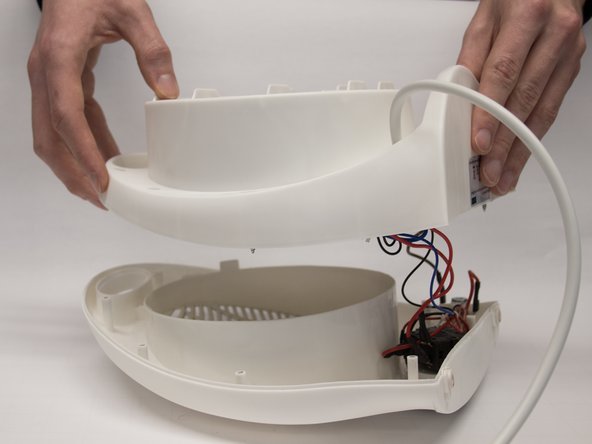
Flip the housing of the fan heater over to reveal its bottom.
-
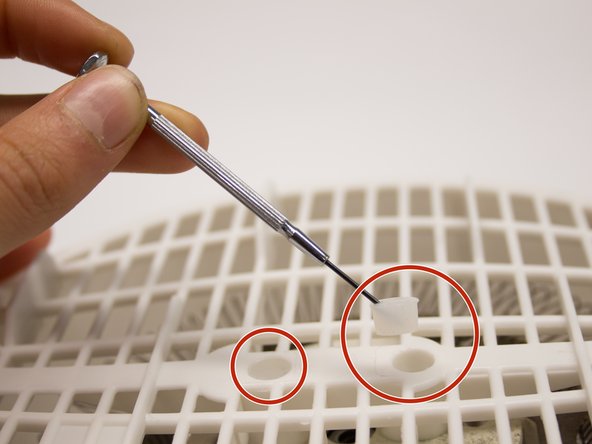
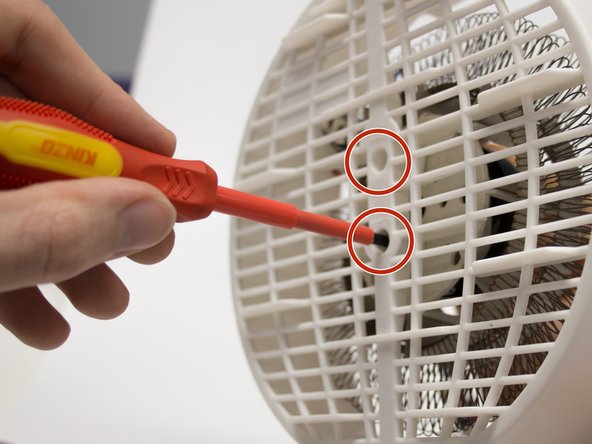
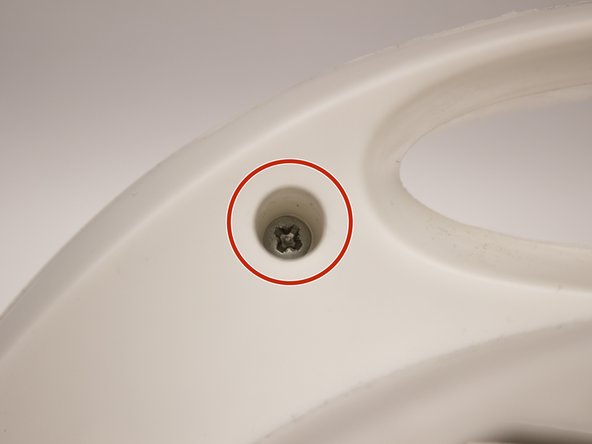
Use a metal spudger to remove the two rubber sealing caps and reveal the two screws.
-
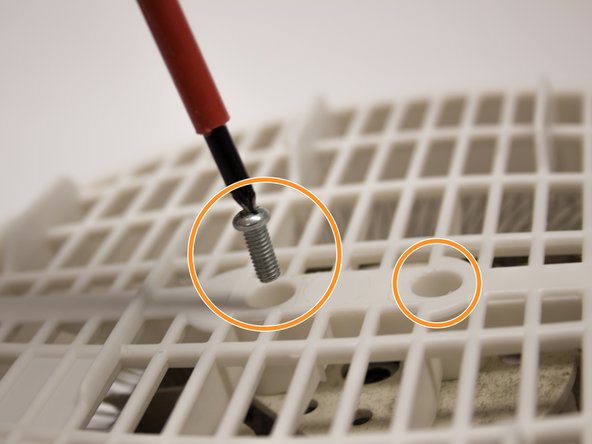
Unscrew the two screws (3x12mm) using a Phillips screwdriver (1x75) to separate the electro motor housing from the fan housing.
-
-
-
Turn the fan housing back around to reveal its inside.
-
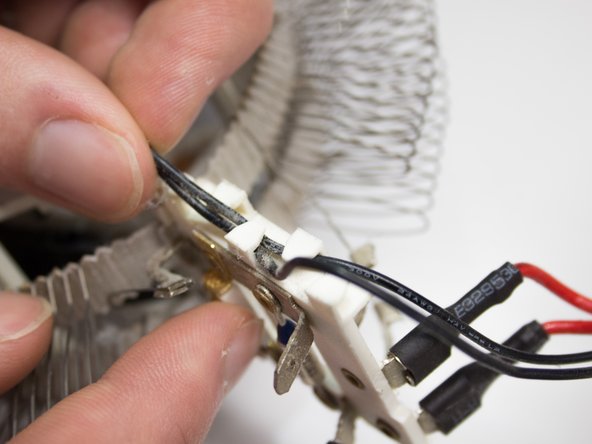
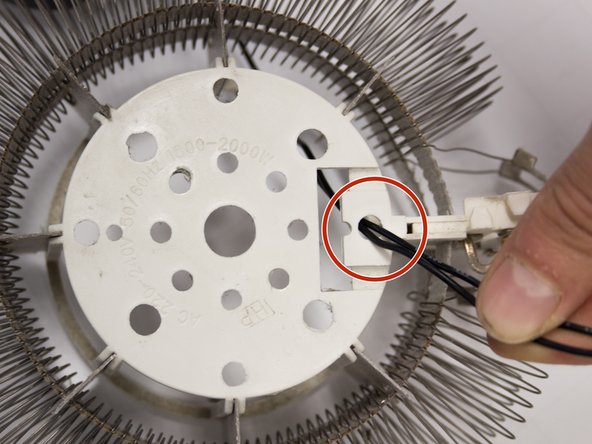
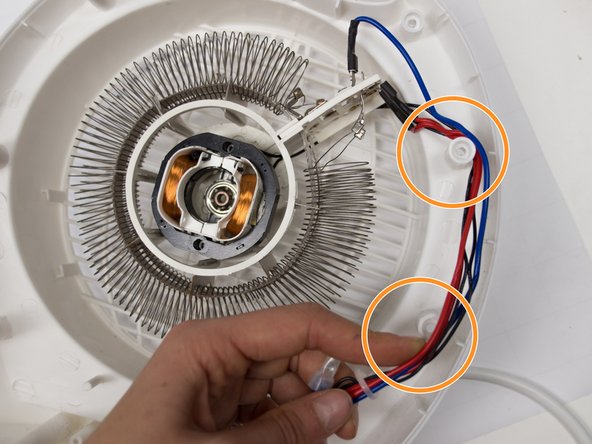
Remove the black wire from its plastic support piece.
-
-
-
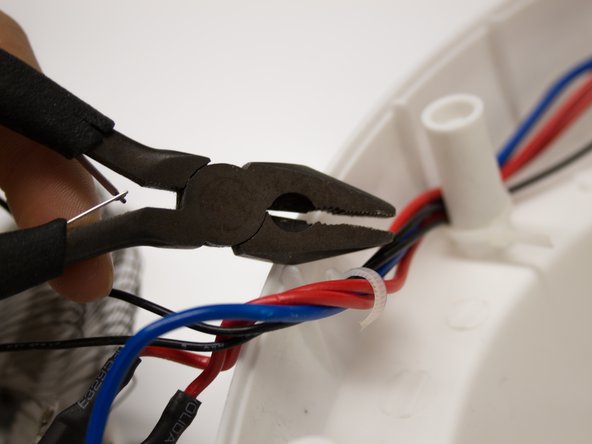
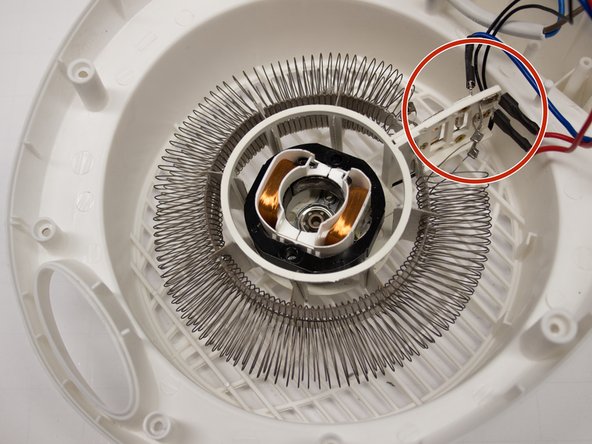
Remove the tie wraps around the wires to allow some space to reach the electro motor.
-
-
-
-
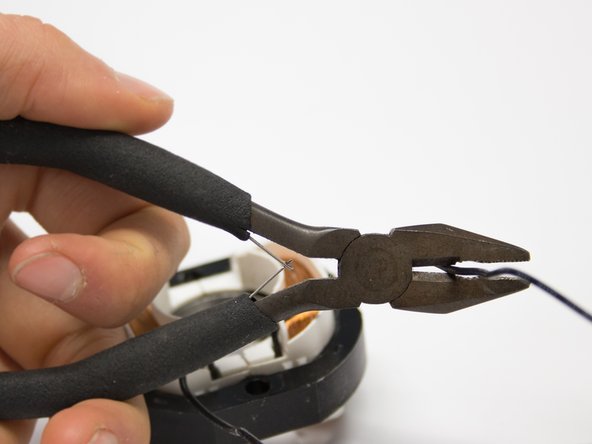
Use pliers to snip the black wires.
-
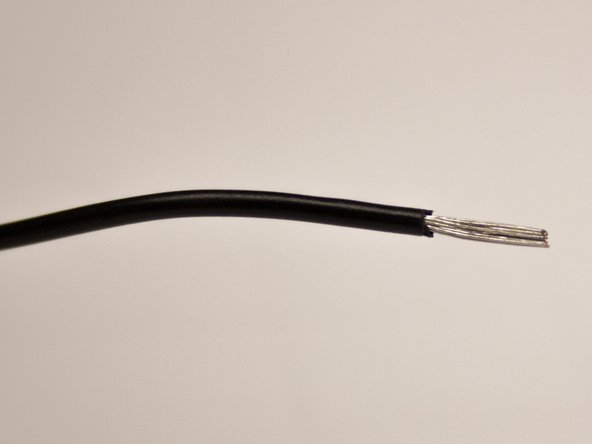
Use a wire stripper to remove the plastic cable housing and reveal the electrical threads.
-
-
-
Thread the wire connected to the new electro motor through the right hole in the pastic motor housing.
-
-
-
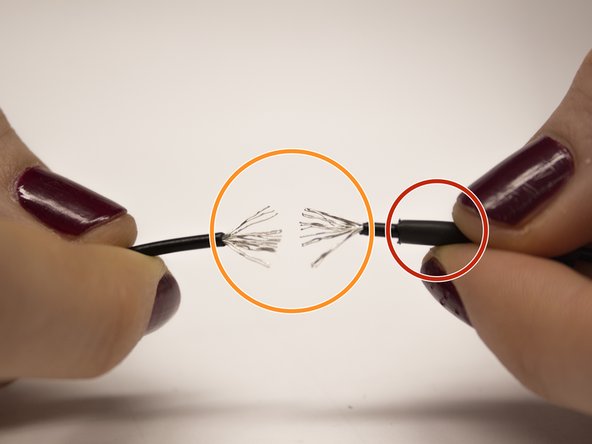
Lay the heat shrink upon one of the wire halves.
-
Feather apart the electric wire on both halves.
-
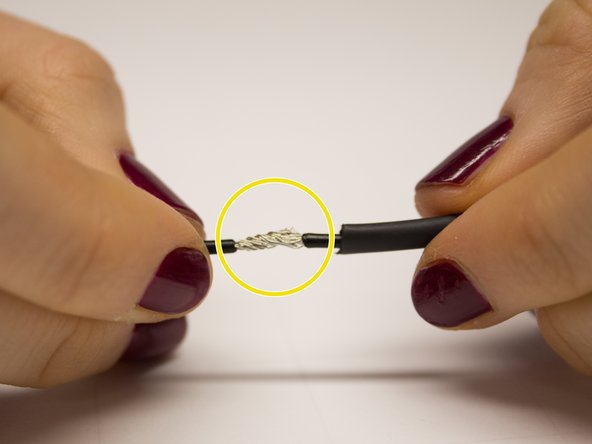
Weave together the wiring of the two halves so they create one wire.
-
Shove the heat shrink over the woven electric wire.
-
Use a heater such as a blowdryer or lighter to warm up the heat shrink and seal the wire halves.
-
-
-
Place the heating element back in the housing, making sure the plastic part where the cables are connected is placed on the housing without holes.
-
Make sure the wires are stored in the right place.
-
-
-
Flip over the housing of the fan to reveal the bottom of the housing.
-
Place the two screws into the holes on the rear side of the housing.
-
Place the heating element over the screws.
-
Fasten the screws to secure the heating element in place.
-
-
-
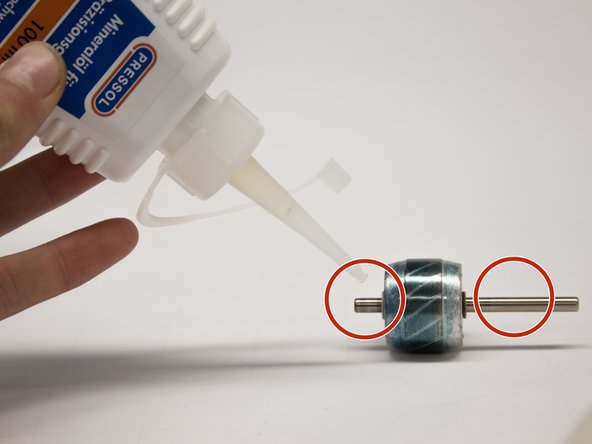
Apply lubricant to the axle, we used mineral oil from “Pressol”.
-
Place the axle in the middle of the engine
-
-
-
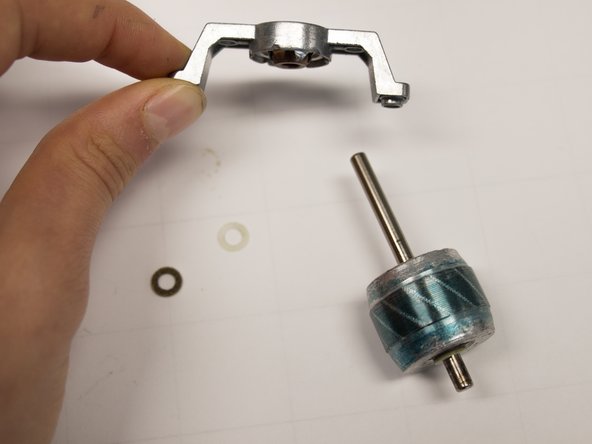
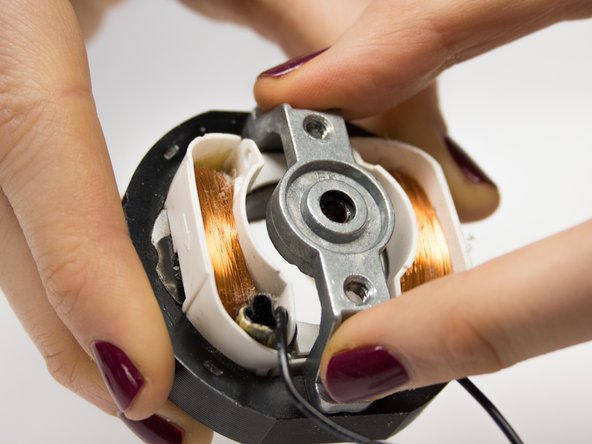
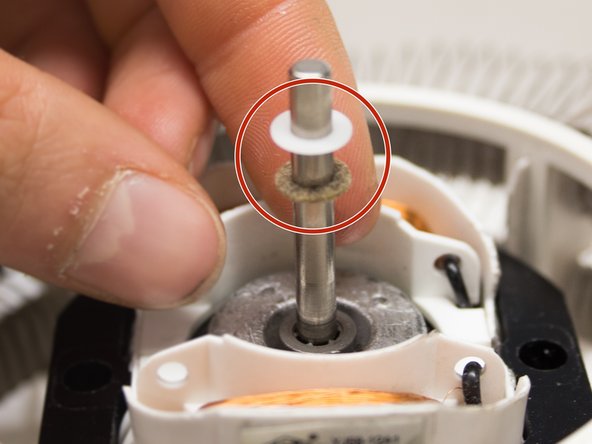
Place the felt ring on the axle and the plastic ring on top of it.
-
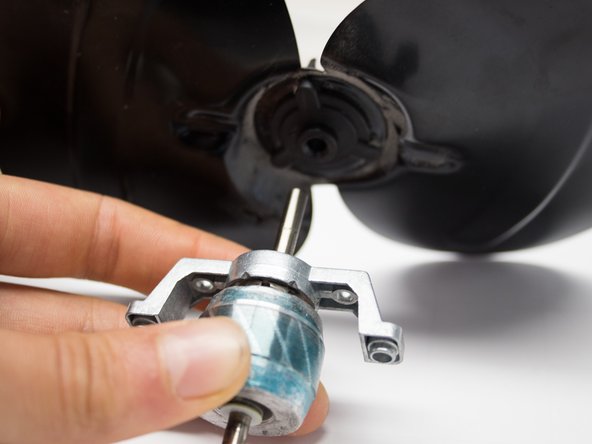
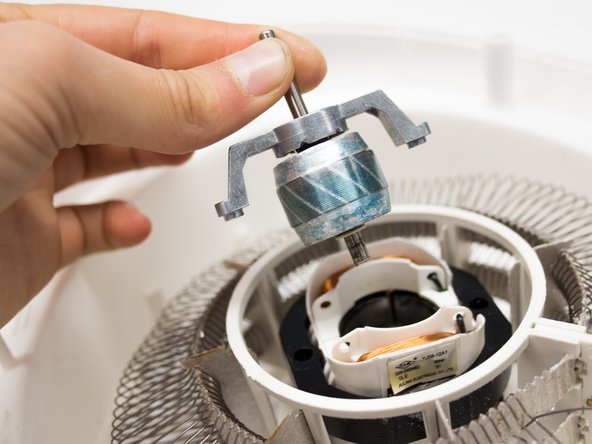
Place the axle bridge on the axle.
-
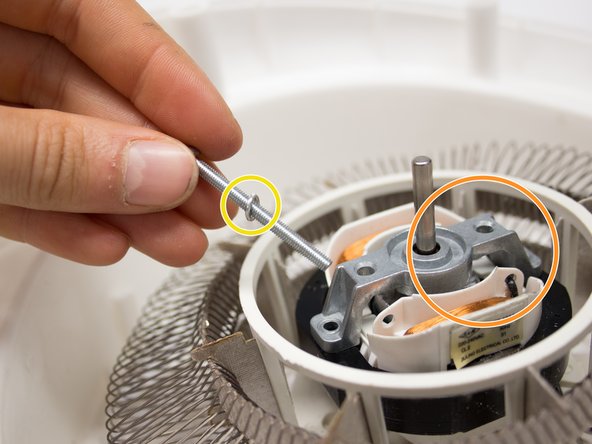
Place the small metal ring over the longest screw.
-
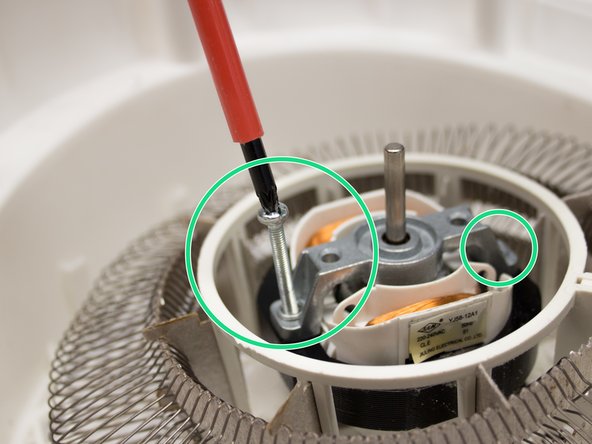
Secure the parts in place with the two screws on either side using a Phillips screwdriver (1x75).
-


To reassemble your device, follow these instructions in reverse order.
To reassemble your device, follow these instructions in reverse order.
Отменить: Я не выполнил это руководство.
3 участников успешно повторили данное руководство.
Команда

Delft University of Technology, Team S1-G1, Flipsen Spring 2017 Участник Delft University of Technology, Team S1-G1, Flipsen Spring 2017
TUD-FLIPSEN-S17S1G1
3 членов
Автор 1 руководств