Введение
Replacing the capacitors on the power and/or the main board may fix issues like the monitor not powering on, the screen flickering on powering etc.
Выберете то, что вам нужно
-
-
Before you begin, be sure to unplug the device from the outlet.
-
First of all, you need to unscrew the 4 screws holding the stand. After that the 4 screws holding the back panel, they are located in the corners of the device (only the top ones are shown in the picture).
-
Second, you need to pry the plastic grey basel on the front of the monitor. There are several clips holding everything together.
-
Also after removing the basel it might be a good idea to give the screen a good clean.
-
-
-
First of all, disconnect all the connectors (5 marked with arrows.)
-
Second, remove the 4 acrews holding the bracket, marked with blue. (Also there might be some aluminum tape holding the covers, just rip it off, you wont need it for reassembly)
-
Third, remove the 4 screws covering the boards, marked with red.
-
-
-
-
After opening the cover, remove the 4 screws holding the power board and check for busted capacitors. (You might need to disconnect the connector, it might be easier for you to work)
-
In my case I had to change the 7 capacitors marked in red (the picture is after the change).
-
You can always put higher voltage (V) rated capacitors (if you have the space), but dont change the farad (F) rating.
-
-
-
Remove the 3 screws holding the main board and disconnect the 2 connectors
-
Unscrew the monitor connector stands so you can remove the board.
-
Flip the board and inspect the capacitors. In my case they were all fine (except the one marked in blue) and the monitor was working after I changed the capacitors on the power board, but yours may be different.
-
-
-
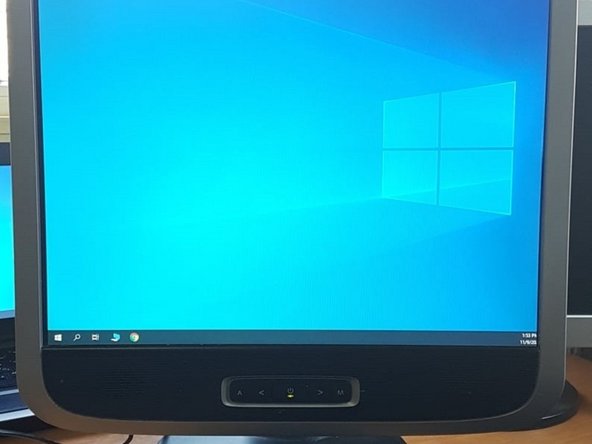
After putting everything back together, the monitor was working once again. I tested both display ports and the AUX port.
-
If fixing the capacitors didnt resolve your problem, please leave a comment.
-
Thank you for following my guide and I hope it helped you!
-


To reassemble your device, follow these instructions in reverse order.
To reassemble your device, follow these instructions in reverse order.
Отменить: Я не выполнил это руководство.
2 участников успешно повторили данное руководство.
