Введение
For this volume technique, you have to open the speaker.
To do that follow the steps in our Battery replacement guide.
This speaker is small, and everything is in one space, so when you open it you should see the motherboard alongside the battery. After you open it, you should be able to slide out the motherboard that is placed vertically. Just make sure to remove it gently. After removal, you should be able to see the motherboard with 4 buttons. These buttons are the same as you press from the outside, but they should be easier to press and might be able to fix the problem if it is not working from the outside.
Выберете то, что вам нужно
-
-
Remove the 4 circles from the wireless speaker's back using the metal spudger. Try to get under the circle using force and pull it out little by little.
-
-
-
Remove the four 1.6mm Philips screw #1 with a mahi kit driver. Rotate the driver counter clockwise to remove the nail.
-
-
-
-
Remove the cover of the wireless speaker using the metal spudger. Don't use much force to remove it.
-
-
-
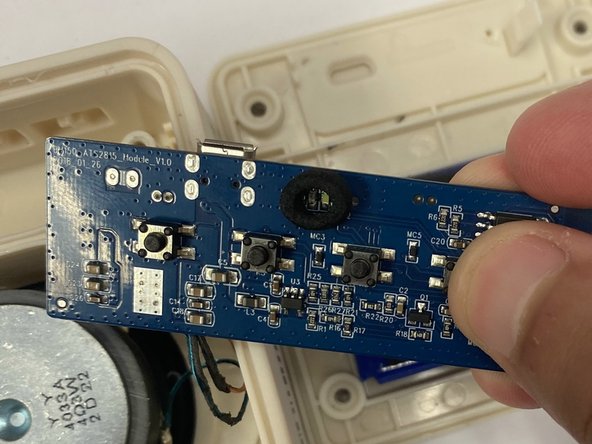
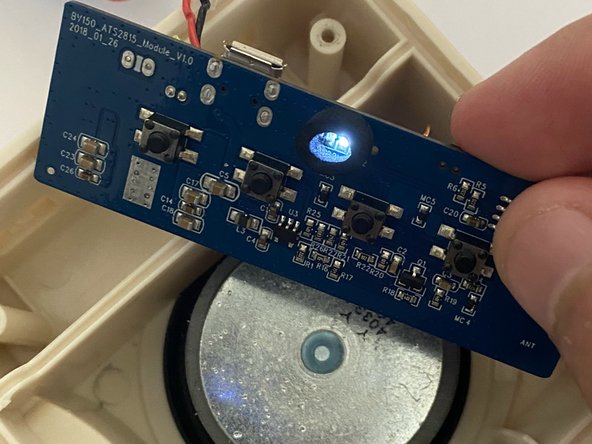
Remove the motherboard. Hold the motherboard from the right corner. Turn the motherboard facing you. Press and hold the button all the way on the right of the motherboard. A light should turn on, which means the speaker is on.
-
-
-
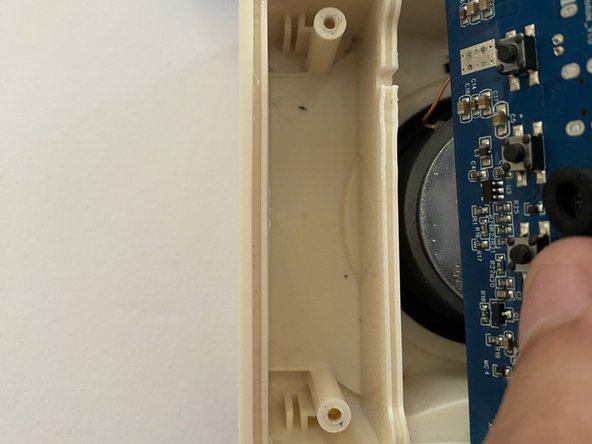
Press the second button all the way on the left, and keep pressing it until you are happy with how loud the volume is.
-
-
-
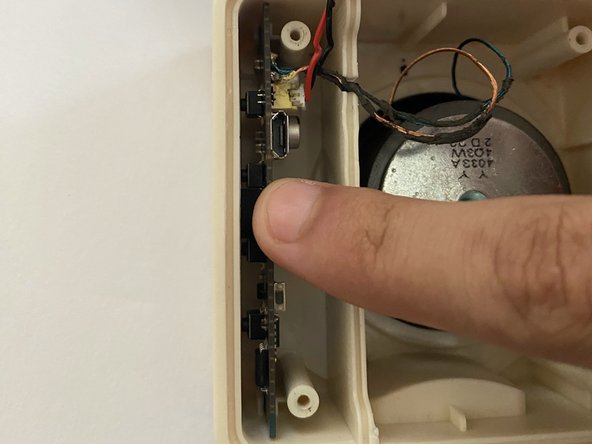
Once you are done using the speaker, press and hold the button all the way on the right to turn it off. The light will go away and that's when the speaker will be off. Lastly place the motherboard back into its place through those skinny lines.
-


After taking out the motherboard and fixing the buttons, you should be able to slide the motherboard back into the slot. After you should be able to put back on the top and reassemble your device.
After taking out the motherboard and fixing the buttons, you should be able to slide the motherboard back into the slot. After you should be able to put back on the top and reassemble your device.

Команда

CSU Los Angeles, Team 5-4, Adachi Fall 2022 Участник CSU Los Angeles, Team 5-4, Adachi Fall 2022
CSULA-ADACHI-F22S5G4
5 членов
Автор 2 руководств
5 Комментариев
I think this guide is pretty good, a recommendation I have would maybe be more specific when symbolizing some of the steps (with circles/ arrows). An example would be on step 4, so that the user knows exactly which button to press.
Thank you, sounds like a great recommendation.
One image was not very clear because the finger was taking up the frame too much.
The guide is great overall, I'd recommend that you space out or separate the instructions on steps 4 and 6 (they feel too cluttered and could be more appealing to look at). Besides that, it's a great guide.
Thank you for your feedback!