Перейти к основному содержанию

Hoover T-Series WindTunnel Pet UH30310 Vacuum Belt Replacement

Выберете то, что вам нужно

  1. Hoover T-Series WindTunnel Pet UH30310 Vacuum Belt Replacement, Brush: шаг 1, изображение 1 из 2 Hoover T-Series WindTunnel Pet UH30310 Vacuum Belt Replacement, Brush: шаг 1, изображение 2 из 2
    • Place the vacuum on its back.

    • On the bottom right side, push the red lever to the left.

    • Remove the plastic cover.

  2. Hoover T-Series WindTunnel Pet UH30310 Vacuum Belt Replacement: шаг 2, изображение 1 из 3 Hoover T-Series WindTunnel Pet UH30310 Vacuum Belt Replacement: шаг 2, изображение 2 из 3 Hoover T-Series WindTunnel Pet UH30310 Vacuum Belt Replacement: шаг 2, изображение 3 из 3
    • Grab the red switch under the brush and push left.

    • Then remove the plastic base plate.

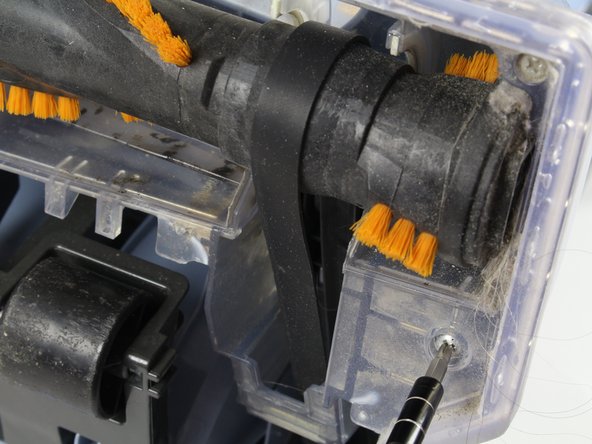
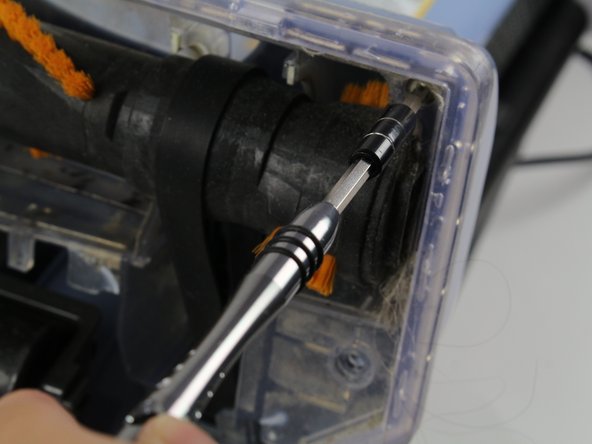
  3. Hoover T-Series WindTunnel Pet UH30310 Vacuum Belt Replacement: шаг 3, изображение 1 из 3 Hoover T-Series WindTunnel Pet UH30310 Vacuum Belt Replacement: шаг 3, изображение 2 из 3 Hoover T-Series WindTunnel Pet UH30310 Vacuum Belt Replacement: шаг 3, изображение 3 из 3
    • Use a Phillips #1 screwdriver to remove the two screws on the right side of the brush.

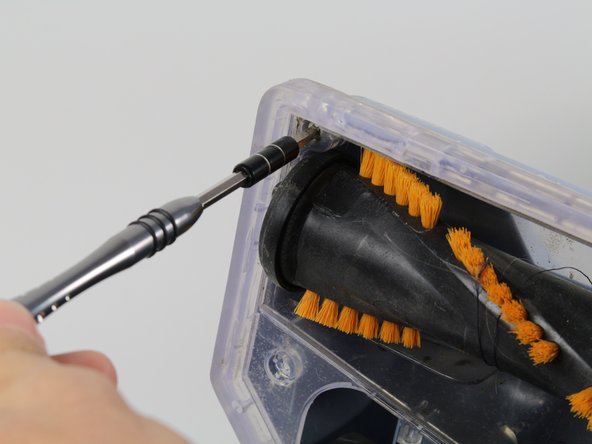
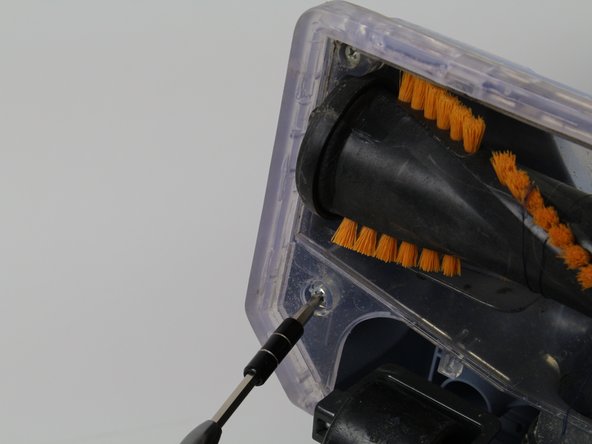
  4. Hoover T-Series WindTunnel Pet UH30310 Vacuum Belt Replacement: шаг 4, изображение 1 из 3 Hoover T-Series WindTunnel Pet UH30310 Vacuum Belt Replacement: шаг 4, изображение 2 из 3 Hoover T-Series WindTunnel Pet UH30310 Vacuum Belt Replacement: шаг 4, изображение 3 из 3
    • Remove the two screws on the left side of the brush.

  5. Hoover T-Series WindTunnel Pet UH30310 Vacuum Belt Replacement: шаг 5, изображение 1 из 3 Hoover T-Series WindTunnel Pet UH30310 Vacuum Belt Replacement: шаг 5, изображение 2 из 3 Hoover T-Series WindTunnel Pet UH30310 Vacuum Belt Replacement: шаг 5, изображение 3 из 3
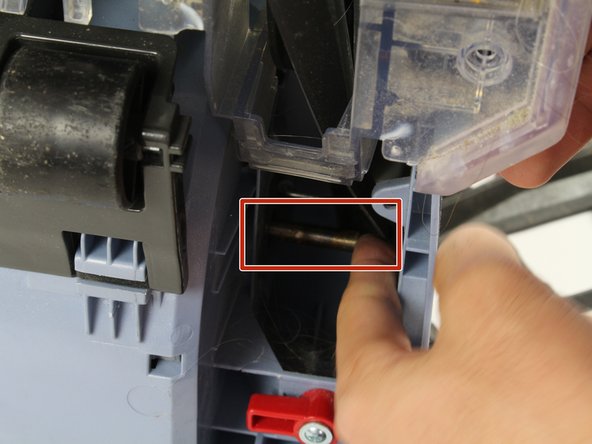
    • Pull the clear plastic away from the head of the vacuum.

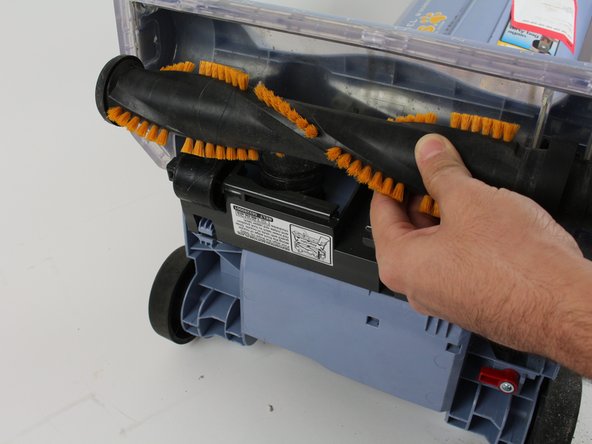
    • Slide the belt off the metal rod with your finger.

    • Pull the brush free.

  6. Hoover T-Series WindTunnel Pet UH30310 Vacuum Belt Replacement, Vacuum Belt: шаг 6, изображение 1 из 1
    • Removal of the brush will also remove the belt.

Заключение

To reassemble your device, follow these instructions in reverse order.

Erik Ingels

Участник с: 01/18/18

193 Репутация

Автор 2 руководств

Команда

Cal Poly, Team S12-G4, Banghart Winter 2018 Участник Cal Poly, Team S12-G4, Banghart Winter 2018

CPSU-BANGHART-W18S12G4

5 членов

Автор 9 руководств

0 Комментариев

Добавить комментарий

Просмотр статистики:

За последние 24часов: 0

За последние 7 дней: 4

За последние 30 дней: 7

За всё время: 746