Введение
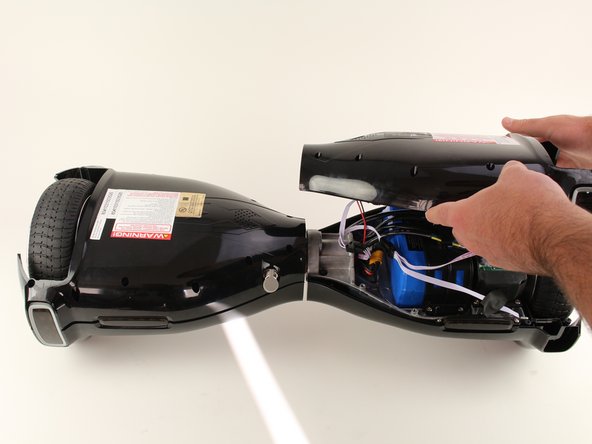
This guide explains how to remove the bottom shell of your hoverboard, which will allow you to gain access to most of the device's internals.
Выберете то, что вам нужно
-
-
Remove the ten 9mm machine screws by using a long Phillips #2 screwdriver to rotate the screws counterclockwise.
-
Remove the twelve 9mm sheet metal screws by using a long Phillips #2 screwdriver to rotate the screws counterclockwise.
-
-
-
Puncture the two black stickers by using the tip of a screwdriver.
-
Remove the two 9mm machine screws by using a long Phillips #2 screwdriver to rotate the screws counterclockwise.
-
-


To reassemble your device, follow these instructions in reverse order.
To reassemble your device, follow these instructions in reverse order.
Команда

Cal Poly, Team S17-G6, White Fall 2018 Участник Cal Poly, Team S17-G6, White Fall 2018
CPSU-WHITE-F18S17G6
4 членов
Автор 7 руководств