Перейти к основному содержанию

How to Clean The R2 and L2 Buttons on a Dualshock 4 CUH-ZCT2 Controller

Выберете то, что вам нужно

  1. How to Clean The R2 and L2 Buttons on a Dualshock 4 CUH-ZCT2 Controller, How to Clean the L2 and R2 Buttons: шаг 1, изображение 1 из 2 How to Clean The R2 and L2 Buttons on a Dualshock 4 CUH-ZCT2 Controller, How to Clean the L2 and R2 Buttons: шаг 1, изображение 2 из 2
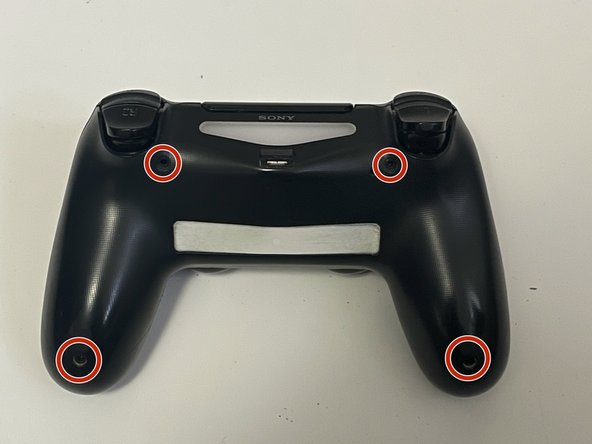
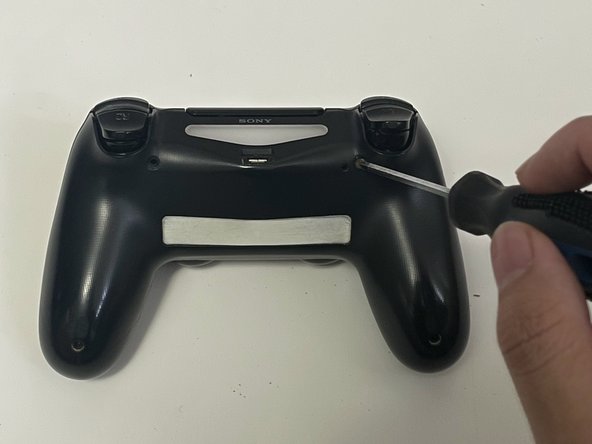
    • Use a Phillips #00 screwdriver to remove the four 6.0 mm screws located on the back of the controller.

  2. How to Clean The R2 and L2 Buttons on a Dualshock 4 CUH-ZCT2 Controller: шаг 2, изображение 1 из 3 How to Clean The R2 and L2 Buttons on a Dualshock 4 CUH-ZCT2 Controller: шаг 2, изображение 2 из 3 How to Clean The R2 and L2 Buttons on a Dualshock 4 CUH-ZCT2 Controller: шаг 2, изображение 3 из 3
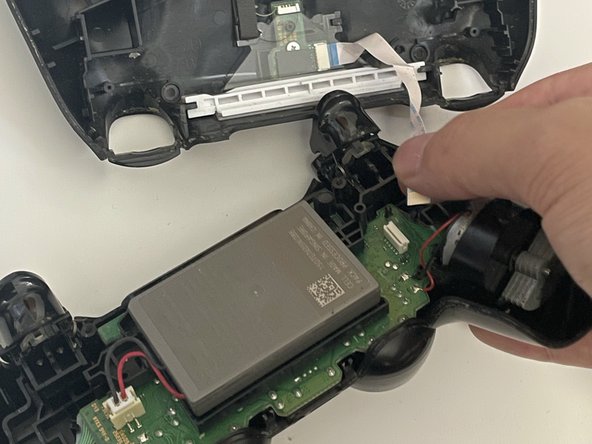
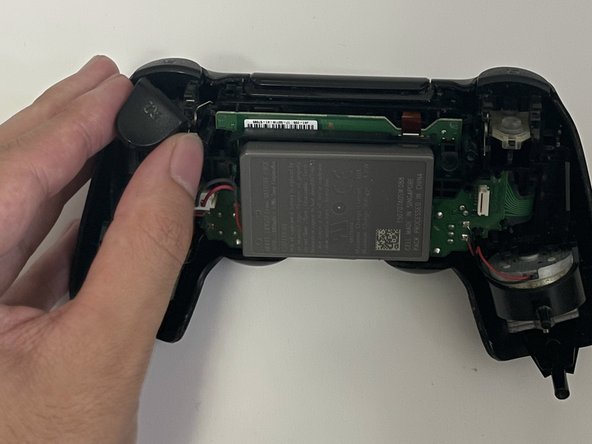
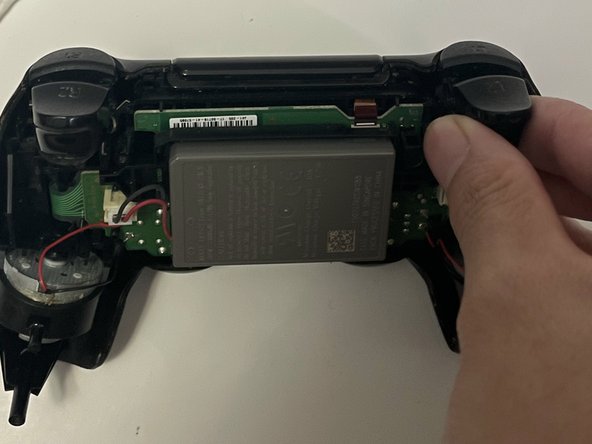
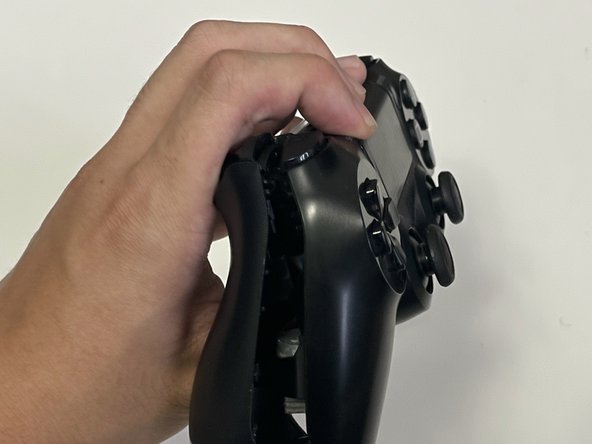
    • Separate the front and the back of the controller by pulling both pieces apart at the same time.

    • Be very careful and gentle when pulling the shells apart because the blue ribbon can become detached and damaged.

  3. How to Clean The R2 and L2 Buttons on a Dualshock 4 CUH-ZCT2 Controller: шаг 3, изображение 1 из 2 How to Clean The R2 and L2 Buttons on a Dualshock 4 CUH-ZCT2 Controller: шаг 3, изображение 2 из 2
    • Carefully unplug the blue ribbon from the body of the controller shell.

  4. How to Clean The R2 and L2 Buttons on a Dualshock 4 CUH-ZCT2 Controller: шаг 4, изображение 1 из 3 How to Clean The R2 and L2 Buttons on a Dualshock 4 CUH-ZCT2 Controller: шаг 4, изображение 2 из 3 How to Clean The R2 and L2 Buttons on a Dualshock 4 CUH-ZCT2 Controller: шаг 4, изображение 3 из 3
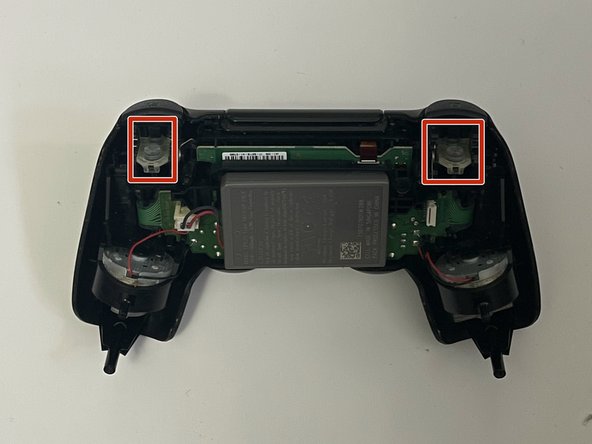
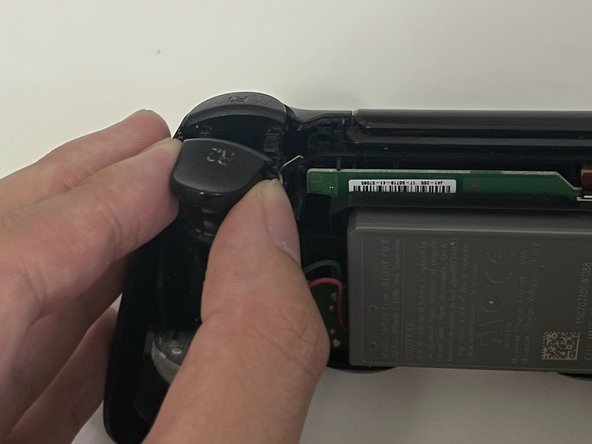
    • Remove the left and right triggers by wiggling the buttons sideways until they are completely off.

  5. How to Clean The R2 and L2 Buttons on a Dualshock 4 CUH-ZCT2 Controller: шаг 5, изображение 1 из 2 How to Clean The R2 and L2 Buttons on a Dualshock 4 CUH-ZCT2 Controller: шаг 5, изображение 2 из 2
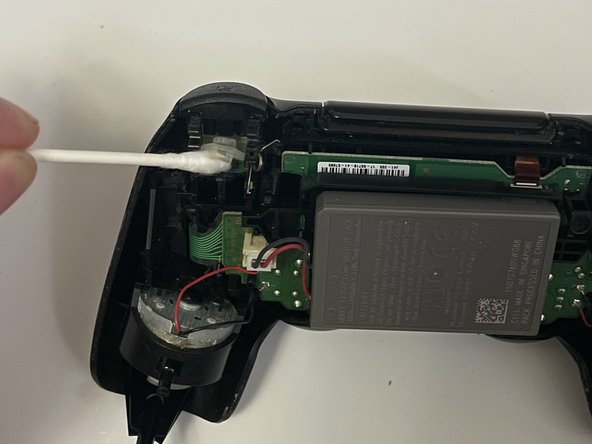
    • Take the Q-tip and soak it into the isopropyl alcohol.

    • Clean around the trigger button area as well as under and above the rubber padding.

  6. How to Clean The R2 and L2 Buttons on a Dualshock 4 CUH-ZCT2 Controller: шаг 6, изображение 1 из 3 How to Clean The R2 and L2 Buttons on a Dualshock 4 CUH-ZCT2 Controller: шаг 6, изображение 2 из 3 How to Clean The R2 and L2 Buttons on a Dualshock 4 CUH-ZCT2 Controller: шаг 6, изображение 3 из 3
    • Put the L2 and R2 buttons back into place by simply forcing them into position until properly locked.

  7. How to Clean The R2 and L2 Buttons on a Dualshock 4 CUH-ZCT2 Controller: шаг 7, изображение 1 из 2 How to Clean The R2 and L2 Buttons on a Dualshock 4 CUH-ZCT2 Controller: шаг 7, изображение 2 из 2
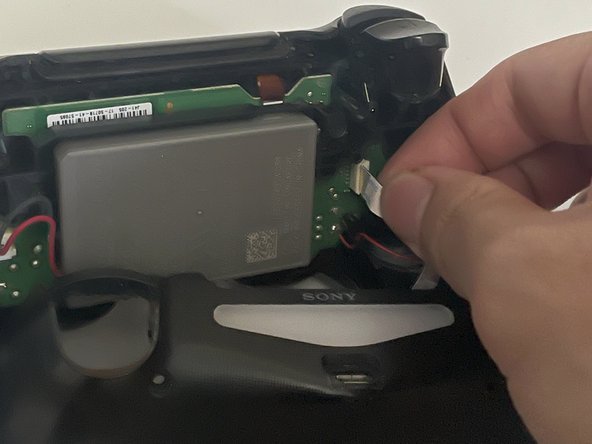
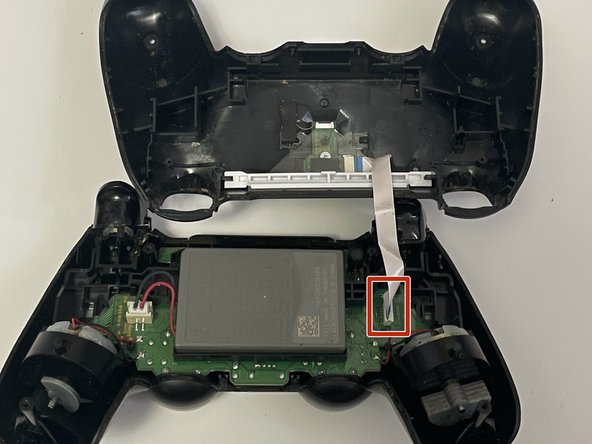
    • Attach the blue ribbon back into its original location so that the two shells of the controller are connected.

  8. How to Clean The R2 and L2 Buttons on a Dualshock 4 CUH-ZCT2 Controller: шаг 8, изображение 1 из 2 How to Clean The R2 and L2 Buttons on a Dualshock 4 CUH-ZCT2 Controller: шаг 8, изображение 2 из 2
    • Put the two shells of the controller together by pushing them together at the same time.

  9. How to Clean The R2 and L2 Buttons on a Dualshock 4 CUH-ZCT2 Controller: шаг 9, изображение 1 из 3 How to Clean The R2 and L2 Buttons on a Dualshock 4 CUH-ZCT2 Controller: шаг 9, изображение 2 из 3 How to Clean The R2 and L2 Buttons on a Dualshock 4 CUH-ZCT2 Controller: шаг 9, изображение 3 из 3
    • Screw the four 6.0mm screws on the back of the controller using the Phillips #00 screwdriver.

Финишная черта

Joseph Cao

Участник с: 09/14/23

169 Репутация

1 руководство автора

Команда

York University, Team 2-5, O'Regan Fall 2023 Участник York University, Team 2-5, O'Regan Fall 2023

YORK-O'REGAN-F23S2G5

1 член

Автор 1 руководств

0 Комментариев

Добавить комментарий

Просмотр статистики:

За последние 24часов: 10

За последние 7 дней: 57

За последние 30 дней: 239

За всё время: 1,222