Введение
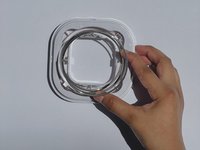
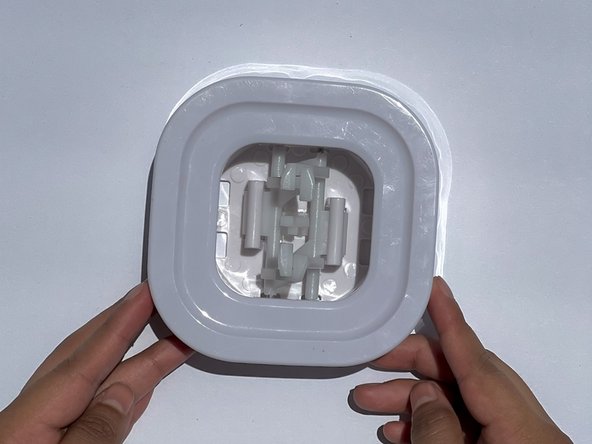
If you find that your OXO POP storage container is jammed or needs a deep cleaning, use this guide to disassemble your container's lid for a thorough cleaning.
If the button on the lid seems to be stuck, then disassembling the lid will restore the lid to its original functionality. Be cautious that inside the lid, there is a spring that might release unexpectedly during the fix. Keep a distance to prevent any injuries. The reassembly process begins in step 4.
Выберете то, что вам нужно
-
-
Twist the bottom piece off by following the directions displayed on the lid.
-
Once inside, remove the outer layer seal from the lid by pulling it straight up.
-
-
-
Flip the lid so the button faces up. Then remove the button from the base of the lid.
-
Separate the interior prongs.
-
-
-
After separating the prongs, the spring and the circular spring cap will separate from the square frame with little force.
-
With some force, remove the two prongs from the base of the lid by snapping them out of the bracket. Be careful not to break the bracket's small prongs.
-
The disassembled parts can now be cleaned with warm, soapy water.
-
-
-
-
To reassemble the lid, start by connecting the outer layer piece with the base piece. Grooves in the parts will only allow them to be connected in the correct way.
-
Place the spring in the center of the lid within the circular outline.
-
-
-
Take the small interior circle and place it on top of the spring.
-
Use force to push this piece down. Make sure the slots align.
-
-
-
Twist the bottom piece back on the lid.
-
Reattach the button to the center of the lid.
-
Отменить: Я не выполнил это руководство.
2 человек успешно провели ремонт по этому руководству.
1 Комментарий к руководству
Excellent guide, a set I got came with the metal pins of the prongs unseated from their holes, causing the lid to operate incorrectly. I was able to re-seat them and get the lid working with the help of this.


