Перейти к основному содержанию

How to Fill a Crack in a Glass Container

Выберете то, что вам нужно

  1. How to Fill a Crack in a Glass Container, How to Fill a Crack in a Glass Container: шаг 1, изображение 1 из 3 How to Fill a Crack in a Glass Container, How to Fill a Crack in a Glass Container: шаг 1, изображение 2 из 3 How to Fill a Crack in a Glass Container, How to Fill a Crack in a Glass Container: шаг 1, изображение 3 из 3
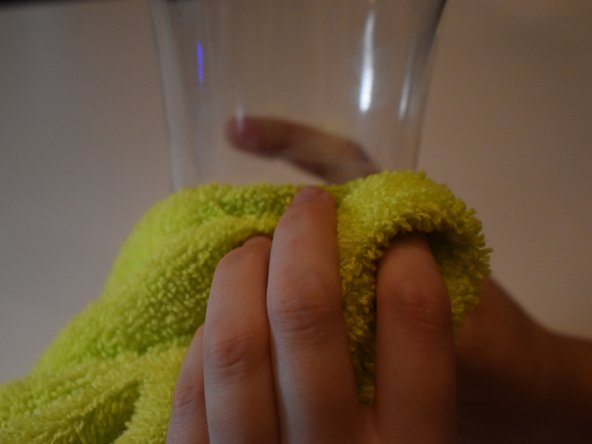
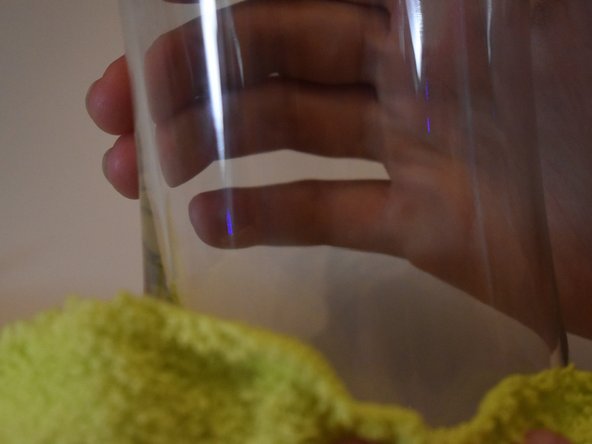
    • Clean the jar or vase with dish soap to remove all dust, fingerprints and dirt.

    • Using a tool such as a sponge or brush is optional but will work better than just your hands.

    • Dry the glass using a paper towel, and allow it time to completely dry.

  2. How to Fill a Crack in a Glass Container: шаг 2, изображение 1 из 3 How to Fill a Crack in a Glass Container: шаг 2, изображение 2 из 3 How to Fill a Crack in a Glass Container: шаг 2, изображение 3 из 3
    • Be sure to follow the directions on the specific two part epoxy product you’re using.

    • Mix the two-part epoxy on a piece of cardboard or a disposable plate.

    • Use a toothpick to mix the epoxy for at least 20 seconds.

    • After the epoxy is mixed, be ready to use it immediately, as it will quickly thicken and harden. Oftentimes you will have between 5 -10 minutes of working time before the epoxy is too thick and hard to use.

  3. How to Fill a Crack in a Glass Container: шаг 3, изображение 1 из 3 How to Fill a Crack in a Glass Container: шаг 3, изображение 2 из 3 How to Fill a Crack in a Glass Container: шаг 3, изображение 3 из 3
    • Apply the epoxy to the crack in the glass using a putty knife. Work the adhesive back and forth across the crack, pressing the epoxy into the damaged area.

    • Be sure to fully cover the damaged area.

    • Ensure you use enough pressure to get the epoxy into the crack but not too pressure that could further crack the glass.

    • Allow the epoxy to cure for at least 5 minutes.

  4. How to Fill a Crack in a Glass Container: шаг 4, изображение 1 из 3 How to Fill a Crack in a Glass Container: шаг 4, изображение 2 из 3 How to Fill a Crack in a Glass Container: шаг 4, изображение 3 из 3
    • Remove the excess epoxy with a razor blade.

    • Be careful when using the razor blaze to ensure you do not injure yourself or further crack the glass

    • Wipe the crack with a clean rag moistened with acetone to remove any additional epoxy raised above the crack.

    • Allow the glass to cure for at least 24 hours.

  5. How to Fill a Crack in a Glass Container: шаг 5, изображение 1 из 3 How to Fill a Crack in a Glass Container: шаг 5, изображение 2 из 3 How to Fill a Crack in a Glass Container: шаг 5, изображение 3 из 3
    • After 24 hours, polish the newly repaired glass with a clean rag and glass cleaner.

Заключение

Thanks for following our guide! We hope it was simple and helped you to reduce your amount of waste!!

Еще один человек закончил это руководство.

M Keating

Участник с: 07/05/23

148 Репутация

1 руководство автора

Команда

Austin Community College, Team 1-3, Meigs Summer 2023 Участник Austin Community College, Team 1-3, Meigs Summer 2023

AUSTINCC-MEIGS-SU23S1G3

1 член

Автор 1 руководств

0 Комментариев

Добавить комментарий

Просмотр статистики:

За последние 24часов: 2

За последние 7 дней: 37

За последние 30 дней: 199

За всё время: 698