Введение
Use this guide to install a heatsink onto an M.2 2280 blade-style SSD.
If you plan on using your SSD in a PlayStation 5, make sure it’s compatible with Sony’s specifications.
Выберете то, что вам нужно
-
-
Use a pair of tweezers to peel one side of protective film away from one of the thermal pads.
-
-
-
Align the exposed side of the thermal pad with the bottom tray section of the heatsink assembly.
-
Lay the thermal pad down so it covers the tray evenly.
-
Use your finger to lightly press down on the thermal pad to adhere it to the surface.
-
-
-
Use a pair of tweezers to peel one side of protective film away from the remaining thermal pad.
-
-
-
-
Align the exposed side of the thermal pad with the top section of the heatsink.
-
Lay the thermal pad down so it covers the top section evenly.
-
Use your finger to lightly press down on the thermal pad to adhere it to the surface.
-
-
-
Use a pair of tweezers to remove the plastic liner from the thermal pad in the tray.
-
-
-
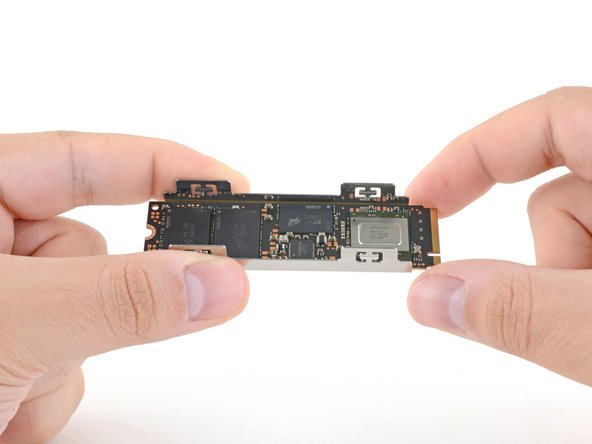
Lay the M.2 SSD into the tray, the side with the most chips facing up.
-
-
-
Use a pair of tweezers to remove the plastic liner from the thermal pad on the heatsink's top section.
-
-
-
Align the top heatsink section over the SSD and the tray.
-
Firmly press the two halves together. You'll feel it "snap" into place.
-
-
-
Make sure that the heatsink is close to the screw cutout but doesn't overhang it.
-
If you're having trouble installing your SSD, you may have to slightly adjust the heatsink's position.
-
Use your fingers to slide the SSD between the two halves of the heatsink assembly until fitment is just right.
-


Take your e-waste to an R2 or e-Stewards certified recycler.
Installation didn’t go as planned? Check out our Computer Hardware Answers community or PlayStation 5 Answers community for troubleshooting help.
Take your e-waste to an R2 or e-Stewards certified recycler.
Installation didn’t go as planned? Check out our Computer Hardware Answers community or PlayStation 5 Answers community for troubleshooting help.
Отменить: Я не выполнил это руководство.
7 участников успешно повторили данное руководство.


2 Комментариев
If your SSD has a big "warranty void if removed" sticker over the chips, do you have to remove it? Or can you stick the thermal pad over that sticker?
You can leave the sticker on the SSD! Just make sure to remove any adhesive liners on the thermal pad.