Перейти к основному содержанию

How to Remove Wax and Blockage from Starkey Halo RIC Aid Replacement

Выберете то, что вам нужно

  1. How to Remove Wax and Blockage from Starkey Halo RIC Aid Replacement, Starkey Halo RIC Aid Wax Guard: шаг 1, изображение 1 из 3 How to Remove Wax and Blockage from Starkey Halo RIC Aid Replacement, Starkey Halo RIC Aid Wax Guard: шаг 1, изображение 2 из 3 How to Remove Wax and Blockage from Starkey Halo RIC Aid Replacement, Starkey Halo RIC Aid Wax Guard: шаг 1, изображение 3 из 3
    • Detach the receiver from Starkey Halo Receiver-In-Canal hearing aid.

    • Place the receiver with its small hole away from the surface.

    • This is assuming that the problem lies within the receiver (wax and other blockage).

    • If you know that there is no problem with the receiver and want to clean the microphone, move on to Step 4.

  2. How to Remove Wax and Blockage from Starkey Halo RIC Aid Replacement: шаг 2, изображение 1 из 3 How to Remove Wax and Blockage from Starkey Halo RIC Aid Replacement: шаг 2, изображение 2 из 3 How to Remove Wax and Blockage from Starkey Halo RIC Aid Replacement: шаг 2, изображение 3 из 3
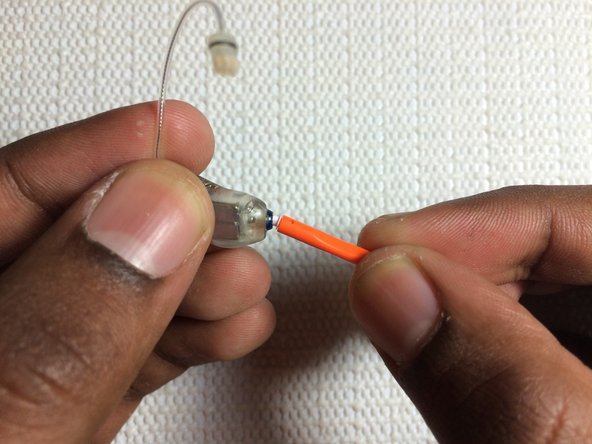
    • Take the Hear Clear Receiver wax guard and carefully insert the orange end into the receiver’s hole.

    • The orange end is used to remove the old wax guard, and the white end consists of the new wax guard.

    • Rotate the wax guard continuously while inserting it, so as to gain a firm grip on the old wax guard.

    • There will be wax in the receiver that might fall out while you rotate the orange end, so make sure you perform this action with newspaper under.

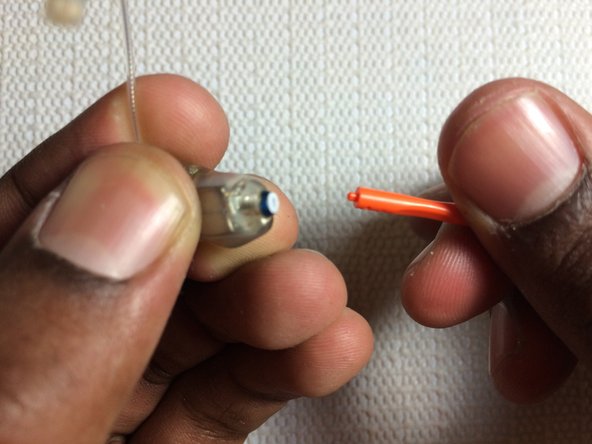
    • Gently pull the stick out.

    • It should have the receiver’s old wax guard attached to it.

  3. How to Remove Wax and Blockage from Starkey Halo RIC Aid Replacement: шаг 3, изображение 1 из 3 How to Remove Wax and Blockage from Starkey Halo RIC Aid Replacement: шаг 3, изображение 2 из 3 How to Remove Wax and Blockage from Starkey Halo RIC Aid Replacement: шаг 3, изображение 3 из 3
    • Rotate the stick 180 degrees with the clean wax guard facing the receiver.

    • Carefully insert the stick inside the receiver, and twist it.

    • Gently pull the stick off.

    • The clean white wax guard should have latched itself onto the receiver.

    • By replacing the receiver’s old wax guard with a new one, you have effectively removed all wax and blockage from the receiver.

  4. How to Remove Wax and Blockage from Starkey Halo RIC Aid Replacement: шаг 4, изображение 1 из 3 How to Remove Wax and Blockage from Starkey Halo RIC Aid Replacement: шаг 4, изображение 2 из 3 How to Remove Wax and Blockage from Starkey Halo RIC Aid Replacement: шаг 4, изображение 3 из 3
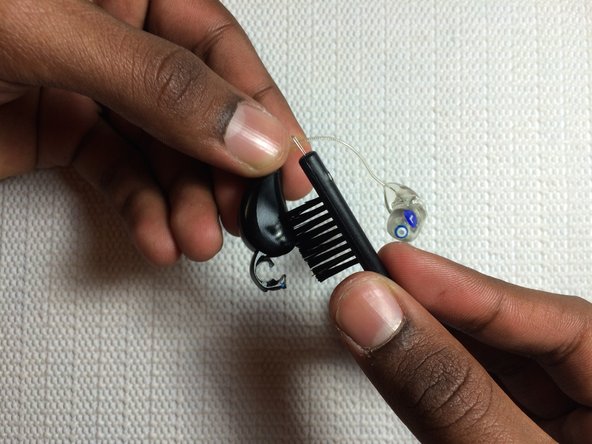
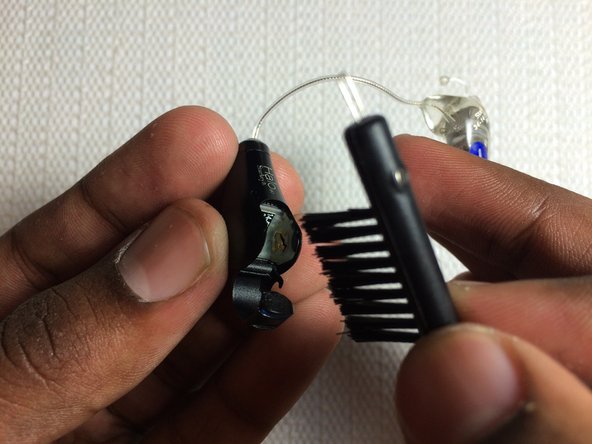
    • Carefully plug the clean receiver back into the black microphone.

    • Proceed to clean the battery holder with the small brush.

    • This clears any possible debris or moisture.

Заключение

To do this with your other hearing aid, follow the same steps written above. If there is no noticeable change in the RIC Receiver, it is recommended to check for electrical or mechanical defects in the microphone.

5 участников успешно повторили данное руководство.

Ashwin Ramanathan

Участник с: 04/08/15

227 Репутация

1 руководство автора

Команда

Cal Poly, Team 30-4, Green Spring 2015 Участник Cal Poly, Team 30-4, Green Spring 2015

CPSU-GREEN-S15S30G4

5 членов

Автор 6 руководств

0 Комментариев

Добавить комментарий

Просмотр статистики:

За последние 24часов: 1

За последние 7 дней: 3

За последние 30 дней: 13

За всё время: 5,193