Введение
This guide aims to help with an issue gunpla builders often face as they build more figures—loose joints that make their figure's limbs fall off. This guide will show you how to repair loose joints that may occur due to age or a flaw in its design. Although it isn't dangerous, a few warnings will pop up when applying super glue to a specific joint. So, take your time and find what parts need attention.
Выберете то, что вам нужно
-
-
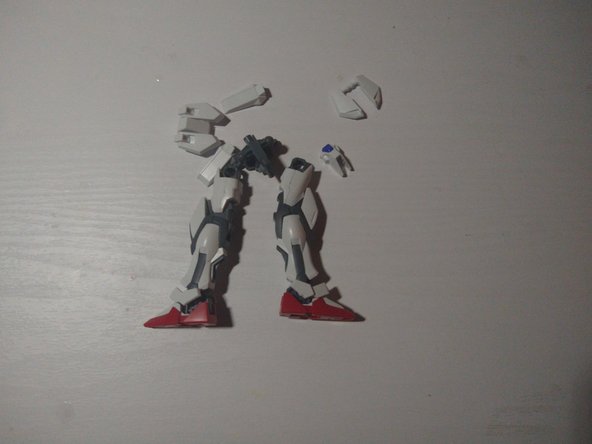
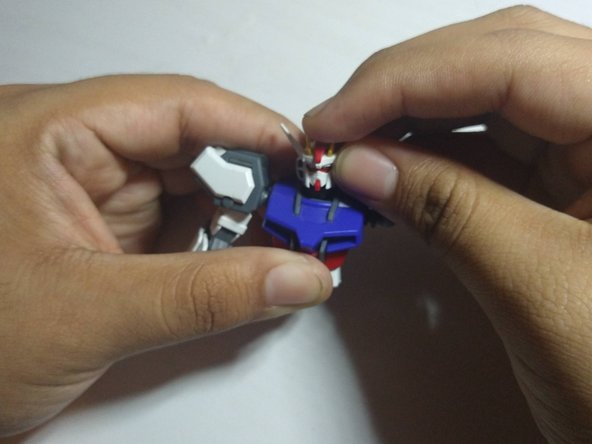
With any model you own, find the loose part. It can be the head or arm moving too loosely or a part of the arm or leg that falls off too much.
-
-
-
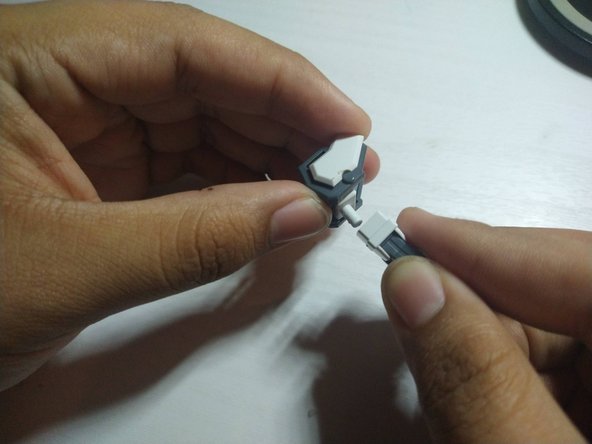
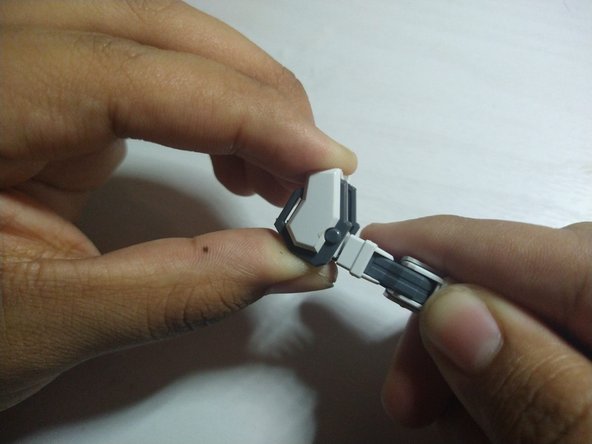
If you have a loose arm, you’ll have to take it apart to access the areas where you need to apply glue.
-
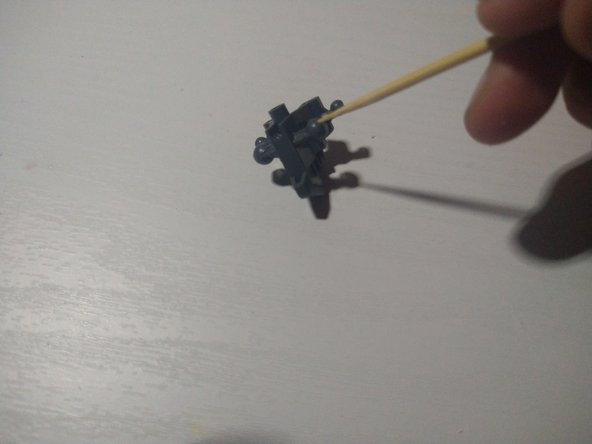
Using a bamboo stick (or any stick), apply super glue to the tip to spread it evenly against the ball or peg joint.
-
After you finish, wait for it to dry before you connect any parts to it.
-
-
-
-
Make sure to add a small layer of glue to the peg joint and spread it evenly around the peg area.
-
Once it's dried, reassemble the arm back together.
-
-
-
Detach the legs from the waist and disassemble them to access the ball joint.
-
Apply a small amount of glue to the ball joint and spread it evenly.
-
Once it's dry, reattach the legs and reassemble the waist. Start to move the joint around to see how it feels.
-
-
-
For the head, you’ll need to remove it to expose the joint.
-
Apply a small amount of glue to it and spread it evenly.
-
Once it's dry, reattach the head to the joint and move it around to see how it feels.
-


Once you're done reassemble your model and try to move the joints around to see if you need to fix anything else.
Once you're done reassemble your model and try to move the joints around to see if you need to fix anything else.
Отменить: Я не выполнил это руководство.
2 участников успешно повторили данное руководство.
Команда

CSU Los Angeles, Team 4-12, Kershman Fall 2023 Участник CSU Los Angeles, Team 4-12, Kershman Fall 2023
CSULA-KERSHMAN-F23S4G12
1 член
Автор 1 руководств