Введение
Do you have a favorite belt? One that has been with you for ages but has become separated at the area of the buckle? This Fast Fix will guide you through returning your favorite belt back to proper working condition using an adhesive that works with leather.
This Fast Fix repair guide focuses on a technique that can be applied to a generic full grain leather belt or other similar full grain leather items that are joined together. Some of these leather items are sewn together originally, but over time as they are worn the leather stretches so the original thread holes may not line up to be re-sewn. Using an adhesive that is rated for use on leather can restore the item back to a usable condition.
When completing this Fast Fix, always pay attention to all warnings and cautions on the label of store-bought leather cleaner and leather adhesive. These chemicals often have harmful vapors and are flammable so make sure to complete this project in a well-ventilated area away from heat sources and sparks.
Let's get started!
Выберете то, что вам нужно
-
-
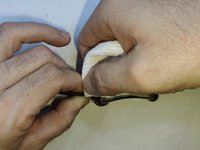
Use a small soft bristled brush to remove dirt and debris from surfaces to be joined together with adhesive.
-
-
-
Use a leather cleaner and a clean cloth to clean surfaces to be joined together.
-
-
-
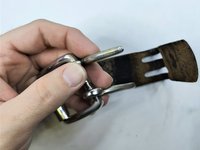
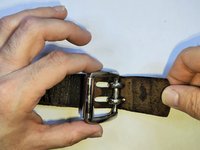
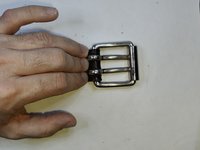
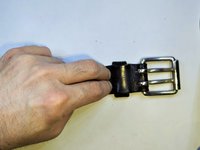
Insert the end of the leather belt into the buckle and fold over the bar holding the prong(s) in place.
-
-
-
-
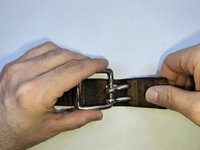
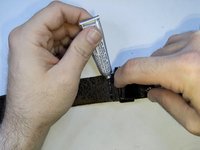
Apply a small amount of your leather adhesive to the leather belt on both sides of the pre-cut holes for the buckle prong(s).
-
-
-
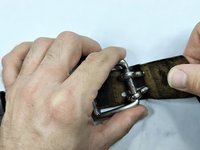
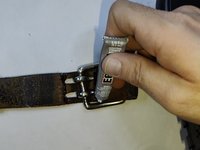
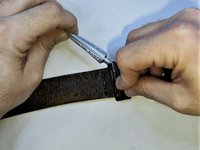
Join the main belt strap and the end of the belt strap together where the leather adhesive was applied.
-
Apply light to medium pressure and hold in place for about two (2) minutes.
-
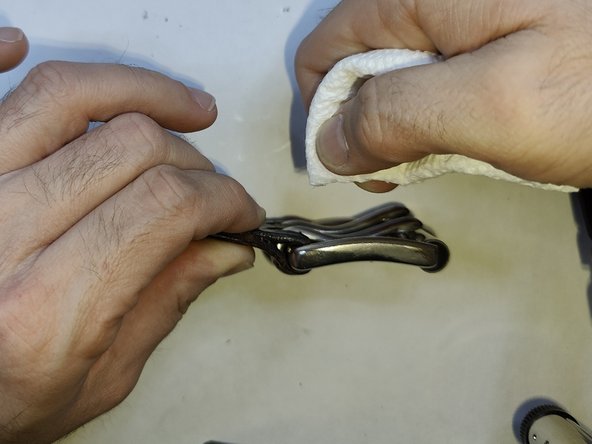
Using a clean cloth, paper towel, or cotton swab, remove any excess adhesive (squeeze-out) from the sides of the joined surfaces.
-
-
-
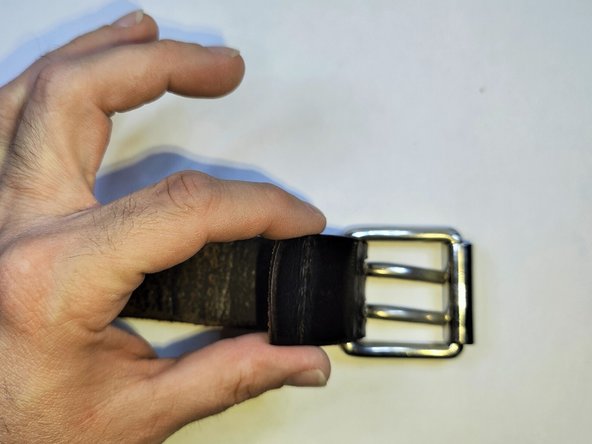
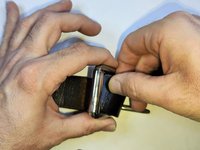
Slide the keeper loop into position near where the location of the joined surfaces.
-
-
-
Apply a small amount of leather adhesive to both surfaces to be joined on the other side of the keeper loop.
-
-
-
Join both surfaces together where the leather adhesive was applied.
-
Apply light to medium pressure and hold in place for about two (2) minutes.
-
Using a clean cloth, paper towel, or cotton swab, remove any excess adhesive (squeeze-out) from the sides of the joined surfaces.
-
-
-
Allow leather adhesive to dry (cure) as stated in the directions on the original leather adhesive packaging.
-


You did it! Give yourself a pat on the back!
You did it! Give yourself a pat on the back!

Команду

University of North Texas, Team 1-5, Friess Fall 2022 Участник University of North Texas, Team 1-5, Friess Fall 2022
UNT-FRIESS-F22S1G5
1 член
Автор 2 руководств