Введение
This guide will show how to repair a scratch in the paint of a car. This includes wet sanding with various grit sandpaper, heaving machine polishing, and waxing. This guide is to repair scratches in the clear coat of the paint ONLY. It is NOT recommended to do this repair if the scratch is on an edge/sharp body line of the car as it is very easy to sand through the paint in this scenario, causing irreversible damage to your cars paint. If this repair in performed on a flat surface of the car, it is safe and easy to do following this guide. If a scratch is very deep it is recommended to bring to car to a professional auto body shop to handle the repair.
Выберете то, что вам нужно
-
Инструмент, используемый на этом этапе:Microfiber Cleaning Cloths$3.99
-
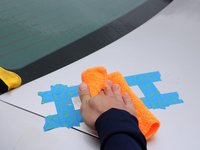
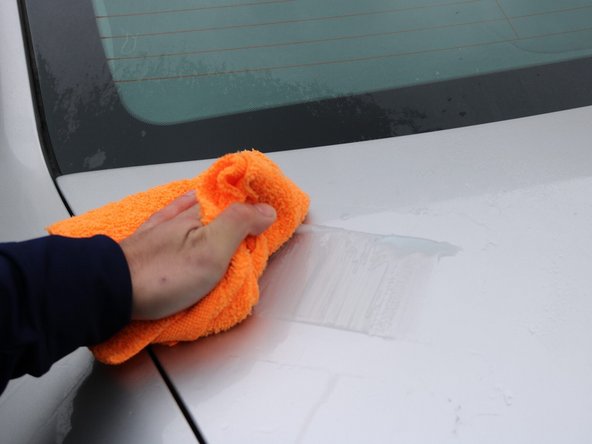
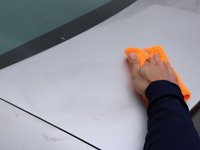
Clean the scratch and surrounding area with all purpose cleaner and microfiber towel (simple green, dish soap, Mr. Clean, etc). This ensures the area is contaminant free and when sanding you won't be scraping dirt back into the paint.
-
-
-
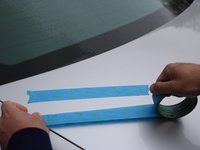
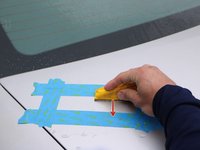
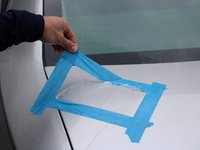
Using painters tape, place tape the length of the scratch about 1 inch above and below it. Place tape on the sides of the scratch leaving about an inch on each side as well, creating a box.
-
-
-
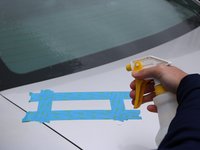
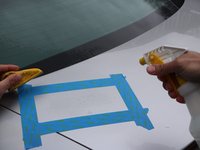
Using a spray bottle filled with water, spray the area.
-
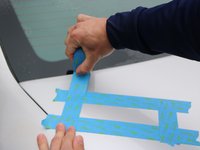
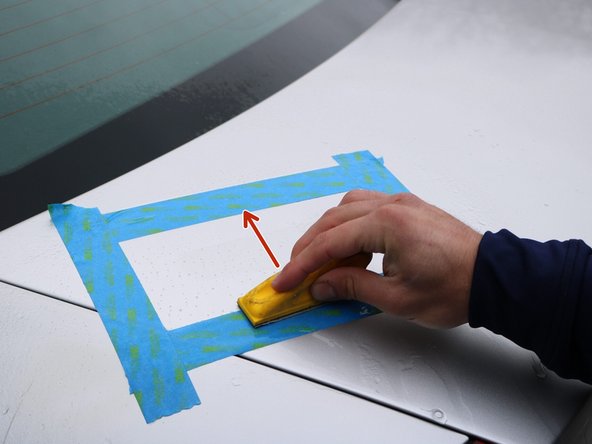
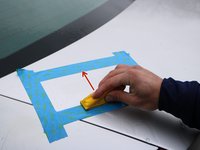
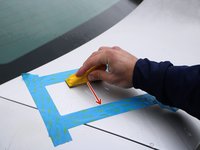
Using 3000 grit sandpaper, sand the paint ONLY across the scratch, not the length of it. This will sand the clear coat down while also blending the scratch into the paint.
-
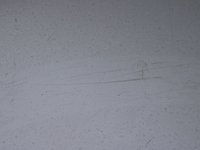
Sand until the scratch is no longer visible. Be sure to sand flat and even. keep the area lubricated with water.
-
-
-
-
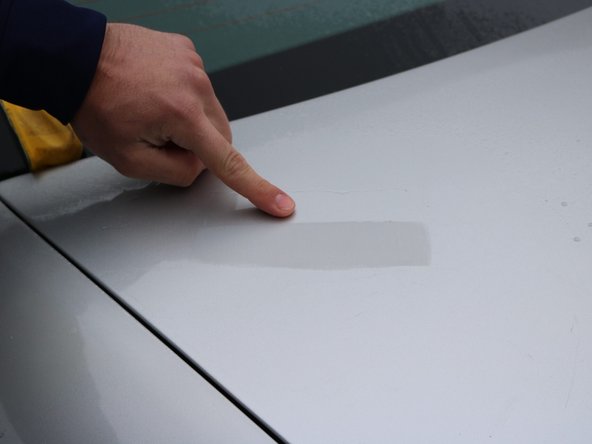
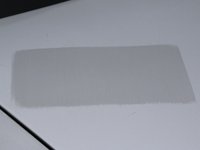
Wipe down the area and remove the tape. The sanded area will be hazed.
-
If the scratch is still visible when fully dry but disappears when wet, move on to the next step.
-
If the scratch is still visible when wet, repeat step 4 as the next stage of sanding will be less aggressive and is to mainly remove the sanding scratches caused by the 3000 grit.
-
-
-
With painters tape, make another, bigger box about 1 inch away from the hazed area on all sides.
-
-
-
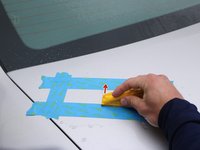
Using the same method as step 4, spray water on the area and use the 5000 grit sandpaper.
-
Sand up until the tape, making sure to sand evenly, covering the entire taped in area, and keep it lubricated with water.
-
Keep the sand paper flat and only sand in the direction the width of the scratch, not the length of it, as depicted.
-
Dry off the surface to inspect the area. It is better to have an even haze from sanding rather than being able to see individual sanding lines.
-
-
-
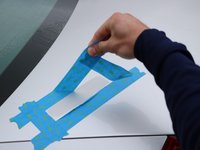
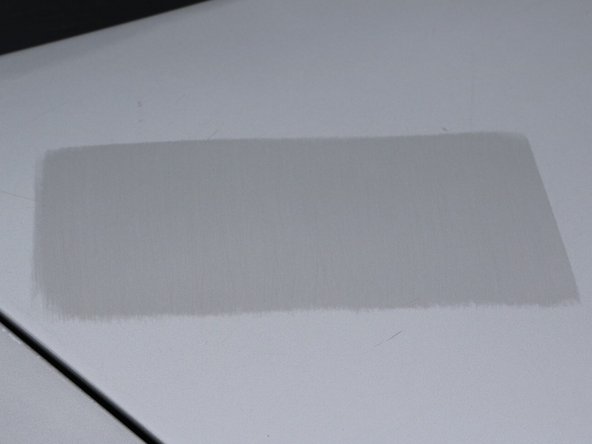
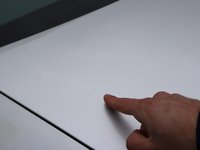
Remove the tape and wipe down the area with a microfiber towel. The scratch should now be completely gone.
-
You should be left with an even haze on the sanded area that is ready to be polished.
-
-
-
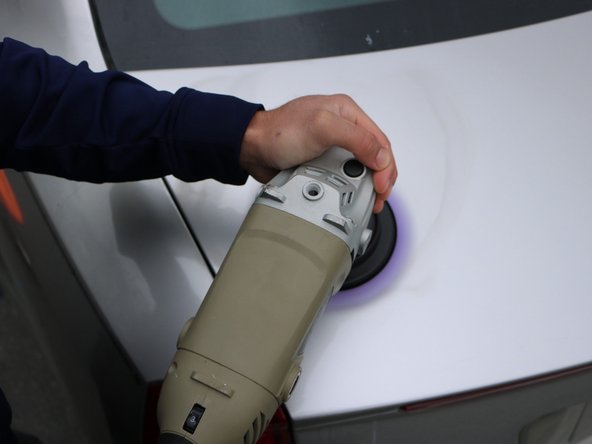
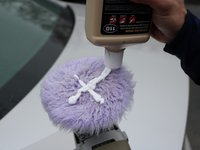
Using a machine polisher and a heavy polishing pad (in this case a wool pad), apply heavy polishing compound to the polishing pad in an X pattern.
-
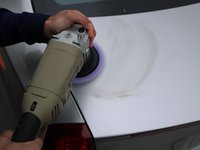
If using a rotary polisher as depicted, use the medium speed setting to work the polish into the paint, make sure to cover the entire sanded area.
-
If using a random orbital polisher (also known as a DA or "dual action" polisher), use the highest speed setting.
-
Be sure to keep the polisher level, and moving. Don't keep it in one spot. Polish even beyond the sanded area.
-
-
-
Wipe the polishing compound off the paint and inspect the area. If you still see sanding scratches, repeat step 9 until the sanding scratches are gone.
-
-
-
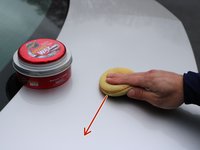
Grab your favorite wax. (in this case paste wax was used)
-
Apply wax to an applicator pad and apply the wax in STRAIGHT LINES ONLY. This is because if something, such as a small rock, is between the pad, causing a scratch, it is much easier to remove a straight scratch than a circular one.
-
Cover the entire area with a thin coat. Wait for the wax to haze for a few minutes then buff off with a microfiber towel.
-


Your paint is now scratch free, at least for that one spot! Use this guide to repair all your scratches and pass you knowledge on to help others!
Отменить: Я не выполнил это руководство.
5 человек успешно провели ремонт по этому руководству.
Команда

UMass Dartmouth, Team S6-G1, Riel Spring 2021 Участник UMass Dartmouth, Team S6-G1, Riel Spring 2021
UMASSD-RIEL-S21S6G1
1 член
Автор 1 руководств