Перейти к основному содержанию

How to Replace the Battery Adhesive for Your Motorola Phone

Выберете то, что вам нужно

  1. How to Replace the Battery Adhesive for Your Motorola Phone, Remove the remaining adhesive: шаг 1, изображение 1 из 1
    • If there's any alcohol remaining from battery removal, use a lint-free cloth to wipe it up or allow the alcohol to dry off before installing new adhesive.

    • Before performing this repair, ensure the display cable is tucked in its space under the motherboard. If the cable is sticking out, the new adhesive won't be able to lay completely flat.

    • Use tweezers to remove all of the old adhesive from the battery's recess.

  2. How to Replace the Battery Adhesive for Your Motorola Phone, Find the adhesive's proper orientation: шаг 2, изображение 1 из 3 How to Replace the Battery Adhesive for Your Motorola Phone, Find the adhesive's proper orientation: шаг 2, изображение 2 из 3 How to Replace the Battery Adhesive for Your Motorola Phone, Find the adhesive's proper orientation: шаг 2, изображение 3 из 3
    • Before removing any liners, use the guide lines on the new adhesive to find the proper orientation in the battery recess.

  3. How to Replace the Battery Adhesive for Your Motorola Phone, Expose the adhesive: шаг 3, изображение 1 из 2 How to Replace the Battery Adhesive for Your Motorola Phone, Expose the adhesive: шаг 3, изображение 2 из 2
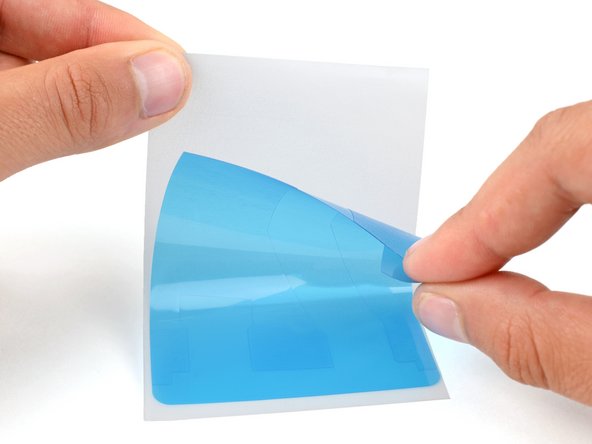
    • Use the pull tab on the blue liner to separate the adhesive from the white liner.

  4. How to Replace the Battery Adhesive for Your Motorola Phone, Apply the new adhesive: шаг 4, изображение 1 из 3 How to Replace the Battery Adhesive for Your Motorola Phone, Apply the new adhesive: шаг 4, изображение 2 из 3 How to Replace the Battery Adhesive for Your Motorola Phone, Apply the new adhesive: шаг 4, изображение 3 из 3
    • Be very careful during this step! The adhesive is very sticky, and can't be repositioned once it sticks.

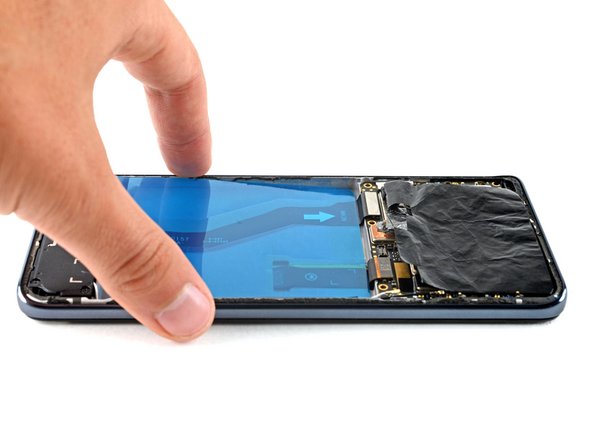
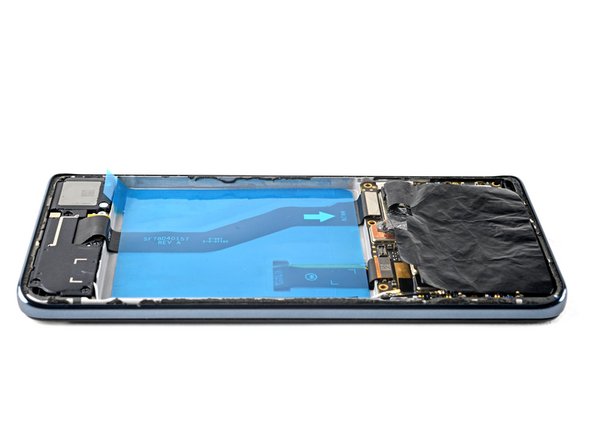
    • With the adhesive in its proper orientation, lay it sticky side down in the battery recess.

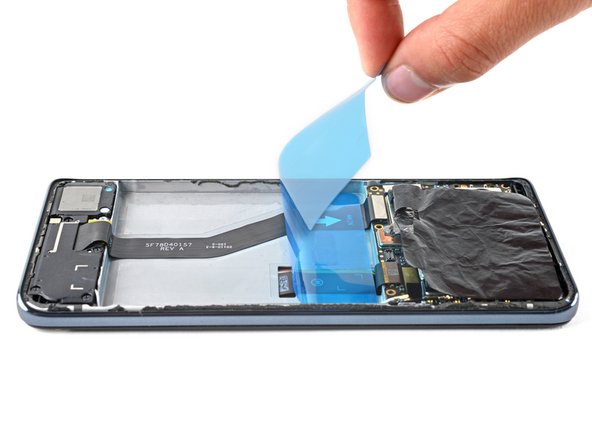
    • Use a spudger or your fingers to firmly press down on the blue liner to secure the new adhesive to the frame.

  5. How to Replace the Battery Adhesive for Your Motorola Phone: шаг 5, изображение 1 из 2 How to Replace the Battery Adhesive for Your Motorola Phone: шаг 5, изображение 2 из 2
    • Use the pull tab to peel the blue liner from the adhesive.

    • Make sure the adhesive is sticking to the frame and isn't being pulled up with the blue liner.

    • If the adhesive is being pulled up, lay it back down, press down firmly on it with a spudger or your fingers, and try again.

  6. How to Replace the Battery Adhesive for Your Motorola Phone: шаг 6, изображение 1 из 3 How to Replace the Battery Adhesive for Your Motorola Phone: шаг 6, изображение 2 из 3 How to Replace the Battery Adhesive for Your Motorola Phone: шаг 6, изображение 3 из 3
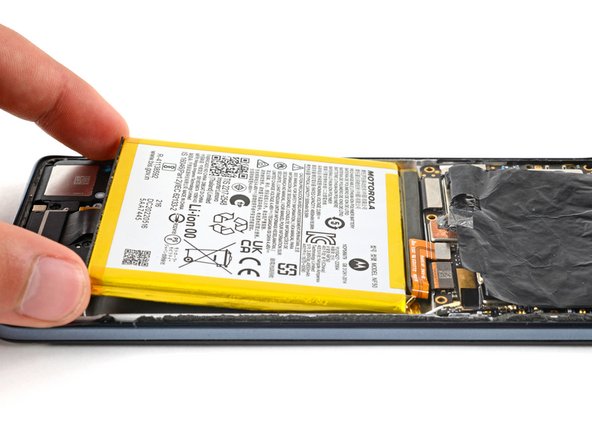
    • Before laying the battery in its recess, temporarily reconnect the battery's press connector to the motherboard socket. This ensures that the battery is properly aligned in its recess.

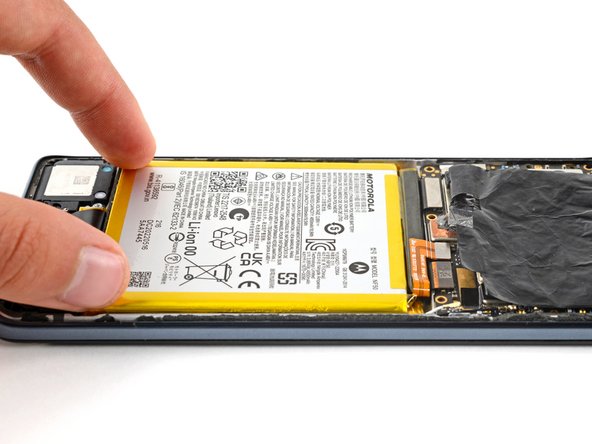
    • Lay the battery in its recess.

    • Firmly press down on the perimeter and center of the battery to adhere it to the frame.

  7. How to Replace the Battery Adhesive for Your Motorola Phone: шаг 7, изображение 1 из 2 How to Replace the Battery Adhesive for Your Motorola Phone: шаг 7, изображение 2 из 2
    • Use the pointed end of a spudger to pry up and disconnect the battery's press connector.

Заключение

The battery is now ready for use. Return to your phone's repair guide and continue reassembly.

Spencer Day

Участник с: 09/14/22

53 712 Репутация

Автор 394 руководств

Команда

iFixit Участник iFixit

Staff

135 членов

Автор 17 183 руководств

0 Комментариев

Добавить комментарий

Просмотр статистики:

За последние 24часов: 1

За последние 7 дней: 8

За последние 30 дней: 35

За всё время: 738