Введение
The gearbox tends to get dust and other particles stuck in the gearbox over time as he extruder can grind away some of the plastic filament causing slippage. This is an important general maintenance that any serious user of the printer should consider doing if they are experiencing inconsistent extrusion.
Выберете то, что вам нужно
-
-
Remove the 3D printed plastic cover by lifting up and to the left. The latches in the back should lift right out, however this can be tricky since the 3D printed connections don’t always sit in place well.
-
-
-
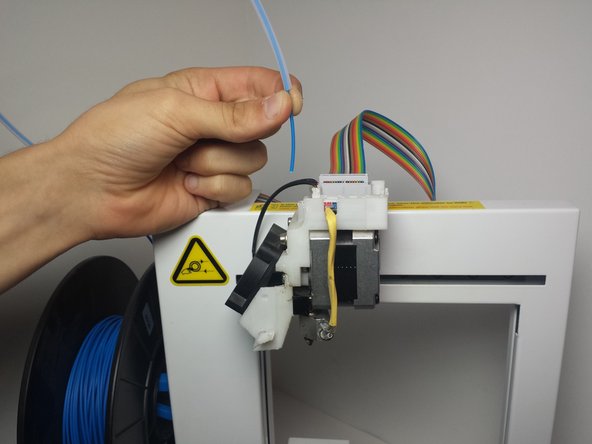
Disconnect the large colored ribbon cable on the top of the printer by wiggling slightly side to side and pulling up to disconnect.
-
-
-
Set up the printer as you would use it normally by connecting the USB cable from the rear of the printer to your computer and then turning it on.
-
Once connected to your computer bring up the included up software and click 3D print at the top and select Maintenance. Under the new maintenance window, click withdraw.
-
Wait for the printer to beep to indicate it has fully withdrawn the plastic before you remove the remaining end from the extruder assembly.
-
-
-
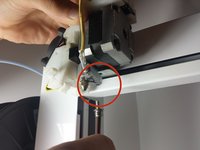
Unscrew the 3mm hex screw, on the underside immediately behind the nozzle heater that holds the entire extrusion assembly in place.
-
-
-
-
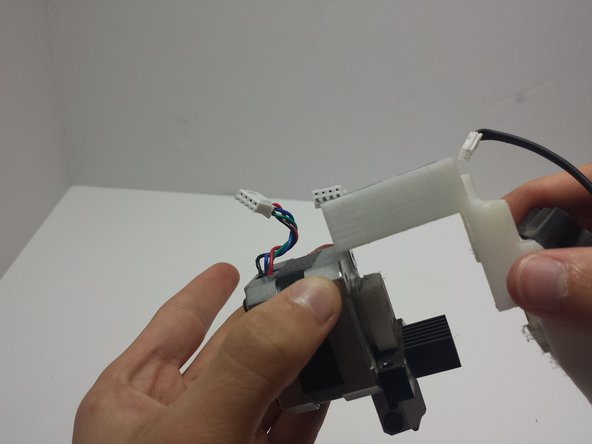
Disconnect the three and four pin connectors on the top of the extruder assembly by gently wiggling the connectors side to side until they become loose and pull out.
-
-
-
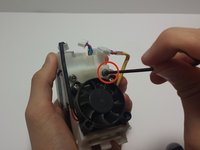
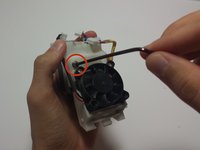
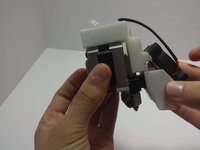
With the 2.5mm hex tool unscrew the two small hex screws immediately above the top left and right corners of the fan.
-
-
-
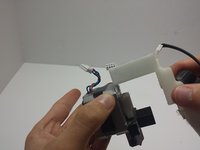
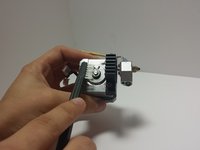
Once the two screws have been removed the entire plastic body, with fan and connector board, should be able to slide off of the stepper motor by pulling the plastic assembly towards you.
-
-
-
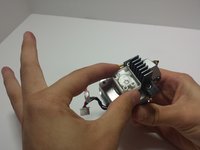
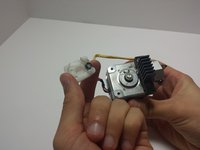
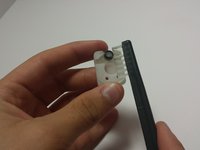
Remove the small white plastic gearbox at the base of the stepper motor.
-
Check for any ground down gear teeth or signs of excessive wear.
-
-
-
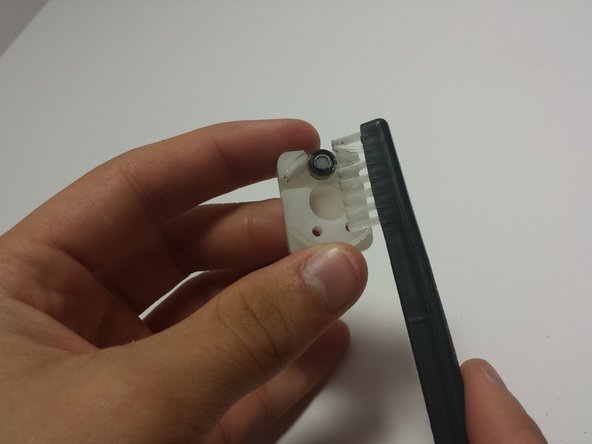
Clean the stepper motor gear by brushing it with a fine stiff brush and ensure that all of the plastic remnants and dust have been removed.
-
-
-
Replace the gearbox in the same orientation as before in the previous step.
-
Repeat the steps backwards to reassemble the module.
-


To reassemble your device, follow these instructions in reverse order.
Отменить: Я не выполнил это руководство.
3 человек успешно провели ремонт по этому руководству.
Команда

Cal Poly, Team 14-31, Maness Fall 2014 Участник Cal Poly, Team 14-31, Maness Fall 2014
CPSU-MANESS-F14S14G31
4 членов
Автор 5 руководств