Эта версия возможно содержит некорректные исправления. Переключить на последнюю проверенную версию.
Выберете то, что вам нужно
-
Этот шаг не переведен. Помогите перевести
-
Check for any screws that may have become loose over time in your door hinges.
-
-
Этот шаг не переведен. Помогите перевести
-
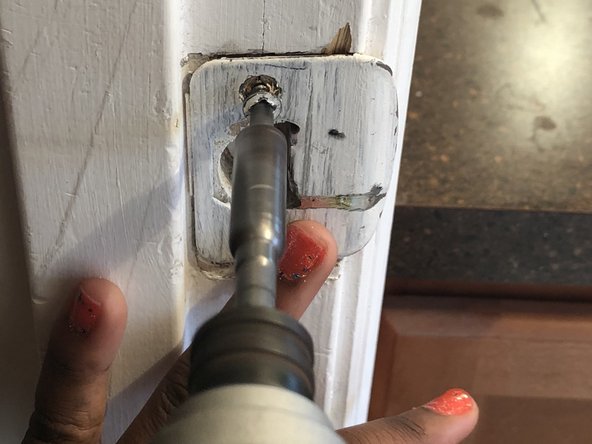
If you found any loose screws on the door hinge, use your screwdriver to tighten them.
-
-
Этот шаг не переведен. Помогите перевести
-
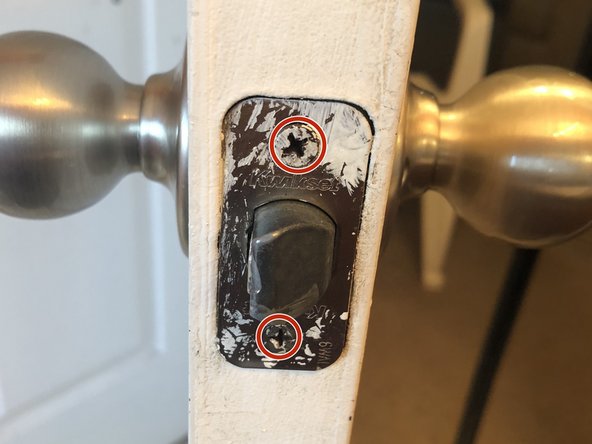
Examine the faceplate, checking for any loose screws like you did with your door hinges.
-
-
Этот шаг не переведен. Помогите перевести
-
Use your screwdriver to tighten any loose screws found on the face plate.
-
-
-
Этот шаг не переведен. Помогите перевести
-
This is your strike plate. Take a look to see if it has shifted, and in what direction it shifted.
-
In the photo provided you can tell my plate has been shifted downwards.
-
-
Этот шаг не переведен. Помогите перевести
-
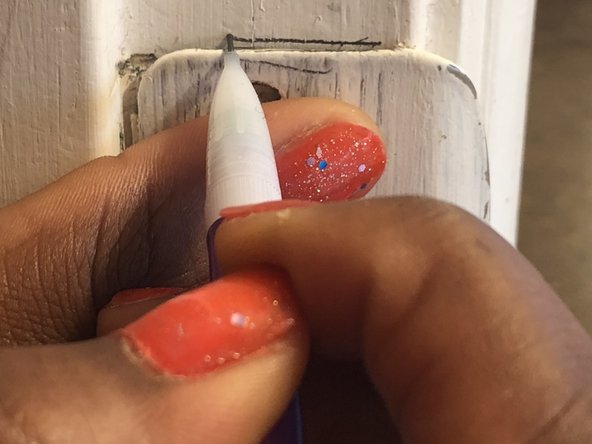
Make a line on the wall where you will be moving your strike plate. Use something that you will be able to remove, such as a pencil.
-
-
Этот шаг не переведен. Помогите перевести
-
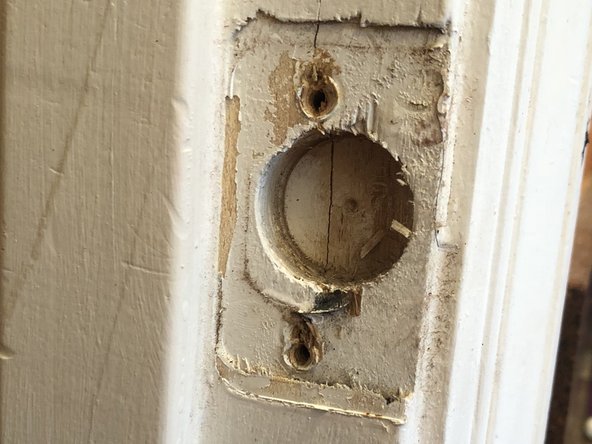
Take as many toothpicks you will need to fill up the holes that were created for the previous screw holes, and dip them into the Elmer's glue.
-
-
Этот шаг не переведен. Помогите перевести
-
Place the toothpicks into the openings. By doing this, you are preventing your new screws from falling back into the old spot causing the door to be re-positioned again.
-


Отменить: Я не выполнил это руководство.
5 участников успешно повторили данное руководство.

Команда

USF Sarasota-Manatee, Team S1-G1, Stewart Spring 2018 Участник USF Sarasota-Manatee, Team S1-G1, Stewart Spring 2018
USFSM-STEWART-S18S1G1
15 членов
Автор 25 руководств