Введение
For my fast iFixit project, I would like to fix the oven knob. Sometimes, the oven knob gets struck or completely comes out or gets loose and doesn’t work. If the knob doesn’t work, we can’t even use the equipment because the knob is used to turn on and off and control temperature. Fixing the knob will be required to maintain the functionality of the Oven. So, rather than completely changing the oven, let's just fix the same oven knob or replace the new knob.
Выберете то, что вам нужно
-
-
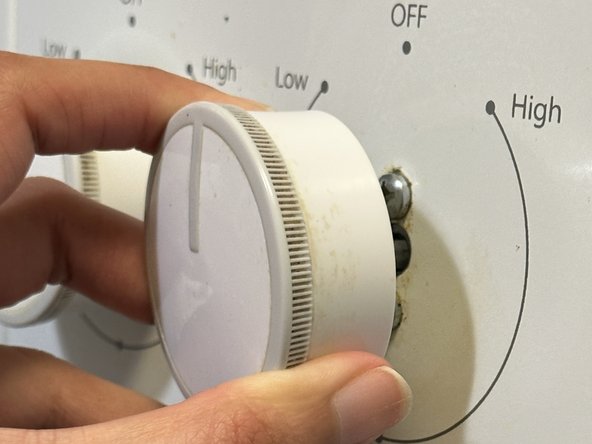
If the knob is loose, the first step is to completely remove the oven knob.
-
To remove it completely, hold it firmly and pull it straight off the shaft.
-
-
-
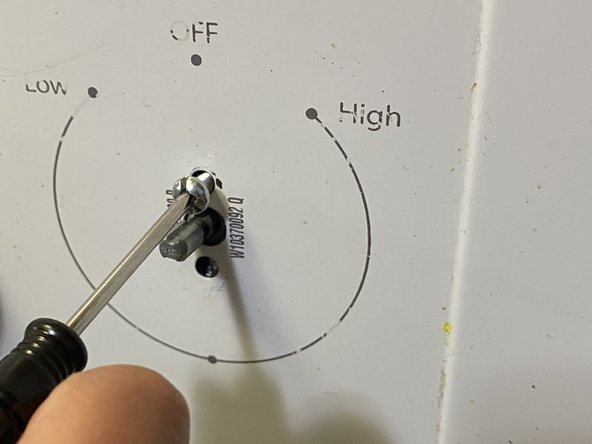
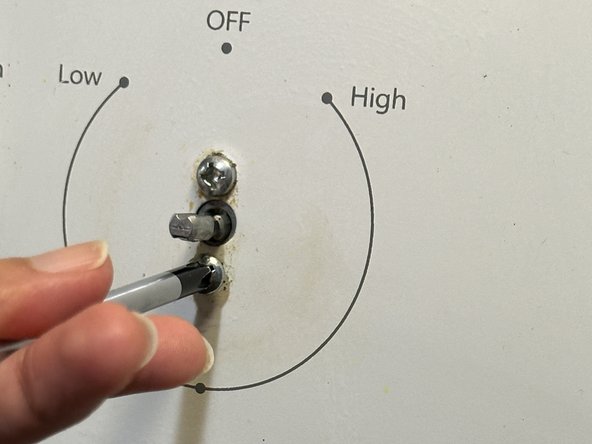
If the screw is loosened beforehand, we first need to completely remove the screw from the shaft.
-
To remove the screw, use a Phillips #00 screwdriver to unscrew it from the shaft hole.
-
-
-
-
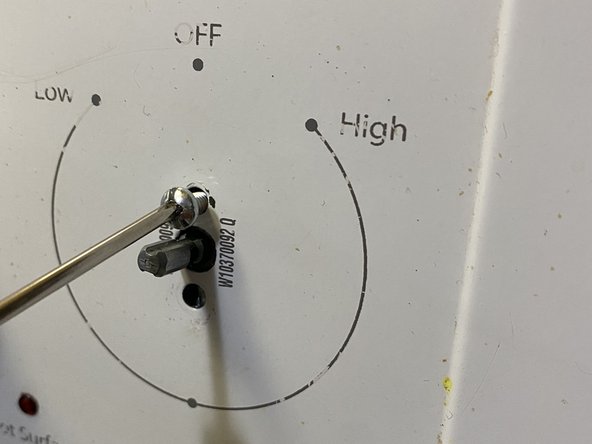
Pull the shaft out and hold the shaft firmly. You will see two holes above and below this shaft.
-
-
-
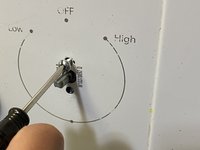
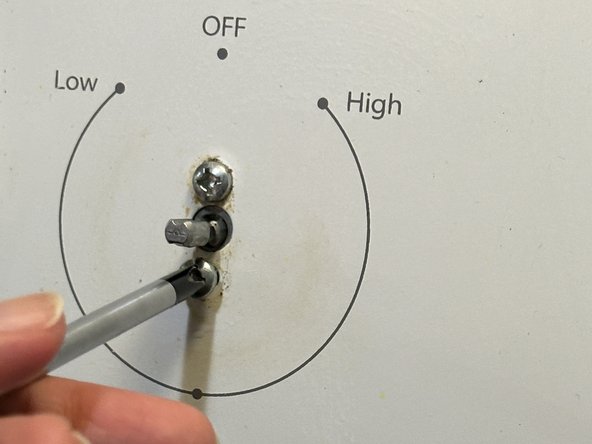
Tighten the screw with a screwdriver and make sure the screw is tightly attached.
-
Repeat the same process for the other hole.
-
-
-
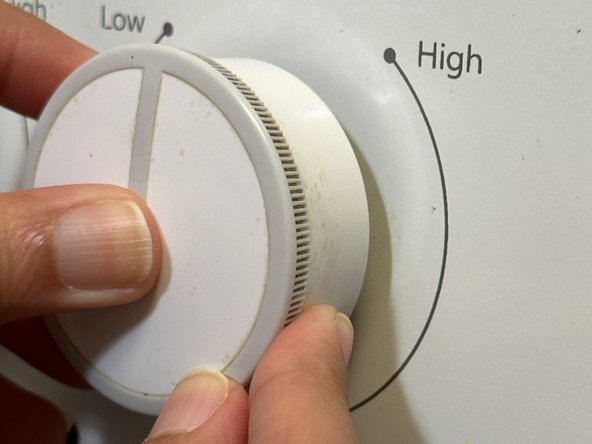
To fix the knob, slide the knob onto the shaft, aligning it with the D-shaped side of the shaft.
-
Now, with a little pressure, push on the shaft and affix the knob onto the shaft.
-
-
-
Test the button by turning on the gas supply, and ensure that the knob operates smoothly and ignites the burner.
-


This device is reassembled, follow these instructions in reverse order to disassemble.
Отменить: Я не выполнил это руководство.
3 человек успешно провели ремонт по этому руководству.

Команда

York University, Team 2-10, O'Regan Fall 2023 Участник York University, Team 2-10, O'Regan Fall 2023
YORK-O'REGAN-F23S2G10
1 член
Автор 1 руководств