Введение
If you own an original FLSUN QQ printer, upgrading the leveling sensor to a touch sensor will make leveling much easier. Here are the steps to upgrade to the new sensor.
Выберете то, что вам нужно
-
-
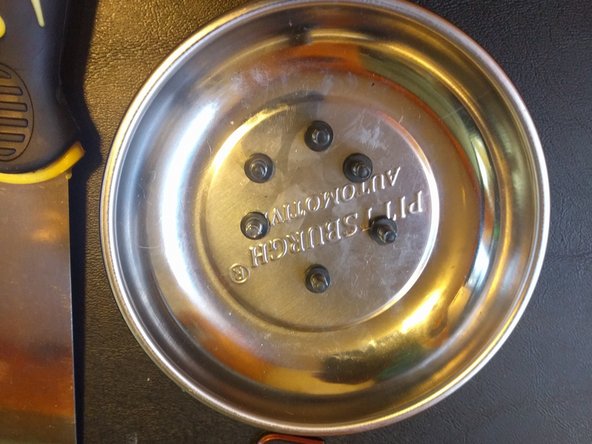
remove 6 screws in the base of the printer
-
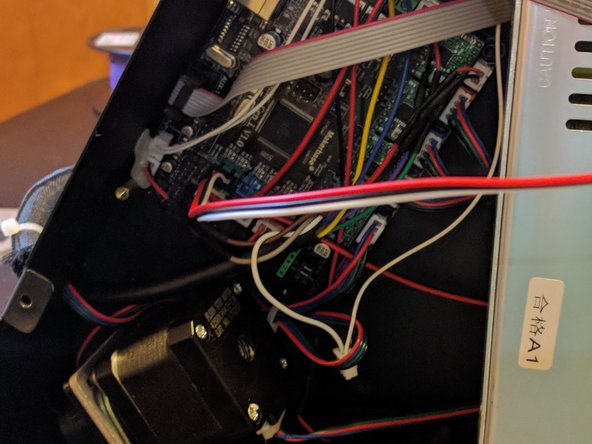
open the bottom cover
-
-
-
Remove the connector with 2 white wires from the second green slot
-
Plug the connector for the new sensor into the second green slot.
-
-
-
-
feed the cable through a convenient hole in the bottom plate
-
re-attach the plate to the printer with the 6 screws removed earlier
-
-
-
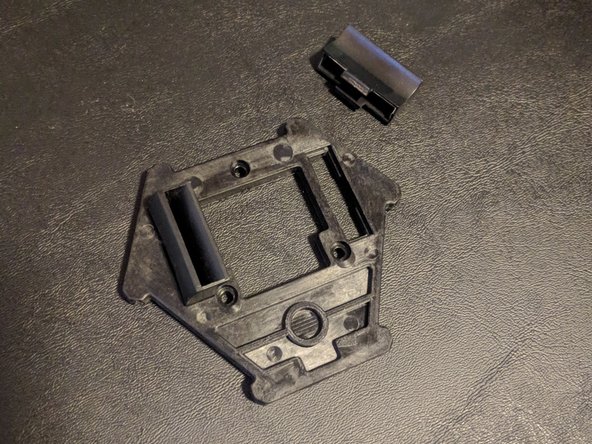
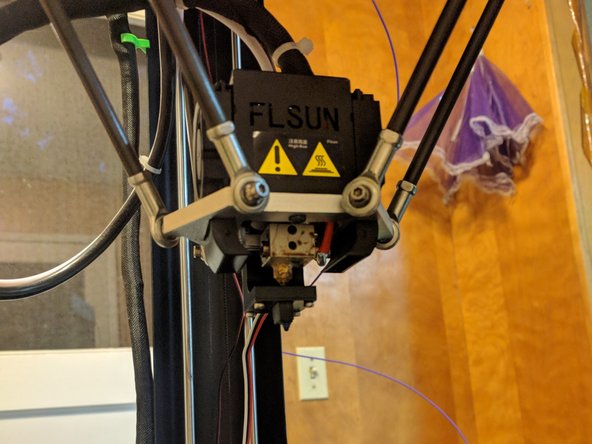
pop off the fan ducts
-
Remove 3 smaller screws from the bottom of the effector
-
Remove 6 long screws from the connection points from the rods to the effector. (be careful to keep the tiny washers)
-
-
-
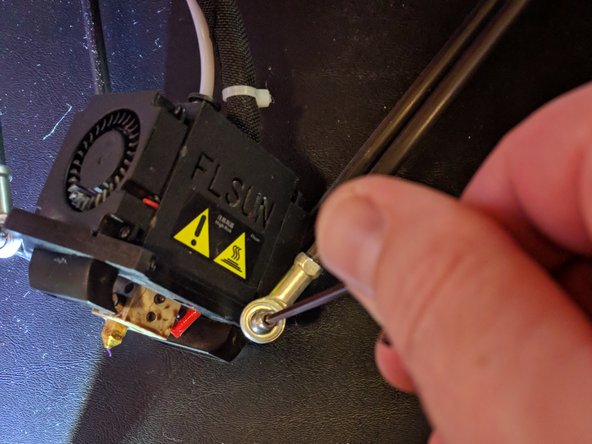
Install fan ducts in new effector.
-
Attach the magnetic sensor dock to the new effector and mount the effector and heating element with the 3 small screws from earlier.
-
Reatach the whole assembly to the rods with the 6 long screws removed earlier.
-
-
-
plug the new sensor into the other end of the connector cable
-
attach the sensor to the magnetic mount
-
-
-
For the leveling sensor to work you will need new firmware.
-
Download it from https://www.dropbox.com/sh/p2jltxhkua629...
-
Unarchive the files.
-
Copy them to the root of an SD card
-
Make sure the printer is powered down
-
Insert the SD card with the firmware
-
Power on the printer.
-
The printer will update it's firmware.
-


Отменить: Я не выполнил это руководство.
Еще один человек закончил это руководство.

11 Комментариев
I followed the instructions and the Head started printing over 1 cm above the bed. I had to alter the Z offset to -18.5 mm. An icon appeared in the menu system “levelling_sw”, but does nothing when pressed. So there appears to be NO manual levelling option after carrying out the upgrade. Quite disappointing.
The “Leveling_sw” button adjusts the offset needed to use the leveling switch. (The offset is the distance between the nozzle and the bed when the switch is pressed.) There’s another Z-offset button that sets it to the default offset for using the leveling pad. You have to push the appropriate offset button before engaging the leveling option.
The QQ doesn’t have manual leveling without changing the Gen L board firmware to a different Marlin version.
CityZ -
hi, is not working for me. i can push the leveling button in screen so often, there´s no funktion, how could it be?
Ist it if my sensor have only two pins? Its the leveling sensor like anycubic delta is using.
Please explain or give me a link for these 3pin level sensor as you have shown in your pictures. Thanks.
If you are using the Anycubic switch, it might be wired differently than the Flsun version. If you look inside the sensor at the switch itself, there’s pins for normally-open (NO) and normally-closed (NC). The wire going to NC needs to be moved to NO.
On the control board, the wires need to go to Ground and Signal for the Z-min plug. Do not connect to the Voltage pin.
CityZ -
Have you got a link for the FLSUN levelling switch please.