Введение
Use this guide to replace the loudspeaker in your Huawei Mate 8.
Выберете то, что вам нужно
-
-
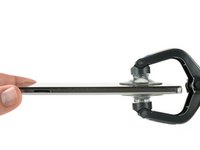
Use an iSclack or a suction handle in the bottom area of your phone to separate the display unit from the rear panel.
-
-
-
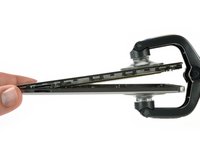
Use an opening pick to fully separate the clips, releasing the phone.
-
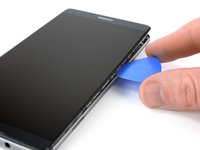
Open the phone like a book from the SIM tray side.
-
Use a spudger, to disconnect the fingerprint sensor cable.
-
-
-
-
Remove the liquid indicator sticker.
-
Remove the Phillips #00 screw that holds down the metal shield.
-
Use a spudger to remove the metal shield.
-
-
-
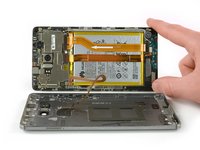
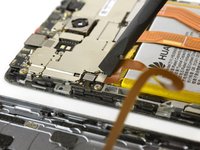
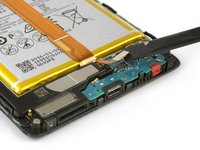
Use the flat end of a spudger to disconnect the display, daughterboard interconnect, and battery cables.
-
-
-
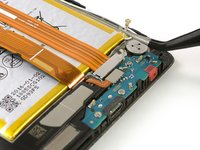
Lift the coaxial connector off of its socket to allow access to the daughterboard interconnect cable bracket.
-
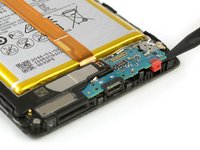
Remove the bracket.
-
-
-
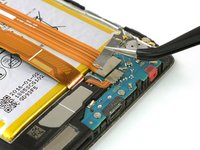
Use a spudger to disconnect the interconnect cable.
-
Remove the interconnect cable.
-
-
-
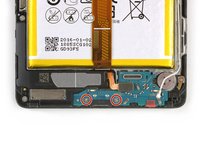
Remove the two Phillips #00 screws.
-
Use the flat end a spudger to disconnect the loudspeaker flex connector.
-
Use the pointy end of a spudger to pry out the daughterboard.
-
Remove the daughterboard.
-
-
-
Remove the two Phillips #00 screws.
-
Use the tip of a spudger on the left side of the loudspeaker to pry it out.
-
Remove the loudspeaker.
-


To reassemble your device, follow these instructions in reverse order.
To reassemble your device, follow these instructions in reverse order.
Отменить: Я не выполнил это руководство.
4 человек успешно провели ремонт по этому руководству.