Введение
If you need to replace the rear sprocket on your Husqvarna FE 350, follow this step by step guide. Be sure that the bike is off prior to beginning this repair. You will need a bike stand to do the repair and potentially a helper to place it on the stand.
Выберете то, что вам нужно
-
-
Place the motorcycle on a stand so that the rear tire is off the ground.
-
-
-
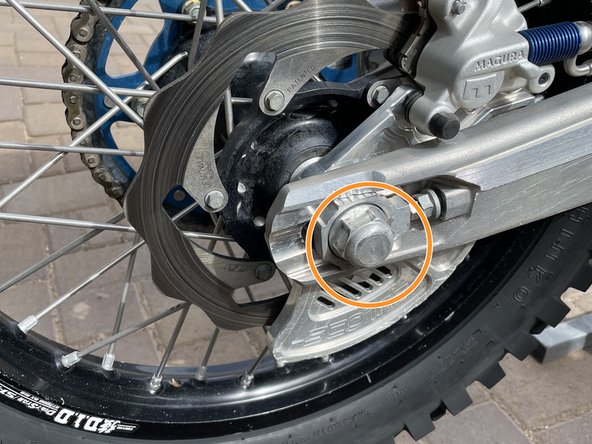
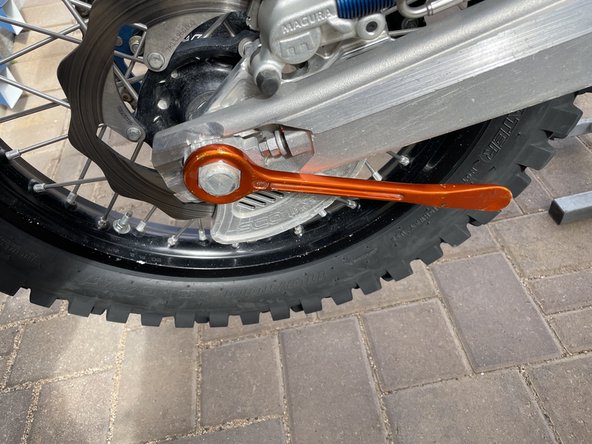
Use the 27mm wrench to unscrew the nut that holds the axle together. This nut is located on the right side of the motorcycle at the end of the swing-arm.
-
-
-
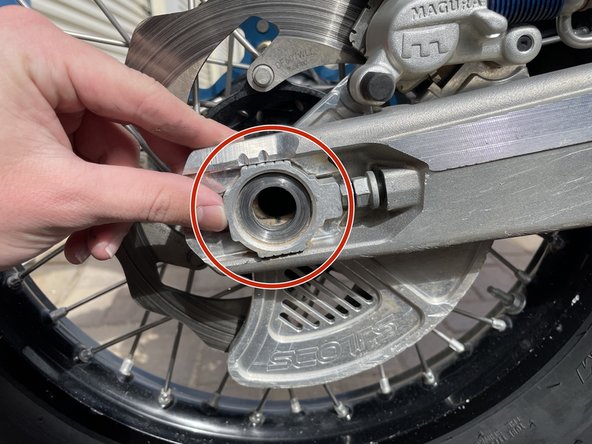
Move to the left side of the motorcycle and remove the axle by pulling it directly out.
-
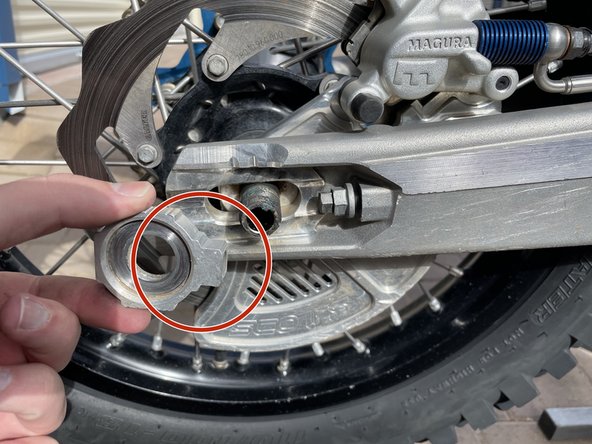
Move back to the right side and remove the spacer shown in the third picture to ensure that is does not get lost.
-
-
-
-
Lay the tire on a flat surface with with sprocket facing up.
-
Use the 6mm Torx wrench to unscrew the six bolts holding the sprocket on.
-
-
-
Put the chain back on. Start at the bottom and work the chain carefully over the top of the new sprocket.
-
-
-
Push the axle back through the swing arm and the wheel.
-
Place the spacer back onto the axle with the square side pointing forward.
-
Thread the 27mm nut back onto the axle.
-


Отменить: Я не выполнил это руководство.
2 участников успешно повторили данное руководство.

Команда

Embry-Riddle Aeronautical University, Team S7-G9, Rauch Spring 2021 Участник Embry-Riddle Aeronautical University, Team S7-G9, Rauch Spring 2021
ERAU-RAUCH-S21S7G9
2 членов
Автор 1 руководств