Перейти к основному содержанию

IBM ThinkPad A31 Display Replacement

Выберете то, что вам нужно

  1. IBM ThinkPad A31 Display Replacement, Keyboard: шаг 1, изображение 1 из 3 IBM ThinkPad A31 Display Replacement, Keyboard: шаг 1, изображение 2 из 3 IBM ThinkPad A31 Display Replacement, Keyboard: шаг 1, изображение 3 из 3
    • The sticker is to keep the warranty on the laptop so once removed the warranty is void

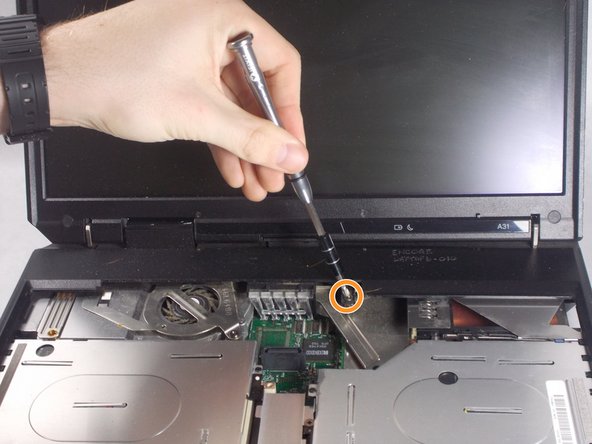
    • Peel the sticker and remove the 15mm screw

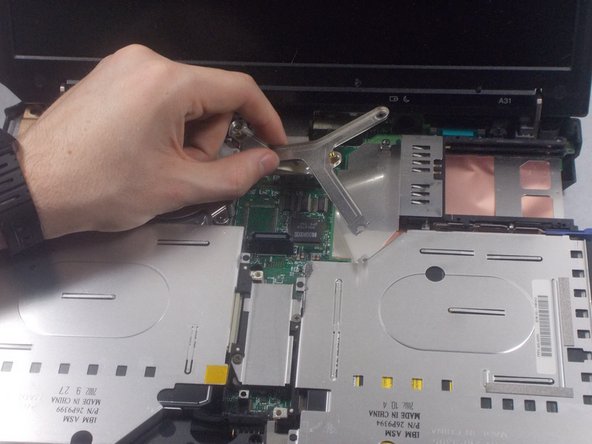
    • Remove all 6 of the 16mm screws

  2. IBM ThinkPad A31 Display Replacement: шаг 2, изображение 1 из 2 IBM ThinkPad A31 Display Replacement: шаг 2, изображение 2 из 2
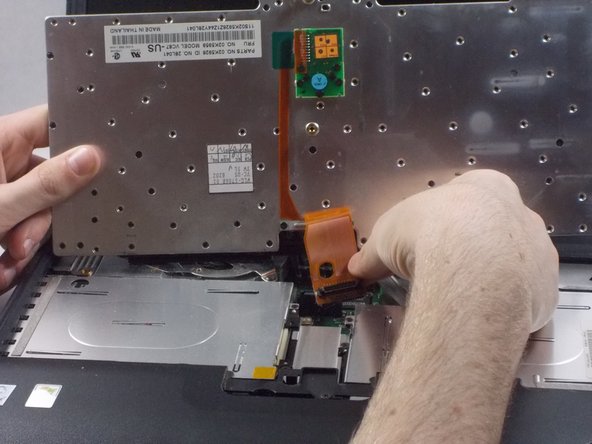
    • use a prying tool and insert it on the cracks on the sides of the keyboard and lift gently until you here a click

    • repeat this step on all sides of the keyboard until the keyboard is completely detached from the laptop

  3. IBM ThinkPad A31 Display Replacement: шаг 3, изображение 1 из 3 IBM ThinkPad A31 Display Replacement: шаг 3, изображение 2 из 3 IBM ThinkPad A31 Display Replacement: шаг 3, изображение 3 из 3
    • Lift the keyboard and remove the keyboard ribbon cable from the laptop

  4. IBM ThinkPad A31 Display Replacement, Display: шаг 4, изображение 1 из 2 IBM ThinkPad A31 Display Replacement, Display: шаг 4, изображение 2 из 2
    • Remove the one 21mm screw

    • Remove the 6mm screw

  5. IBM ThinkPad A31 Display Replacement: шаг 5, изображение 1 из 2 IBM ThinkPad A31 Display Replacement: шаг 5, изображение 2 из 2
    • Take the tool and run it under the black case.

  6. IBM ThinkPad A31 Display Replacement: шаг 6, изображение 1 из 3 IBM ThinkPad A31 Display Replacement: шаг 6, изображение 2 из 3 IBM ThinkPad A31 Display Replacement: шаг 6, изображение 3 из 3
    • Unscrew the 2 (17mm) screws

    • Unscrew the 6mm screw

  7. IBM ThinkPad A31 Display Replacement: шаг 7, изображение 1 из 2 IBM ThinkPad A31 Display Replacement: шаг 7, изображение 2 из 2
    • Gently disconnect the white display ribbon cable

    • Pulling on the ribbon cable too hard could result in worse or faulty connection.

  8. IBM ThinkPad A31 Display Replacement: шаг 8, изображение 1 из 3 IBM ThinkPad A31 Display Replacement: шаг 8, изображение 2 из 3 IBM ThinkPad A31 Display Replacement: шаг 8, изображение 3 из 3
    • Unscrew 4 (6mm) screws

    • Lift screen straight up

    • If not lifted straight up the screen could get damaged

Заключение

To reassemble your device, follow these instructions in reverse order.

Sean Tocci

Участник с: 03/19/18

293 Репутация

Автор 2 руководств

Команда

UMass Dartmouth, Team S2-G2, Bernier Spring 2018 Участник UMass Dartmouth, Team S2-G2, Bernier Spring 2018

UMASSD-BERNIER-S18S2G2

3 членов

Автор 10 руководств

Один комментарий

i have that but display is

not work

Ahmed Elwy - Ответить

Добавить комментарий

Просмотр статистики:

За последние 24часов: 1

За последние 7 дней: 2

За последние 30 дней: 8

За всё время: 481