Введение
After a few months blending smoothies, the Impuls blender stopped working. We knew this might be the end of this cheap blender and tend to buy a new one. However fixing the blender is even cheaper than buying a new one and makes you feel good. That is why we started opening the blender and get to the inside to be able to use it again.
Выберете то, что вам нужно
-
-
Here you see the Impuls blender
-
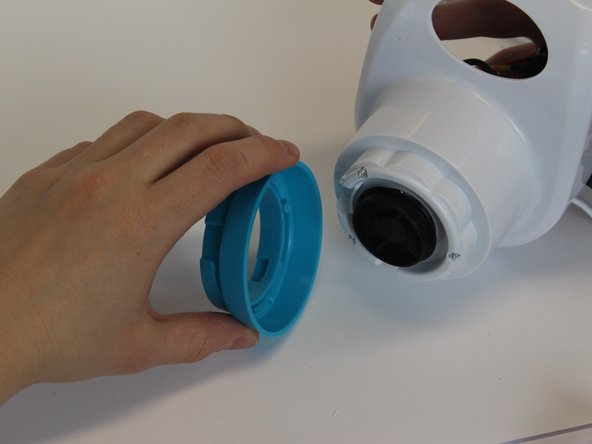
First, seperate the the blender jar from the bottom part by turning it and put it aside.
-
-
-
Turn the bottom part over and look at the bottom.
-
Take the rubber parts out of the 4 holes to reveal the screws.
-
Take the 4 screws out using a Phillips screwdriver.
-
-
-
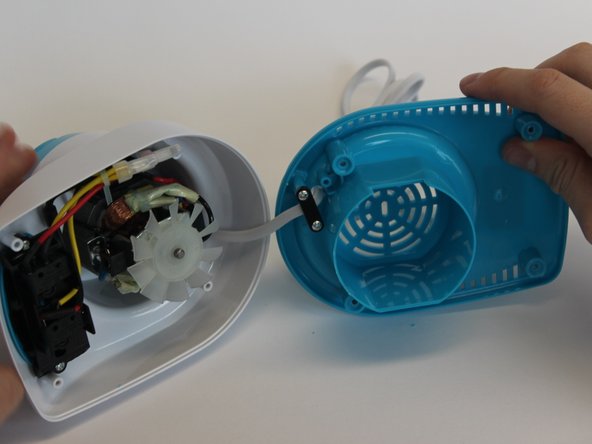
Take the blue bottom part off the rest of the product to reveal the inside.
-
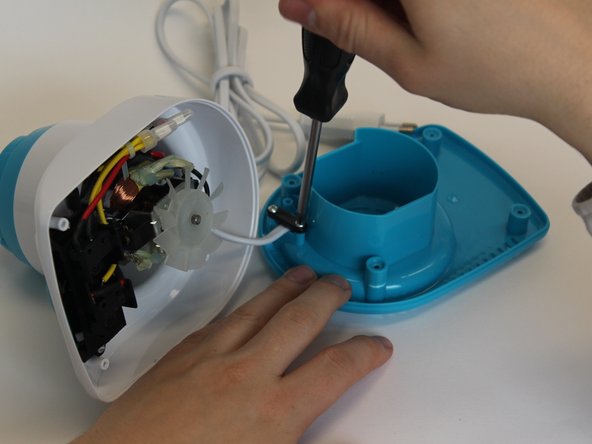
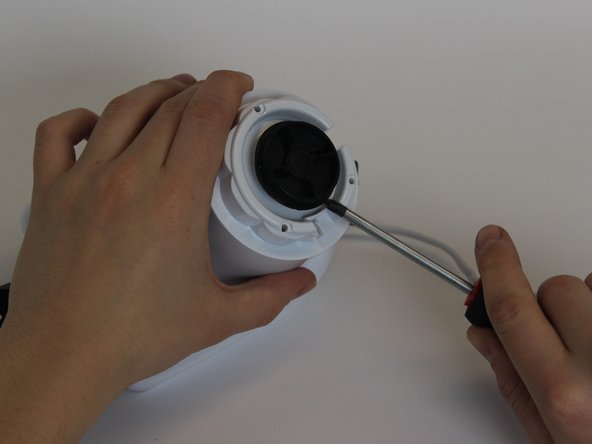
Unscrew the black piece to be able to slide the blue part away from the rest.
-
-
-
-
When you look to the inside, you see that there are two components; the buttons and the motor.
-
Unscrew the part that contains the buttons and take it off.
-
-
-
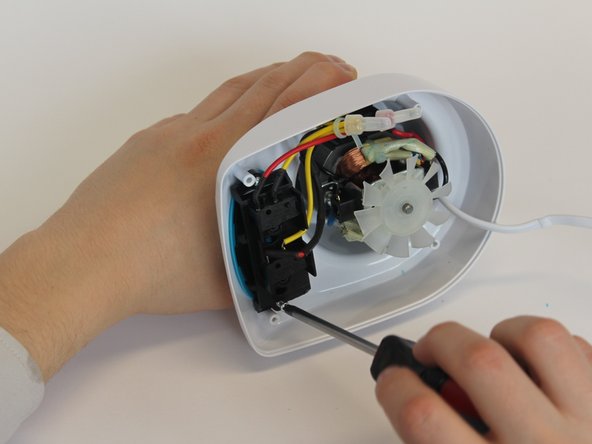
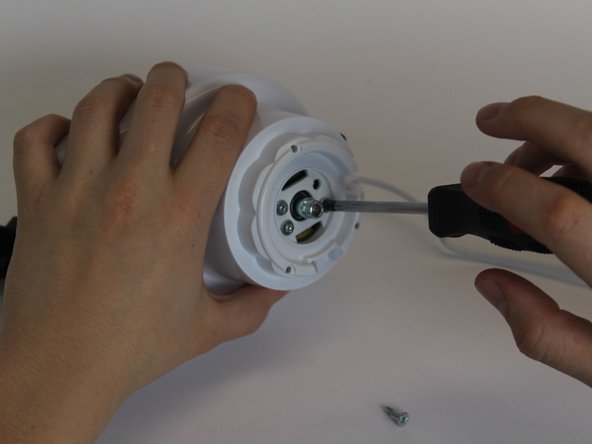
Take out the 3 screws that are deep inside.
-
Take off the blue part on top that was fixed with those screws.
-
Pull the black disc out by using the screwdriver as lever from multiple sides.
-
-
-
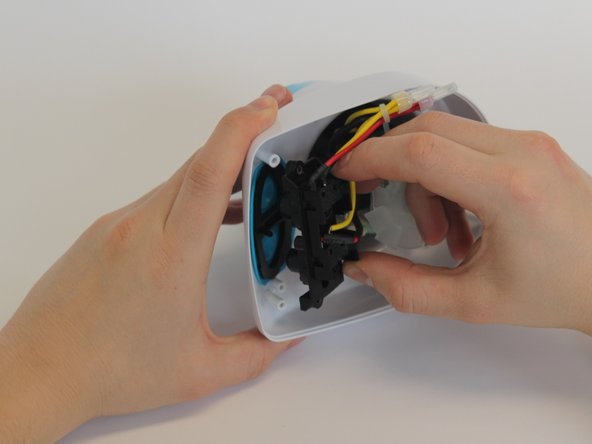
When you have taken off the black piece and revealed the 4 screws, unscrew them all.
-
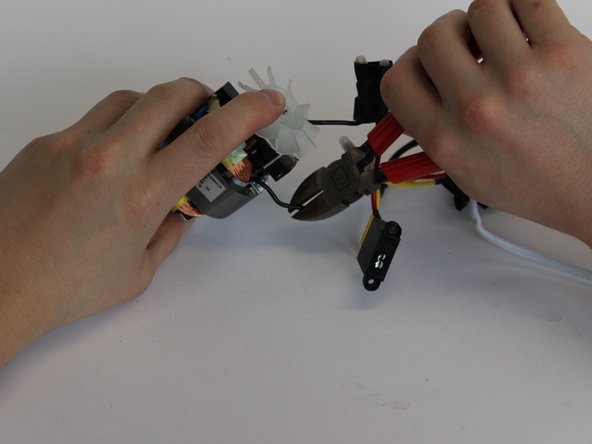
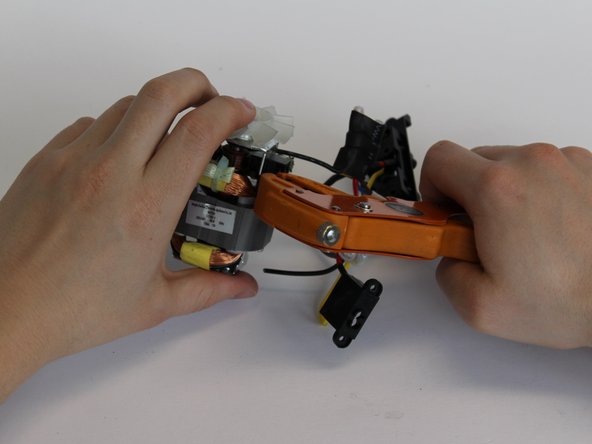
Take out the motor part and the rest of the electronics.
-
-
-
Find the fraction in the wire.
-
Cut off the broken part
-
Strip both sides of the wire that have to be attached again.
-
-
-
If you will use a shrink sleeve to cover the electronic wire, it has to be put on the wire first. Otherwise if electrical tape is used, this can be done afterwards.
-
Solder the two wires with a soldering iron.
-
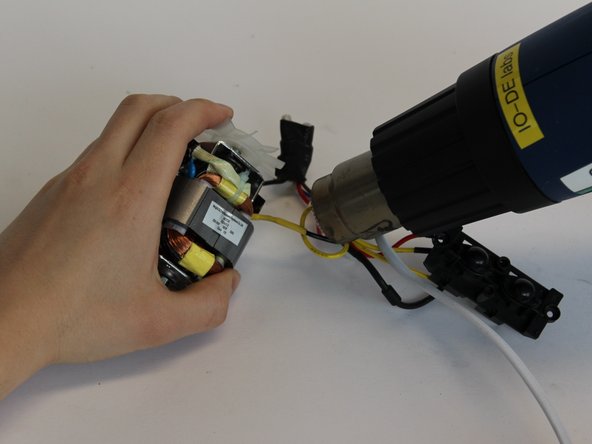
Shrink the sleeve with a heater or put the electrical tape around the soldered wire.
-


To reassemble your device, follow the instructions in reverse order.
To reassemble your device, follow the instructions in reverse order.
Отменить: Я не выполнил это руководство.
Еще один человек закончил это руководство.
Команда

Delft University of Technology, Team S1-G10, Flipsen Spring 2017 Участник Delft University of Technology, Team S1-G10, Flipsen Spring 2017
TUD-FLIPSEN-S17S1G10
3 членов
Автор 1 руководств