Перейти к основному содержанию
Присоединяйся к сообществу ремонтников - Создай аккаунт

InFocus Screenplay 4805 Lens Replacement

Выберете то, что вам нужно

    1. InFocus Screenplay 4805 Lens Replacement, Top Panel: шаг 1, изображение 1 из 3 InFocus Screenplay 4805 Lens Replacement, Top Panel: шаг 1, изображение 2 из 3 InFocus Screenplay 4805 Lens Replacement, Top Panel: шаг 1, изображение 3 из 3
      • Flip the projector on its back.

      • Use the Phillips #2 screwdriver to remove the (4) four 2 cm gold screws.

      • Use the Phillips #2 screwdriver to remove the (3) three 1 cm silver screws.

      Спросите у FixBot

      Добавить комментарий

    2. InFocus Screenplay 4805 Lens Replacement: шаг 2, изображение 1 из 2 InFocus Screenplay 4805 Lens Replacement: шаг 2, изображение 2 из 2
      • Turn the projector, facing the back cable board towards you.

      • Using the Phillips #0 screwdriver, remove the (3) three 1.0 cm silver screws on the back panel.

      • Gently take off back cable panel.

      Спросите у FixBot

      Добавить комментарий

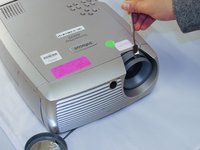
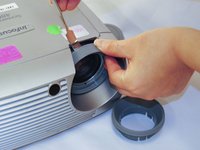
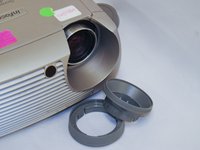
    3. InFocus Screenplay 4805 Lens Replacement: шаг 3, изображение 1 из 3 InFocus Screenplay 4805 Lens Replacement: шаг 3, изображение 2 из 3 InFocus Screenplay 4805 Lens Replacement: шаг 3, изображение 3 из 3
      • Turn the projector so the front side with the lens is facing you.

      • Gently pry the both of the grey lens rings using the metal spudger.

      Спросите у FixBot

      Добавить комментарий

    4. InFocus Screenplay 4805 Lens Replacement: шаг 4, изображение 1 из 1
      • Now that the screws have been removed, proceed with the removal of the outer panel.

      • Gently remove the front lens panel.

      • Be forewarned, the panel will resist. Be careful not to break the lens.

      Спросите у FixBot

      Добавить комментарий

    5. InFocus Screenplay 4805 Lens Replacement: шаг 5, изображение 1 из 1
      • Being careful not to pull the wires inside the projector, gently lift the top panel off the projector.

      • Rest the lid behind the projector so the insides are exposed and undamaged.

      Спросите у FixBot

      Добавить комментарий

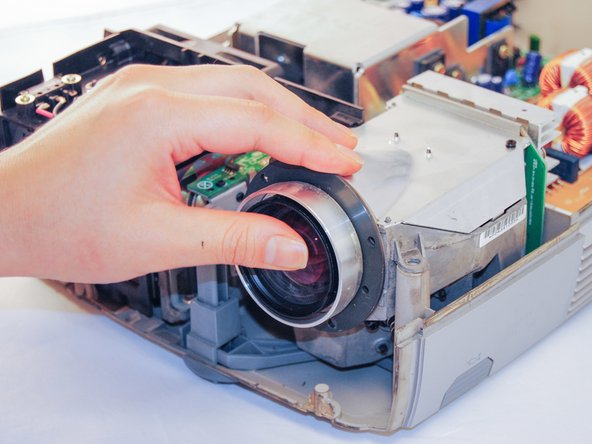
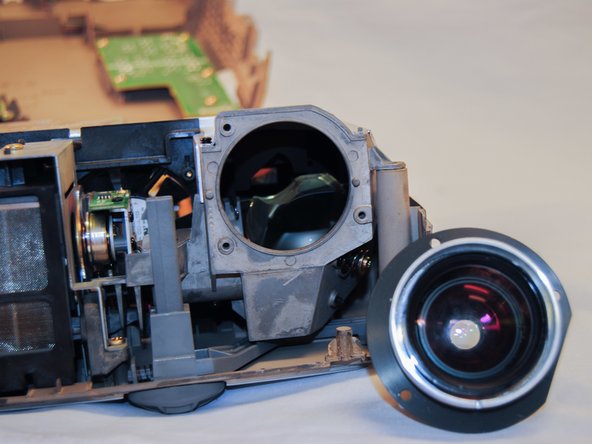
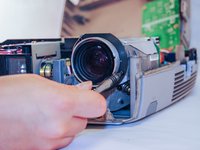
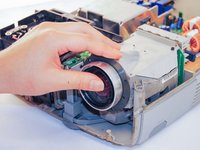
    1. InFocus Screenplay 4805 Lens Replacement, Lens: шаг 6, изображение 1 из 3 InFocus Screenplay 4805 Lens Replacement, Lens: шаг 6, изображение 2 из 3 InFocus Screenplay 4805 Lens Replacement, Lens: шаг 6, изображение 3 из 3
      • Using the Phillips #1 screwdriver, remove the (3) three 1cm black screws on the face of the lens.

      • Gently pull out the lens.

      Спросите у FixBot

      Добавить комментарий

Заключение

To reassemble the device, follow these instructions in reverse order.

Отменить: Я не выполнил это руководство.

Еще один человек закончил это руководство.

Marilyn Urness

Участник с: 09/28/17

671 Репутация

Автор 7 руководств

Команда

Eastern Washington University, Team S2-G3, Crane Fall 2017 Участник Eastern Washington University, Team S2-G3, Crane Fall 2017

EWU-CRANE-F17S2G3

5 членов

Автор 14 руководств

0 Комментарии к руководству

Добавить комментарий

Статистика просмотров:

За последние 24 часов: 0

За последние 7 дней: 2

За последние 30 дней: 22

За всё время: 927