Перейти к основному содержанию

Infant Optics DXR-5 Monitor Screen Replacement

Выберете то, что вам нужно

  1. Infant Optics DXR-5 Monitor Screen Replacement, Battery: шаг 1, изображение 1 из 2 Infant Optics DXR-5 Monitor Screen Replacement, Battery: шаг 1, изображение 2 из 2
    • Press on the blue clip on the back and slide it down.

    • In the second picture there is a slight gap at the top of the blue clip.

  2. Infant Optics DXR-5 Monitor Screen Replacement: шаг 2, изображение 1 из 1
    • Pull the blue clip away from the body of the hand held monitor.

  3. Infant Optics DXR-5 Monitor Screen Replacement: шаг 3, изображение 1 из 1
    • Slide the rear white panel off as shown.

  4. Infant Optics DXR-5 Monitor Screen Replacement: шаг 4, изображение 1 из 2 Infant Optics DXR-5 Monitor Screen Replacement: шаг 4, изображение 2 из 2
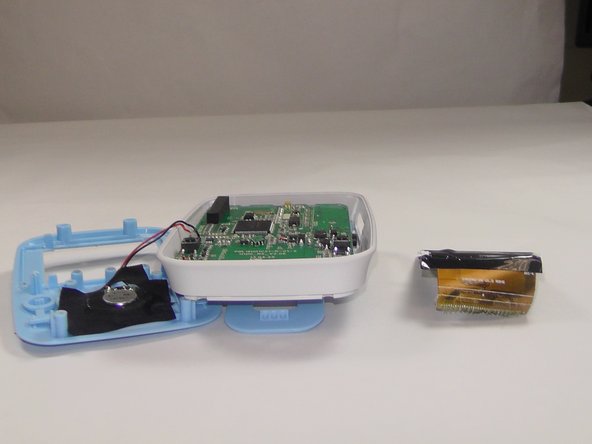
    • Remove the battery by pushing in on the right side and then pulling the battery up and out of the body of the hand held monitor.

  5. Infant Optics DXR-5 Monitor Screen Replacement, Monitor Screen: шаг 5, изображение 1 из 3 Infant Optics DXR-5 Monitor Screen Replacement, Monitor Screen: шаг 5, изображение 2 из 3 Infant Optics DXR-5 Monitor Screen Replacement, Monitor Screen: шаг 5, изображение 3 из 3
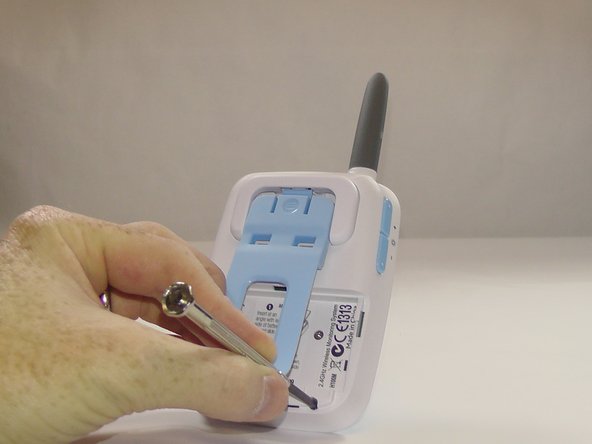
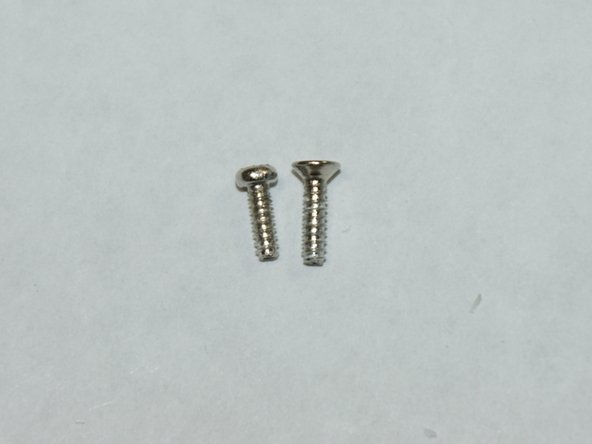
    • Remove the four 6.0 mm Phillips screws located on the back of the hand held monitor using a Phillips #2 screwdriver.

    • There are two types of screws. Be sure to return the screws to their respective holes upon reassembly.

  6. Infant Optics DXR-5 Monitor Screen Replacement: шаг 6, изображение 1 из 2 Infant Optics DXR-5 Monitor Screen Replacement: шаг 6, изображение 2 из 2
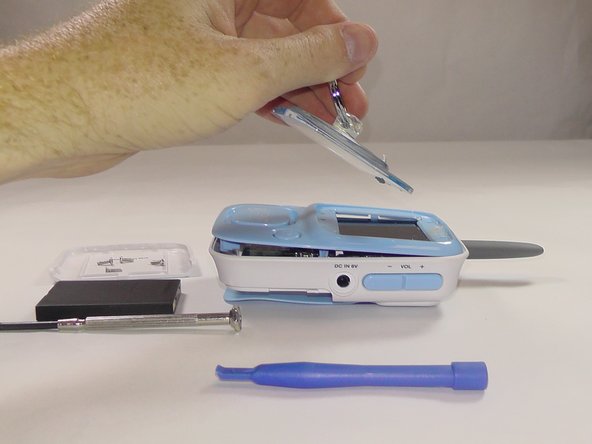
    • Carefully remove the clear face plate on the front of the hand held monitor using a plastic spudger and a suction cup.

    • Use a heat source to loosen the adhesive around the edge of the face plate before applying any pressure to the face plate.

  7. Infant Optics DXR-5 Monitor Screen Replacement: шаг 7, изображение 1 из 2 Infant Optics DXR-5 Monitor Screen Replacement: шаг 7, изображение 2 из 2
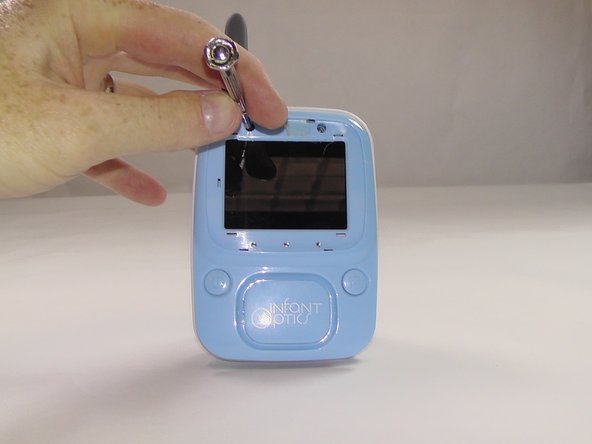
    • Using a Phillips #2 screwdriver, remove the two 6.0 mm Phillips screws that are exposed after removing the face plate.

  8. Infant Optics DXR-5 Monitor Screen Replacement: шаг 8, изображение 1 из 2 Infant Optics DXR-5 Monitor Screen Replacement: шаг 8, изображение 2 из 2
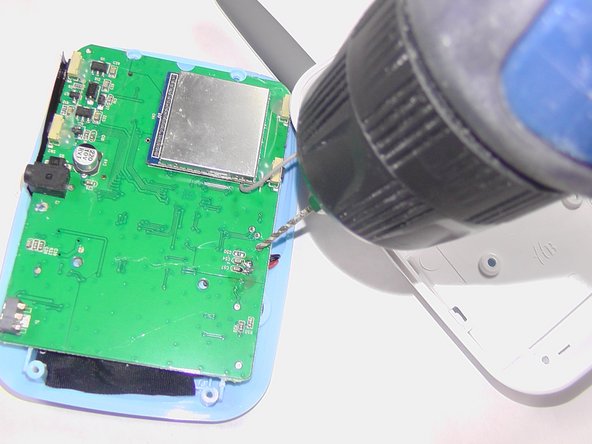
    • Using a drill carefully drill out the plastic posts that connect the mother board to the face plate.

  9. Infant Optics DXR-5 Monitor Screen Replacement: шаг 9, изображение 1 из 2 Infant Optics DXR-5 Monitor Screen Replacement: шаг 9, изображение 2 из 2
    • Carefully open the hand held monitor and flip the screen (highlighted in red) out of the way.

  10. Infant Optics DXR-5 Monitor Screen Replacement: шаг 10, изображение 1 из 2 Infant Optics DXR-5 Monitor Screen Replacement: шаг 10, изображение 2 из 2
    • Remove the hand held monitor screen from the mother board by carefully pulling from the point where it is attached with an adhesive to the mother board.

Заключение

To reassemble your device, follow these instructions in reverse order.

Еще один человек закончил это руководство.

Charles Neal

Участник с: 08/31/15

687 Репутация

Автор 5 руководств

Команда

USF Tampa, Team 6-2, Remmell Fall 2015 Участник USF Tampa, Team 6-2, Remmell Fall 2015

USFT-REMMELL-F15S6G2

5 членов

Автор 5 руководств

Один комментарий

Any ideas on where to source the replacement screen?

Abdullah - Ответить

Добавить комментарий

Просмотр статистики:

За последние 24часов: 0

За последние 7 дней: 0

За последние 30 дней: 6

За всё время: 1,984