Перейти к основному содержанию

Infant Optics DXR-8 Monitor Replacement

Архивированное руководство
Это руководство сохранено для исторических целей. Используйте его обновлённую версию, чтобы выполнить ремонт.

Выберете то, что вам нужно

  1. Infant Optics DXR-8 Monitor Replacement, Monitor: шаг 1, изображение 1 из 1
    • Start by gently inserting the plastic opening tool between the led and casing.

  2. Infant Optics DXR-8 Monitor Replacement: шаг 2, изображение 1 из 1
    • Slowly pry the cover away from the bottom using the plastic opening tool.

  3. Infant Optics DXR-8 Monitor Replacement: шаг 3, изображение 1 из 1
    • Glide the tool around the entire cover to reveal the screws, which are 5.0 mm.

    This photo is a little blurry

    Patty Remmell - Ответить

  4. Infant Optics DXR-8 Monitor Replacement: шаг 4, изображение 1 из 1
    • Remove the cover and set it aside.

  5. Infant Optics DXR-8 Monitor Replacement: шаг 5, изображение 1 из 2 Infant Optics DXR-8 Monitor Replacement: шаг 5, изображение 2 из 2
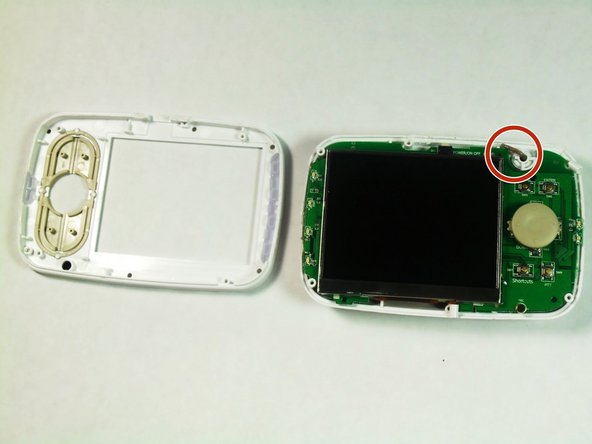
    • Remove the four corner screws, 5.0 mm, using a J1 bit.

    • Lift the top away from the bottom using the metal spudger. Be careful not to rip the antenna wire.

    Lift it how? With a tool? With fingers?

    Patty Remmell - Ответить

Заключение

To reassemble your device, follow these instructions in reverse order.

6 участников успешно повторили данное руководство.

Larsha Johnson

Участник с: 08/26/15

526 Репутация

Автор 3 руководств

Команда

USF Tampa, Team 6-4, Remmell Fall 2015 Участник USF Tampa, Team 6-4, Remmell Fall 2015

USFT-REMMELL-F15S6G4

4 членов

Автор 3 руководств

2 Комментариев

What is the part number for the LCD?

jstarion - Ответить

From the pictures LQ035NC111 seem to be the part number.

Michael C -

Добавить комментарий

Просмотр статистики:

За последние 24часов: 0

За последние 7 дней: 0

За последние 30 дней: 2

За всё время: 5,830