Введение
If your battery is dying too quickly or it is faulty, this guide will help you. Use caution, a punctured battery could be extremely hazardous.
Выберете то, что вам нужно
-
-
Wedge the plastic opening tool anywhere in the seam between the back casing and screen.
-
Slide the plastic opening tool along the sides and corners of the seam of the device while it separates from the screen.
-
-
-
-
Gently peel the tape that is covering the cable connections going to and from the battery and set tape aside.
-
-
-
Locate battery cable connection.
-
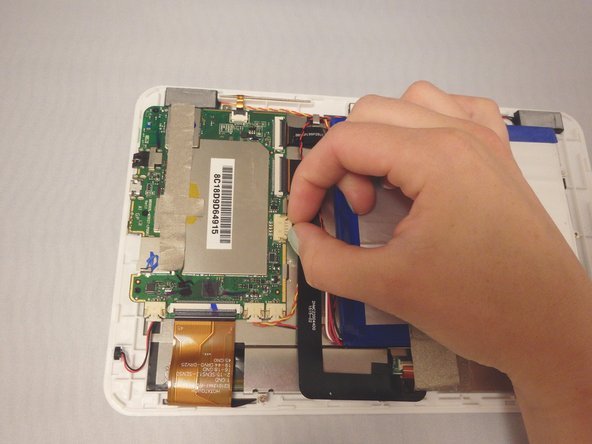
Pull gently on cable that connects the battery to the motherboard.
-
-
-
Slide the nylon spudger gently underneath the battery.
-
Using the nylon spudger, gently pry battery from adhesive on metal base.
-
Working around the battery, pry up all the sides to remove the battery from the metal base.
-


To reassemble your device, follow these instructions in reverse order.
To reassemble your device, follow these instructions in reverse order.
Отменить: Я не выполнил это руководство.
6 участников успешно повторили данное руководство.
Команда

Eastern Washington University, Team 2-1, Andersen Spring 2016 Участник Eastern Washington University, Team 2-1, Andersen Spring 2016
EWU-ANDERSEN-S16S2G1
5 членов
Автор 10 руководств
5 Комментариев
We're do u get a new battery from ???
i know this is an old comment but the solution is the same, ebay the model number and you will find many parts for cheap! good luck!
mathew -
Pls help me to send me the phone number of the above mentioned Mattew or give him my phone number. I will discuss with him to replace my charger plug and possibly the battery. thanks.