Эта версия возможно содержит некорректные исправления. Переключить на последнюю проверенную версию.
Выберете то, что вам нужно
-
Этот шаг не переведен. Помогите перевести
-
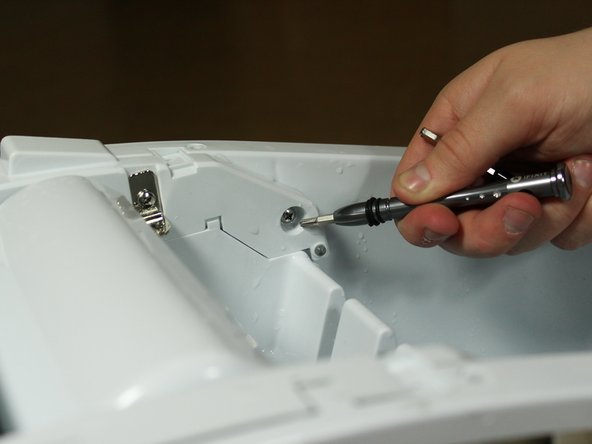
Remove the 6 screws holding the rear casing on.
-
Remove the rear casing
-
-
Этот шаг не переведен. Помогите перевести
-
Remove the 4 screws holding the Ice Tray to the body of the Ice Maker.
-
-
-
Этот шаг не переведен. Помогите перевести
-
Remove the plastic cover from the circuit board by pressing the lever on the side. A pry tool may be required.
-
Disconnect the water tray cord.
-
-
Этот шаг не переведен. Помогите перевести
-
Disconnect the water hose
-
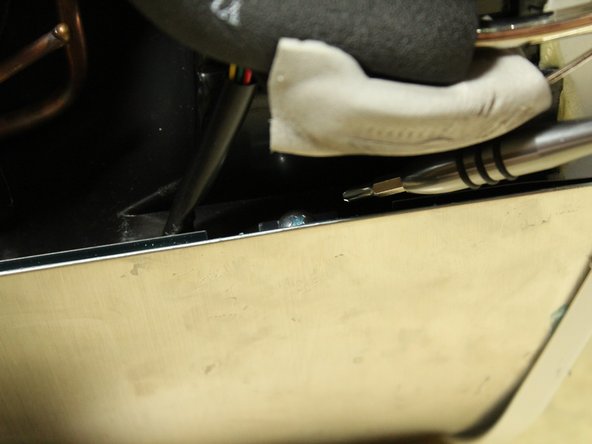
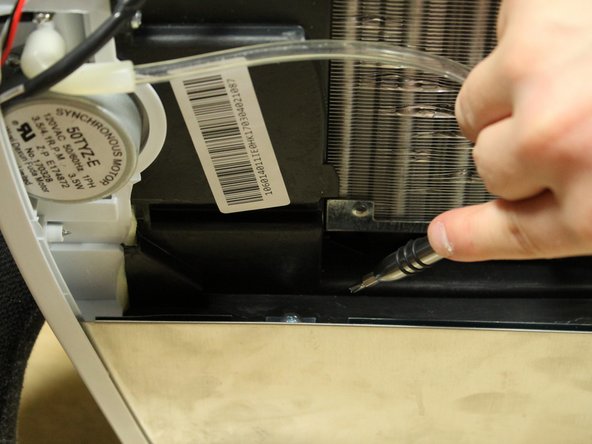
Remove the 2 screws holding the pump to the Ice Tray attachment.
-
-
Этот шаг не переведен. Помогите перевести
-
Remove the plastic covering over the circuit board by pressing against the latch on one side. A prying tool may be needed.
-
-
Этот шаг не переведен. Помогите перевести
-
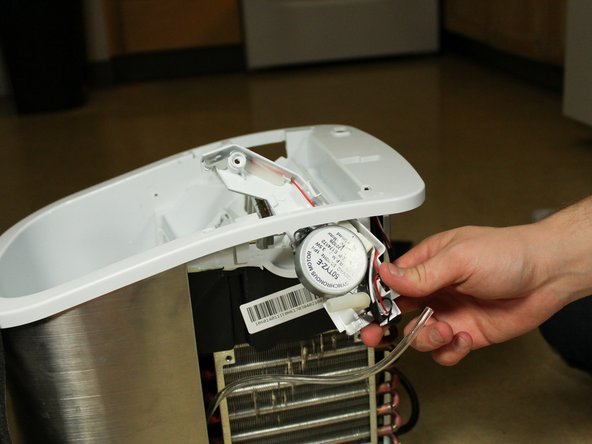
Disconnect the power supply as well as the control cables from the circuit board.
-
You may have to cut through some electrical tape to free the wires.
-


Команда

Cal Poly, Team S21-G3, Banghart Winter 2018 Участник Cal Poly, Team S21-G3, Banghart Winter 2018
CPSU-BANGHART-W18S21G3
2 членов
Автор 5 руководств
Один комментарий
This is not fixing the water pump but instead the Synchronous Motor that moves the water tray mechanism where the freezing nozzles are. The water pump is located at the end of the clear tube at the bottom right of the unit (the side the fan is on). It literally has a friction fit that is on the other side of the screen you see in the water reservoir (bottom right). Both mine and another person (remember not to cut yourself) who made a video on YouTube’s problem was hair in the pump. Easy to take apart and either clean or replace (around $15). Thank you cats in my case! Most of these portable ice makers are the exact same on the inside and I’m sure massed produced in China then branded to reflect the price… ie you’re paying for the name in most cases! Good luck and happy fixing! - George