Эта версия возможно содержит некорректные исправления. Переключить на последнюю проверенную версию.
Выберете то, что вам нужно
-
Этот шаг не переведен. Помогите перевести
-
Flip the stereo so the CD opening is face down.
-
With two fingers, pinch the tabs and lift up to open the battery protection cover.
-
-
Этот шаг не переведен. Помогите перевести
-
Using a spudger or your fingers, push up against the positive end of the battery. Once it is loose, lift the battery out.
-
Repeat until all eight batteries are removed.
-
-
-
Этот шаг не переведен. Помогите перевести
-
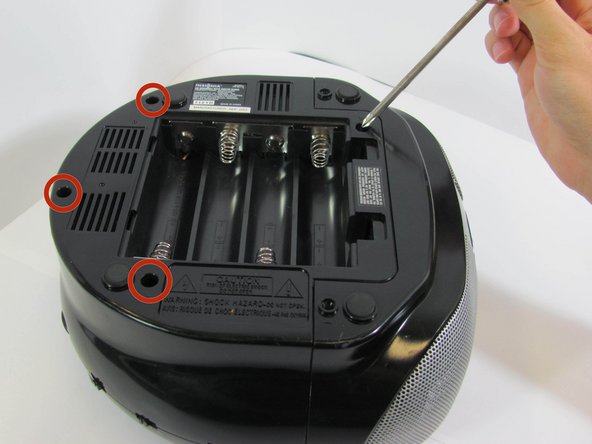
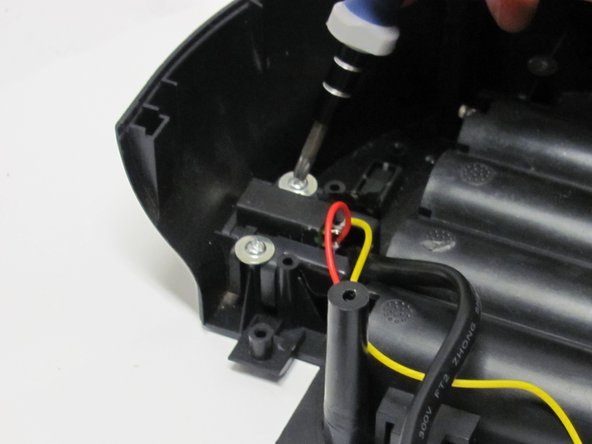
Using a long Phillips #2 screwdriver, remove one 6mm screw located inside the battery compartment.
-
Use the same screwdriver to remove four more 6mm screws along the outside of the case.
-
-
Этот шаг не переведен. Помогите перевести
-
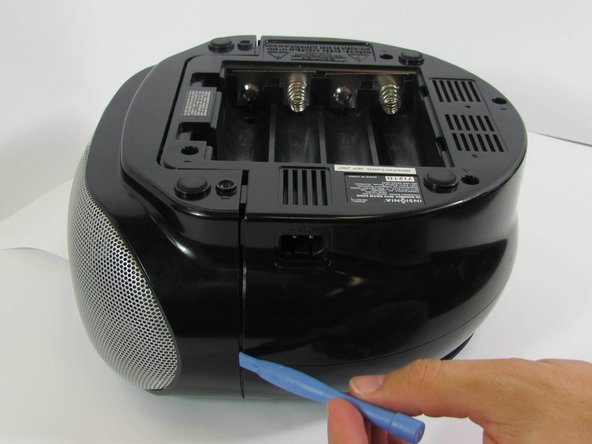
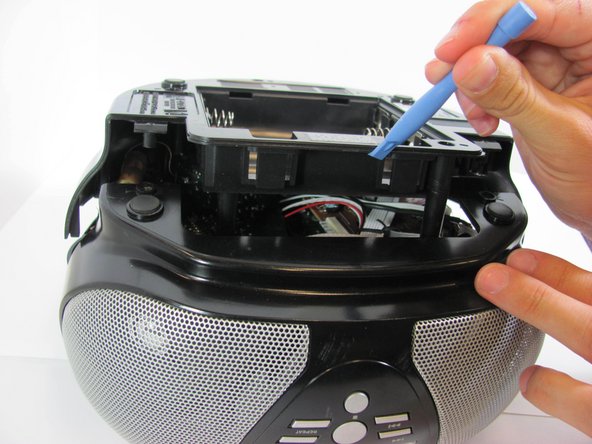
With a plastic opening tool, wedge the bottom shell from the main speaker face along the edge.
-
Once the pieces are separated, pull them apart and place the bottom cover aside, near the stereo.
-
-
Этот шаг не переведен. Помогите перевести
-
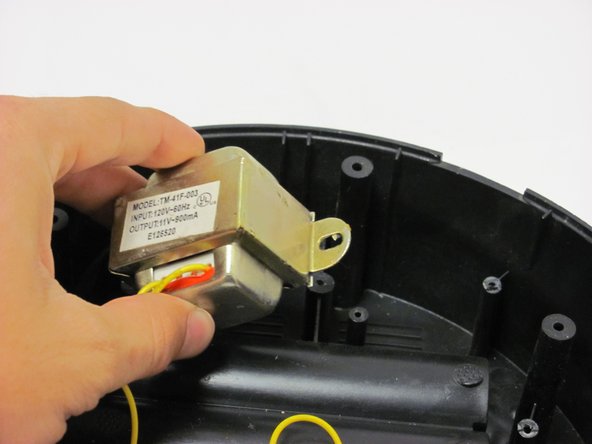
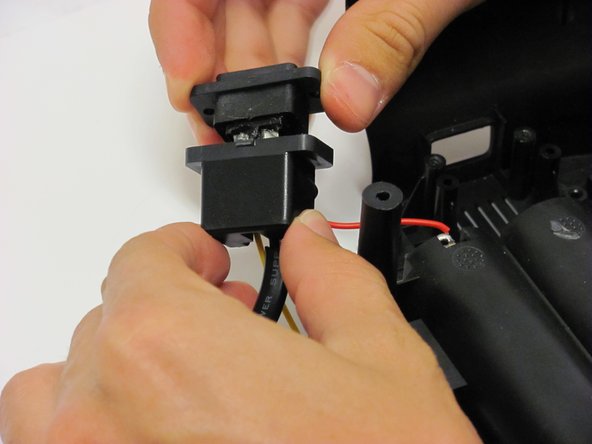
Using a Phillips #2 screwdriver, remove two 4mm screws from the transformer box.
-
Remove the transformer and set it to the side.
-
-
Этот шаг не переведен. Помогите перевести
-
Remove the solder connecting the two yellow wires to the green quarter-circle board.
-
-
Этот шаг не переведен. Помогите перевести
-
There will be a strip of electrical tape securing the converter. Use scissors to carefully remove this tape.
-
Use a Phillips #2 screwdriver to remove two 4mm screws from the converter.
-
Remove the converter. There will be a plastic casing that slides off; set this aside.
-
-
Этот шаг не переведен. Помогите перевести
-
Remover the solder from the red and yellow wires on the converter.
-


Команда

Cal Poly, Team 4-31, Amido Fall 2013 Участник Cal Poly, Team 4-31, Amido Fall 2013
CPSU-AMIDO-F13S4G31
4 членов
Автор 8 руководств