Перейти к основному содержанию

Insignia NS-HDRAD Antenna Replacement

Выберете то, что вам нужно

  1. Insignia NS-HDRAD Antenna Replacement, Battery: шаг 1, изображение 1 из 2 Insignia NS-HDRAD Antenna Replacement, Battery: шаг 1, изображение 2 из 2
    • Be sure the radio is turned off by pressing the red power button.

    • Or, if using the charger, remove the power cord.

  2. Insignia NS-HDRAD Antenna Replacement: шаг 2, изображение 1 из 3 Insignia NS-HDRAD Antenna Replacement: шаг 2, изображение 2 из 3 Insignia NS-HDRAD Antenna Replacement: шаг 2, изображение 3 из 3
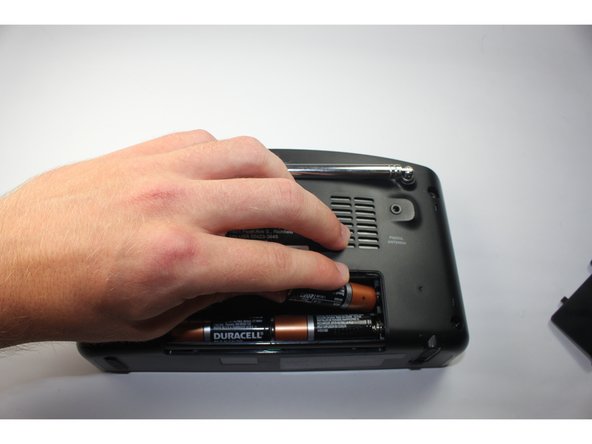
    • Remove the panel on the back side of the radio by pressing the arrow in a downward motion.

  3. Insignia NS-HDRAD Antenna Replacement: шаг 3, изображение 1 из 3 Insignia NS-HDRAD Antenna Replacement: шаг 3, изображение 2 из 3 Insignia NS-HDRAD Antenna Replacement: шаг 3, изображение 3 из 3
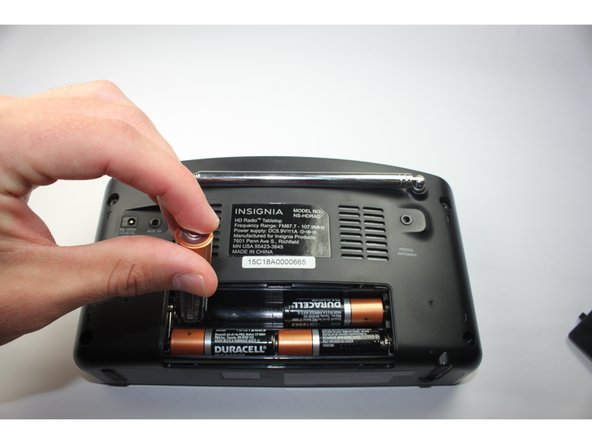
    • Remove the batteries one-by-one by pulling from the positive terminal of the top left battery.

    • The battery's positive terminal is indicated by a "+" on the side.

    • Remove the adjacent battery by simply pulling it out of the holder.

    • Repeat for the bottom row of batteries.

  4. Insignia NS-HDRAD Antenna Replacement, Rear Panel: шаг 4, изображение 1 из 2 Insignia NS-HDRAD Antenna Replacement, Rear Panel: шаг 4, изображение 2 из 2
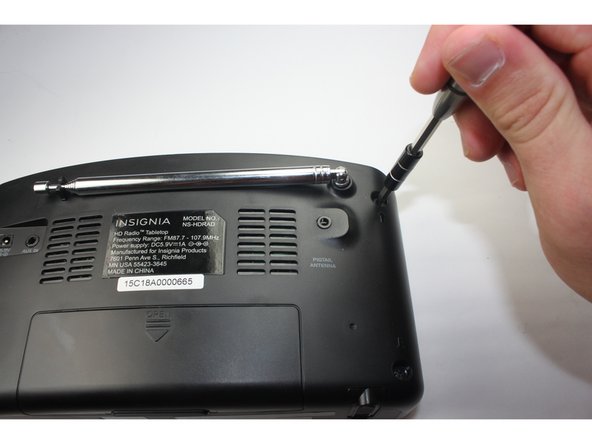
    • Using the J1 Philip's head screwdriver, remove the 4 screws from the back side of the radio.

    • The 2 bottom screws are difficult to remove. Once unscrewed, either use a spudger to pull it out or knock on the front side of the radio to pop it out.

  5. Insignia NS-HDRAD Antenna Replacement: шаг 5, изображение 1 из 3 Insignia NS-HDRAD Antenna Replacement: шаг 5, изображение 2 из 3 Insignia NS-HDRAD Antenna Replacement: шаг 5, изображение 3 из 3
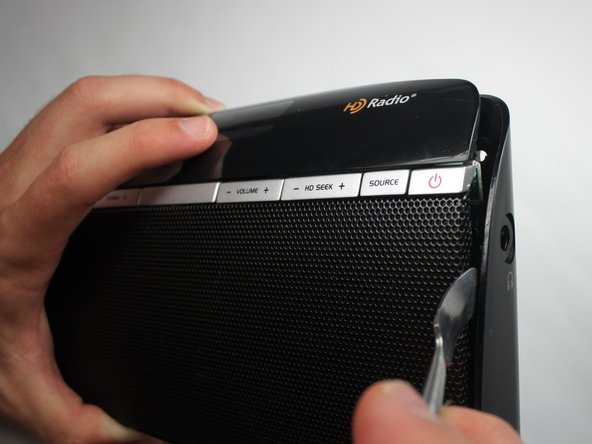
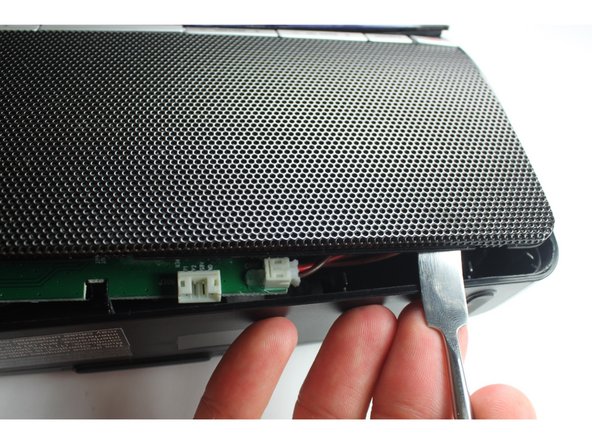
    • Using the metal spudger, pry open the panel with the metal spudger. Work you way around the whole device.

    • The headphone jack is flush with the paneling so the panel must be moved away from the jack completely to remove.

    • When reassembling, the ports don't fit into their respective holes in the back panel. Use the sharp metal end of the spudger and pull the ports to their slots.

  6. Insignia NS-HDRAD Antenna Replacement: шаг 6, изображение 1 из 1
    • Using the pliers, separate the wire connector above the left speaker.

    • If this is the first time removing the wire connector, there may be glue holding the wires flush against the panel. Remove this glue with a finger or the plastic spudger.

    • Using regular pliers or needle nose pliers are fine for this tasks. They are interchangeable.

  7. Insignia NS-HDRAD Antenna Replacement: шаг 7, изображение 1 из 1
    • Using the J1 Philip's head screwdriver, unscrew the bolt attaching the antenna to the back panel.

  8. Insignia NS-HDRAD Antenna Replacement, Antenna: шаг 8, изображение 1 из 1
    • Remove the antenna and the antenna wire terminal.

    • For reassembly, the wire terminal should fit between the fin with the screw hole and the antenna screw hole.

Заключение

To reassemble your device, follow these instructions in reverse order.

Еще один человек закончил это руководство.

MeredithDana

Участник с: 09/22/15

137 Репутация

1 руководство автора

Команда

Baylor, Team 4-3, Williams Fall 2015 Участник Baylor, Team 4-3, Williams Fall 2015

BU-WILLIAMS-F15S4G3

4 членов

Автор 4 руководств

0 Комментариев

Добавить комментарий

Просмотр статистики:

За последние 24часов: 0

За последние 7 дней: 2

За последние 30 дней: 5

За всё время: 885