Введение
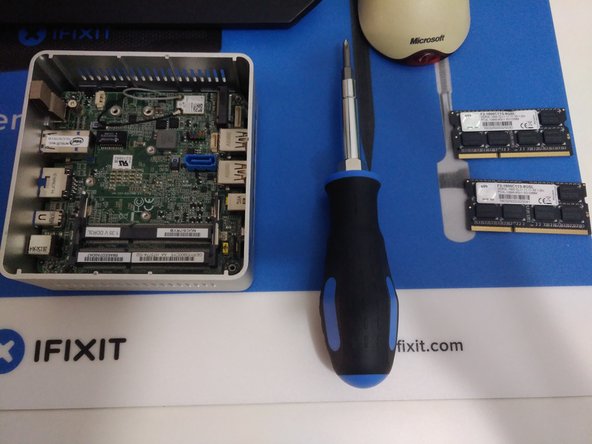
This guide will provide information on how to disassemble an Intel NUC5i7RYH or similar.
Выберете то, что вам нужно
-
-
Place the NUC upside down and start by using a Phillips head screw driver to remove the lower screws on the lower case door.
-
These screws are held in with retainers, so they won't fall out when you flip the lid.
-
-
-
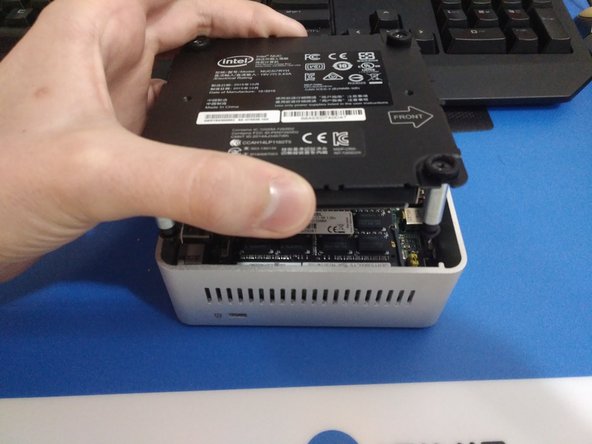
Lift the door, and keep an eye on the cables that connect to the NUC's motherboard. These cables are the power and data cables for the 2.5" hard drive bay.
-
Carefully unplug the cables from the motherboard, and set the bracket aside.
-
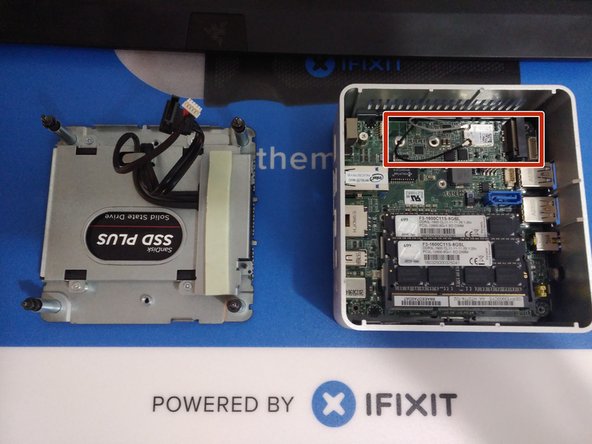
In the last photo, the slot for a blade SSD is marked. This is where you would install the blade SSD, and use a screw to hold it in place.
-
-
-
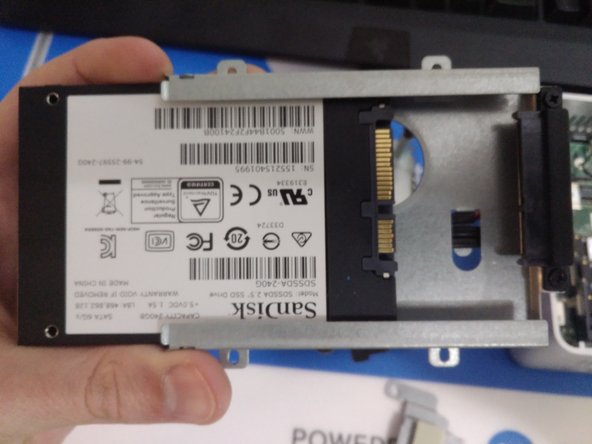
Remove the 4 silver screws that hold the hard drive in the bracket. The metal shield with thermal pad in the red box will come off: this comes in handy if you have a blade SSD installed, as it insulates it from the metal.
-
Carefully slide the 2.5" HDD or SSD out of its case.
-
-
-
-
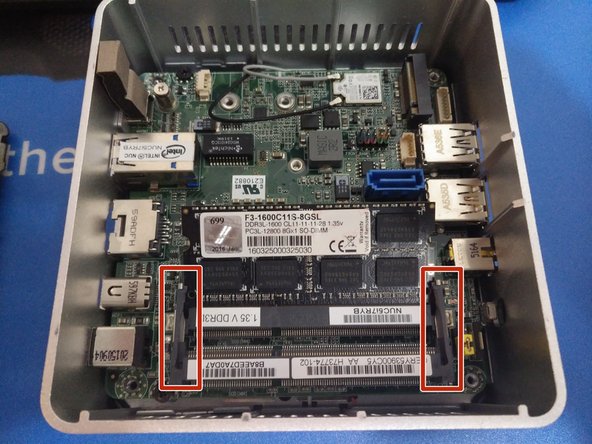
Removal of RAM on these units is just like on a standard laptop: slightly bend each arm on each side of the chip, and allow it to pop up before sliding it out of the socket.
-
If using two sticks of RAM, repeat this process for the lower stick underneath.
-
-
-
The motherboard is held in with two black Phillips head screws, located on the left hand side.
-
Be sure to unplug the antenna cables from the wireless card before removing the motherboard.
-
Grasp the ethernet port, and lift the board out of the case.
-
-
-
The motherboard should lift right out of the case.
-
To remove the fan, unscrew the two Phillips head screws holding it in. It can then be unplugged from the motherboard.
-


To reassemble your device, follow these instructions in reverse order.
To reassemble your device, follow these instructions in reverse order.
Отменить: Я не выполнил это руководство.
20 участников успешно повторили данное руководство.

15 Комментариев
Congrats! Thanks for letting me know, and I’m glad to hear your machine is running cooler!
hello. I need a replacement audio jack (port) for this nuc, model 5i5ryh, can’t find it anywhere, any suggestions?
You can try looking on eBay for replacement audio jacks. From what I’m seeing, you could potentially use a universal one and solder a few jumper wires to their corresponding pins and make something work.