Перейти к основному содержанию

Inter-tel IP 8660 LCD Screen Replacement

Выберете то, что вам нужно

  1. Inter-tel IP 8660 LCD Screen Replacement, Rear Cover: шаг 1, изображение 1 из 1
    • Before disassembling the phone, make sure it is not plugged into power and the handset phone cord is disconnected from the handset jack.

  2. Inter-tel IP 8660 LCD Screen Replacement: шаг 2, изображение 1 из 3 Inter-tel IP 8660 LCD Screen Replacement: шаг 2, изображение 2 из 3 Inter-tel IP 8660 LCD Screen Replacement: шаг 2, изображение 3 из 3
    • Unscrew the 9 highlighted screws using a #1 Phillips head screwdriver. You can use a magnetized screwdriver to draw them out.

    • 8 mm long

    • 11 mm long

  3. Inter-tel IP 8660 LCD Screen Replacement: шаг 3, изображение 1 из 1
    • Lift up the back cover and set it aside.

  4. Inter-tel IP 8660 LCD Screen Replacement, Internal speaker: шаг 4, изображение 1 из 1
    • While holding down the motherboard, gently pull the wire harness connecting the speaker to the motherboard until it comes free.

  5. Inter-tel IP 8660 LCD Screen Replacement: шаг 5, изображение 1 из 1
    • Lift up the speaker.

  6. Inter-tel IP 8660 LCD Screen Replacement, LCD Screen: шаг 6, изображение 1 из 3 Inter-tel IP 8660 LCD Screen Replacement, LCD Screen: шаг 6, изображение 2 из 3 Inter-tel IP 8660 LCD Screen Replacement, LCD Screen: шаг 6, изображение 3 из 3
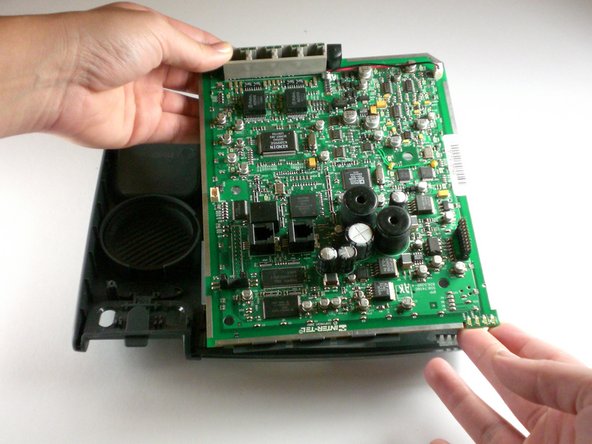
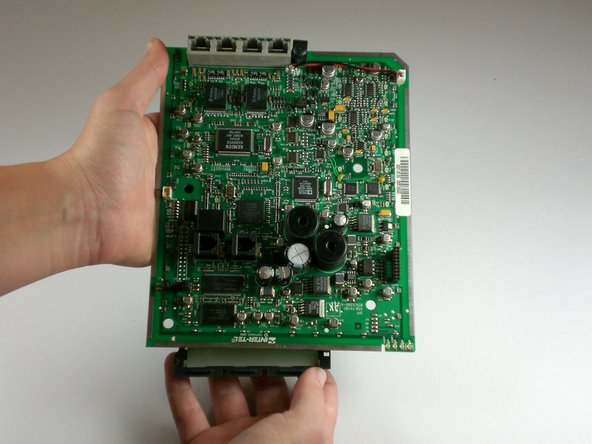
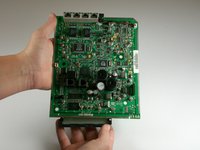
    • Lift up the motherboard out of its housing in the front cover of the phone.

    • Set the front cover and button pads aside.

  7. Inter-tel IP 8660 LCD Screen Replacement: шаг 7, изображение 1 из 3 Inter-tel IP 8660 LCD Screen Replacement: шаг 7, изображение 2 из 3 Inter-tel IP 8660 LCD Screen Replacement: шаг 7, изображение 3 из 3
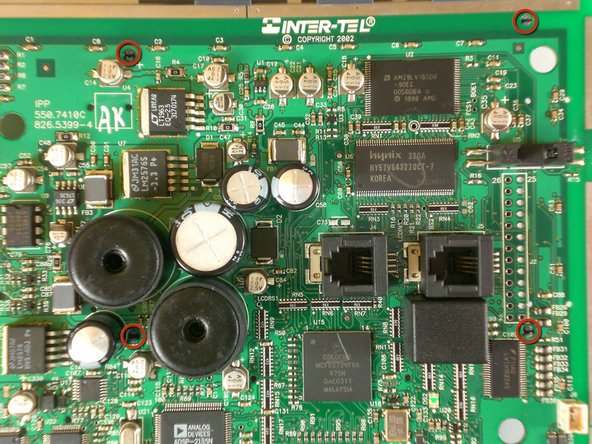
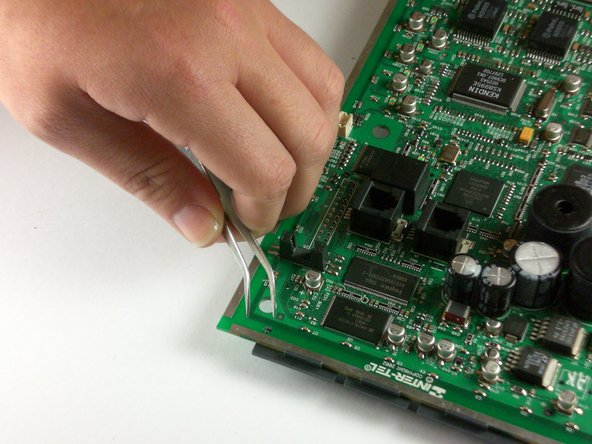
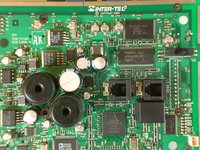
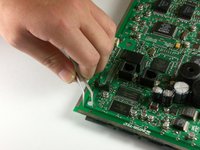
    • Using tweezers, pinch the highlighted connective clips together and depress. Start with the clips in the middle of the motherboard first.

    • Note: There are four clips, one at each corner of the LCD screen.

  8. Inter-tel IP 8660 LCD Screen Replacement: шаг 8, изображение 1 из 1
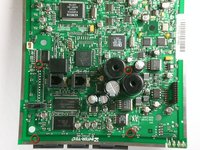
    • Flip the motherboard over so that the LCD screen is facing upward.

  9. Inter-tel IP 8660 LCD Screen Replacement: шаг 9, изображение 1 из 2 Inter-tel IP 8660 LCD Screen Replacement: шаг 9, изображение 2 из 2
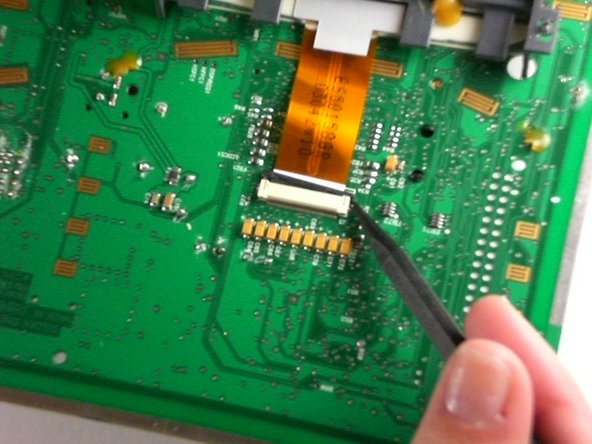
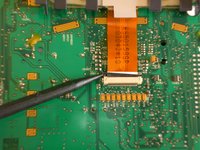
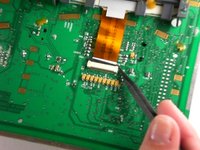
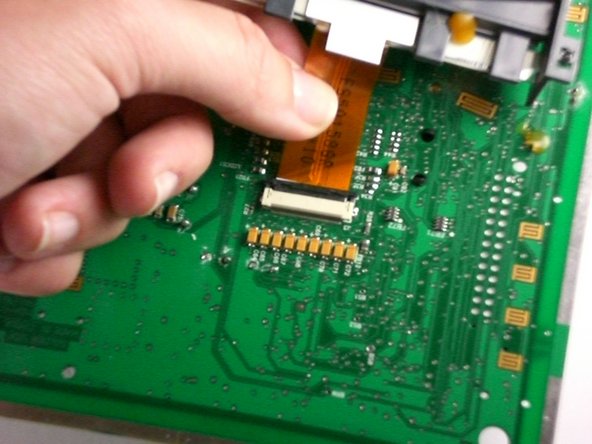
    • Push the black clip holding the ribbon cable out of its casing using the plastic opening tool.

    • This is done using the spudger to lift one side out of its housing.

    • Reposition the spudger to the other side of the black clip and push it flush with the other end.

    • Note: The black clip pushes out of the housing and does not come completely loose.

  10. Inter-tel IP 8660 LCD Screen Replacement: шаг 10, изображение 1 из 3 Inter-tel IP 8660 LCD Screen Replacement: шаг 10, изображение 2 из 3 Inter-tel IP 8660 LCD Screen Replacement: шаг 10, изображение 3 из 3
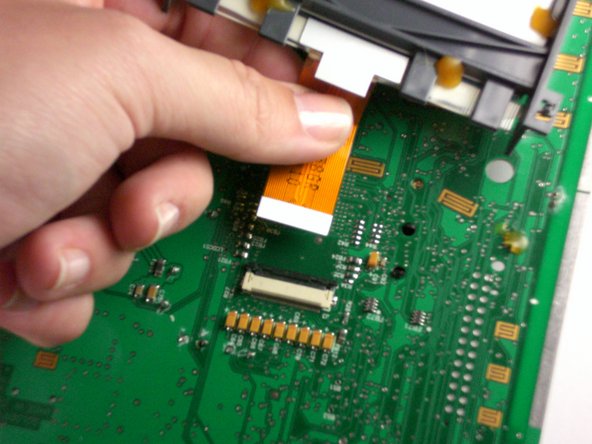
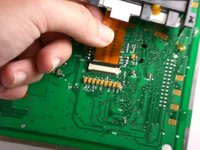
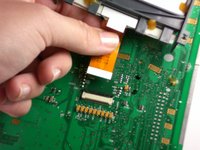
    • Pull gently on the ribbon cable so that it comes loose from the black clip.

Заключение

To reassemble your device, follow these instructions in reverse order.

Еще один человек закончил это руководство.

Juan David GutierrezFranco

Участник с: 01/20/12

67 Репутация

Автор 4 руководств

Команда

Cal Poly, Team 11-24, Maness Winter 2012 Участник Cal Poly, Team 11-24, Maness Winter 2012

CPSU-MANESS-W12S11G24

4 членов

Автор 14 руководств

0 Комментариев

Добавить комментарий

Просмотр статистики:

За последние 24часов: 0

За последние 7 дней: 3

За последние 30 дней: 3

За всё время: 836