Введение
if your KYVOL CYBOVAC E20 is having issues moving its wheels, or producing a grinding sound during movement, then use this guide to replace the wheel assembly.
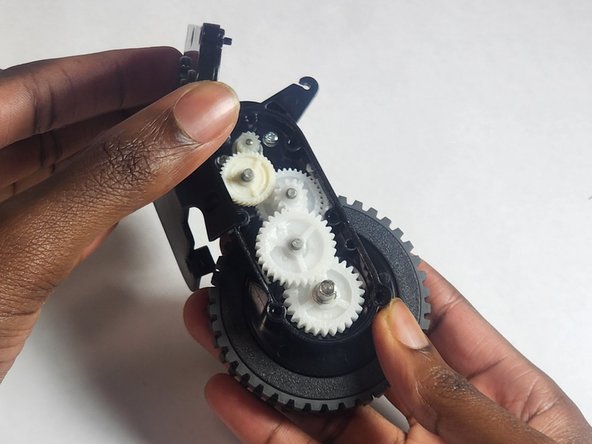
The wheel assembly consists of gears and a motor that operate the wheels on the KYVOL CYBOVAC E20 device. A broken wheel assembly would result the device either not being able to move or a device the produces a lot of grinding when moving.
Before using this guide, you should inspect the wheel and see if there is something stuck prior to taking the device apart.
This guide requires you to remove the wheel from its power source, so it is advised to power off the device prior to following this guide.
Выберете то, что вам нужно
-
-
Start by laying the device on a flat surface with the logo facing up.
-
Flip the device over.
-
-
-
-
Remove both sweepers by pinching near the base of the brushes and pulling up.
-
-
-
Lift the wheel to detach the tensioning spring. This step requires you to first press down on the wheel, then detach.
-
Disconnect the wheel motor from the power supply.
-
-
-
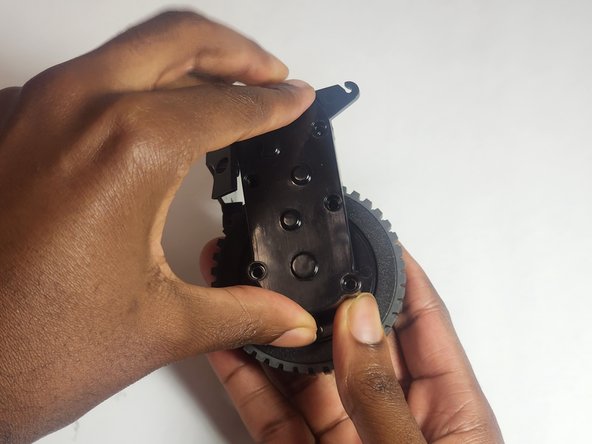
Remove six 10 mm screws from the housing using a Phillips #00 screwdriver.
-
Open the gearbox.
-


To reassemble your device, follow these instructions in reverse order.
To reassemble your device, follow these instructions in reverse order.
Команда

IUPUI, Team 1-1, Harley Summer 2023 Участник IUPUI, Team 1-1, Harley Summer 2023
IUPUI-HARLEY-SU23S1G1
4 членов
Автор 4 руководств