Эта версия возможно содержит некорректные исправления. Переключить на последнюю проверенную версию.
Выберете то, что вам нужно
-
Этот шаг не переведен. Помогите перевести
-
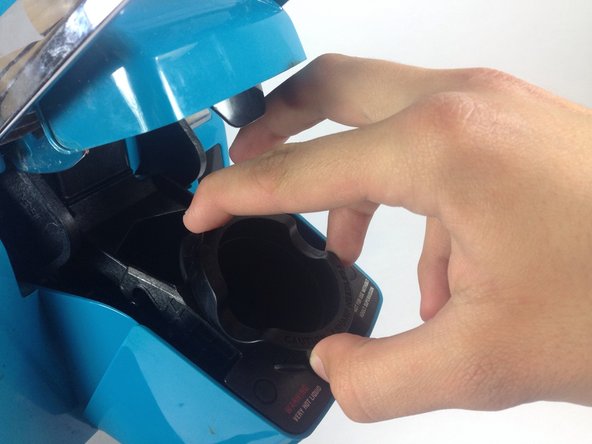
Firmly place a finger on each one of the three tabs that hold the K-cup holder into place, pushing in lightly. The tabs are difficult to see, but they are there and will make the removal easier. The top tab is located in the same location as the white triangle and the bottom two are located under the plastic bumps highlighted in the picture.
-
-
Этот шаг не переведен. Помогите перевести
-
Firmly rock the K-cup holder from side to side, loosening the K-cup holder from its seat.
-
-
Этот шаг не переведен. Помогите перевести
-
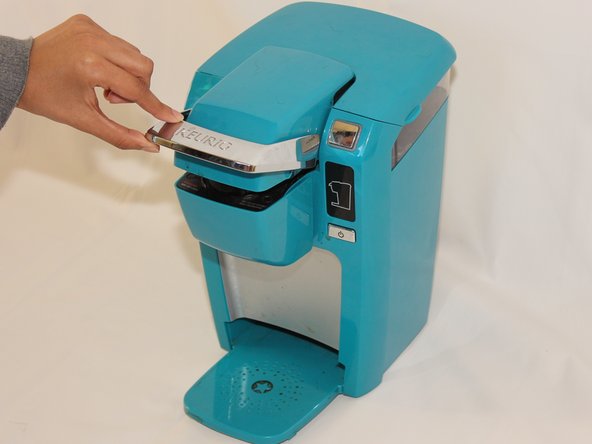
Open the top lid of the Keurig.
-
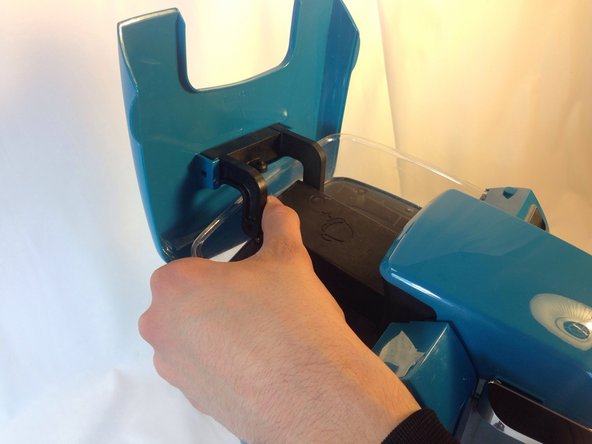
Pull directly outwards on one of the arms that holds the top lid in place. It will take some force to get the arm off the peg. Once one side is off, repeat the process on the second arm.
-
-
Этот шаг не переведен. Помогите перевести
-
Lay the Keurig on its back with the water reservoir pointing away from you.
-
-
Этот шаг не переведен. Помогите перевести
-
Unscrew the two 9mm #1 Philips screws that hold the top plastic cover in place.
-
-
-
Этот шаг не переведен. Помогите перевести
-
Set the Keurig in an upright position with the front side facing you.
-
Pull the cover off the top of the Keurig. It should come off easily with little force.
-
-
Этот шаг не переведен. Помогите перевести
-
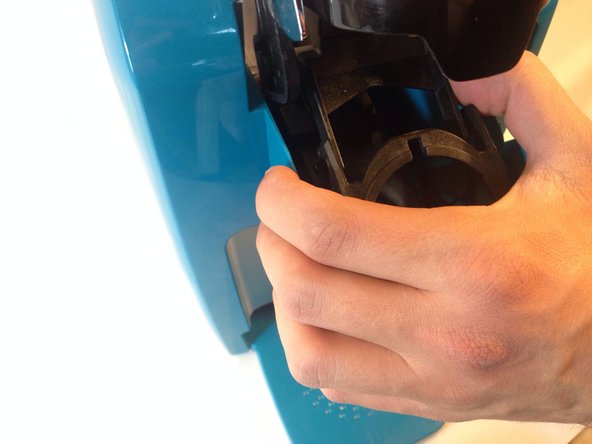
Firmly grasp the hose and pull it off of the plastic nozzle.
-
-
Этот шаг не переведен. Помогите перевести
-
Unscrew the two 9 mm #1 Philips screws at the top of the device.
-
-
Этот шаг не переведен. Помогите перевести
-
Push down lightly on the nozzle that the hose was attached to. The plastic housing along with the needle should pop off without much force.
-
-
Этот шаг не переведен. Помогите перевести
-
With the needle removed, open the device by pulling up on the handle.
-
-
Этот шаг не переведен. Помогите перевести
-
Push in on one of the arms attached to the K-cup holder plastic housing to remove it from its rails. The arms are identical for both sides so once one side is free repeat the process for the second side.
-
Once the arms are removed, the configuration should look like the picture. The K-cup holder housing should be separated from the arms.
-
-
Этот шаг не переведен. Помогите перевести
-
Use a Phillips #1 screw driver to remove the four 12 mm screws that hold the arm assembly in place.
-
-
Этот шаг не переведен. Помогите перевести
-
Lift up the arm and pull up the handle assembly. It should easily come off.
-
This white tab falls off easily, remove it and set it aside to ensure it is not lost.
-
-
Этот шаг не переведен. Помогите перевести
-
Unscrew the two 9mm #1 Philips screws from the handle assembly.
-
-
Этот шаг не переведен. Помогите перевести
-
Lay the handle assembly on its side. Use one plastic prying tool to hold the snap ring in place so that it does not rotate and another to pop it off.
-
Flip the assembly over and repeat the process on the other side.
-
-
Этот шаг не переведен. Помогите перевести
-
Once the both snap rings are removed, pull on the plastic side plates to remove them. It shouldn't take much force to remove them.
-
-
Этот шаг не переведен. Помогите перевести
-
With the side plates off, lay the handle assembly upside down with the handle facing you.
-
Now push in the two bars that hold the handle in place.
-
-
Этот шаг не переведен. Помогите перевести
-
Firmly pull on the handles to get them off of the bars. It should not take much force once the bars are pushed in.
-


Отменить: Я не выполнил это руководство.
Еще один человек закончил это руководство.
Команда

Cal Poly, Team 17-1, Forte Winter 2014 Участник Cal Poly, Team 17-1, Forte Winter 2014
CPSU-FORTE-W14S17G1
5 членов
Автор 17 руководств
Один комментарий
I took apart my mini Keurig earlier this week and let many parts soak in vinegar besides really scrubbing area that coffee basket sits & getting oodles of caked coffee bits out. Have put it back together except one item I can’t make go back in, so doesn’t appear to be ready to use. There’s a rod with 2 plastic cylinders on it. Can’t get it to clip into the metal ‘j’ clip that appears to keep rod axle sliding in track.
Suggestions? Instructions?