Перейти к основному содержанию

Keyboard

Абсолютно необходимое руководство
Это руководство предназначено только для использования в качестве обязательного условия для других руководств. Оно не полностью само по себе.

Выберете то, что вам нужно

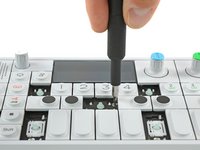
  1. Keyboard, key removal: шаг 1, изображение 1 из 3 Keyboard, key removal: шаг 1, изображение 2 из 3 Keyboard, key removal: шаг 1, изображение 3 из 3
    • To get to the screws beneath the keyboard you need to take some keys off. You can use either an opening tool or an opening pick. The first picture shows how it should look like with all the necessary keys off (12 in total).

    • The four longer keys from the fingerboard are to be handled from the left side to get them off.

    • The eight smaller keys need to be levered from the bottom up.

  2. Keyboard, removing scissors mechanisms: шаг 2, изображение 1 из 2 Keyboard, removing scissors mechanisms: шаг 2, изображение 2 из 2
    • The scissor mechanism of the eight small keys are obstructing the underlying screws.

    • By using again an opening tool or opening pick these can be snapped off easily.

    • When reassembling be sure to place them in with the correct side facing upwards.

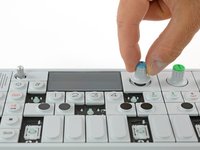
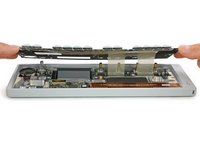
  3. Keyboard, unscrew keyboard: шаг 3, изображение 1 из 3 Keyboard, unscrew keyboard: шаг 3, изображение 2 из 3 Keyboard, unscrew keyboard: шаг 3, изображение 3 из 3
    • Loosen those 12 screws with a Phillips #00 screwdriver.

    • Then just pull off the four rotary knobs and the volume knob.

    • Now it is possible to slightly lift the keyboard and set it back.

Заключение

To reassemble your device, follow these instructions in reverse order.

Tobias Isakeit

Участник с: 03/31/14

117 238 Репутация

Автор 188 руководств

Команда

Master Techs Участник Master Techs

Community

322 членов

Автор 2 520 руководств

0 Комментариев

Добавить комментарий

Просмотр статистики:

За последние 24часов: 0

За последние 7 дней: 0

За последние 30 дней: 0

За всё время: 662