Введение
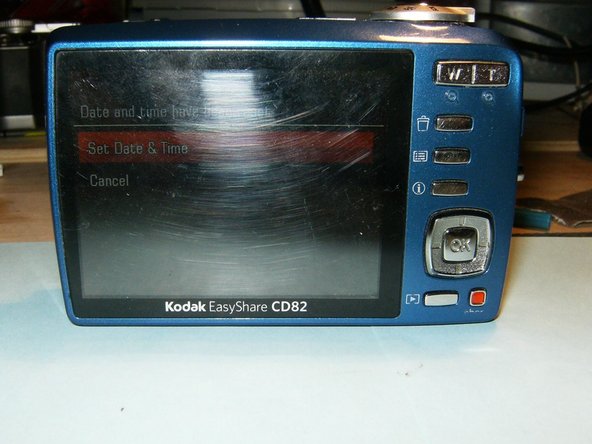
Use this guide to disassemble a Kodak EasyShare CD82, in order to remove and replace the LCD display screen.
Выберете то, что вам нужно
-
-
Remove the batteries and the memory card from the device.
-
Remove the 2 screws located at the bottom of the device.
-
-
-
Remove the 2 screws on the side, to the left of the camera lens.
-
Remove the 2 screws on the side, to the right of the camera lens.
-
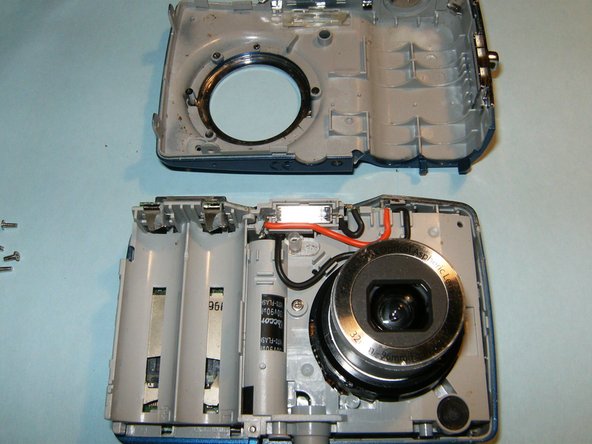
Pry the casing from the device starting at the battery compartment and following the seem around the camera.
-
-
-
-
Remove the front panel from the device first, then remove the back panel.
-
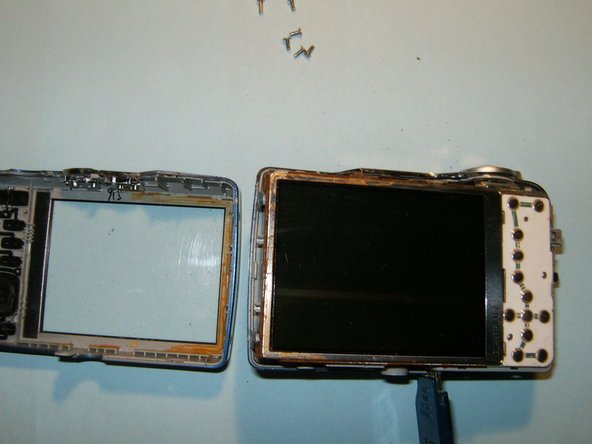
Do not remove the LCD screen from the device once it becomes visible.
-
-
-
Flip the LCD screen away from the top of the device to reveal the ribbon cable.
-
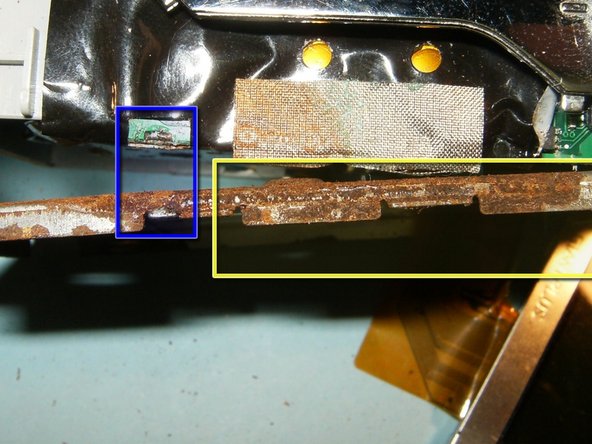
This is water damage the has afflicted the camera.
-
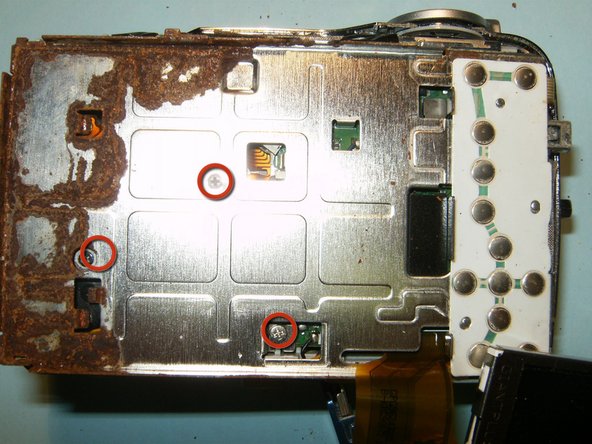
Remove the 3 screws from the LCD screen holder.
-
Pry the screen holder from the circuit board connector.
-
-
-
Disconnect the logic board from the right side of the frame.
-
Remove the small ribbon cable that is connecting the button panel to the logic board, using a small pair of tweezers or hemostat.
-
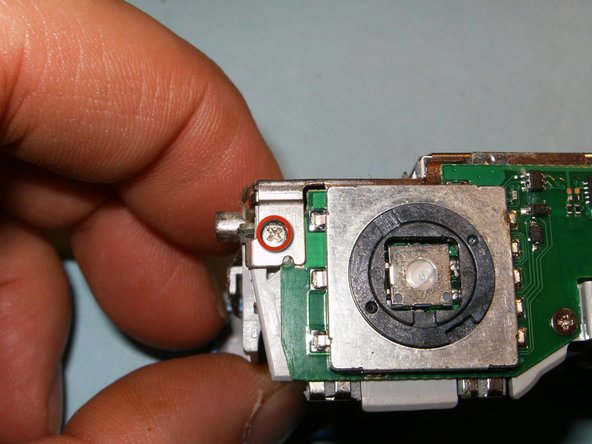
Remove the screw on the top right side of the device.
-
-
-
Open the connector and move the black clip into the upward position, freeing the cable. Remove the LCD screen and the holder.
-
Follow these steps in reverse order to reassemble. The device should be fully functional upon completion.
-


To reassemble your device, follow these instructions in reverse order.
To reassemble your device, follow these instructions in reverse order.
Отменить: Я не выполнил это руководство.
2 участников успешно повторили данное руководство.

Команда

Один комментарий
Is there any repair for Kodak CD80 easy share camera…..as my camera is not working