Перейти к основному содержанию

Kyocera Marbl K127 Keyboard Replacement

Выберете то, что вам нужно

  1. Kyocera Marbl K127 Keyboard Replacement, Remove the cover on the back of the phone.: шаг 1, изображение 1 из 3 Kyocera Marbl K127 Keyboard Replacement, Remove the cover on the back of the phone.: шаг 1, изображение 2 из 3 Kyocera Marbl K127 Keyboard Replacement, Remove the cover on the back of the phone.: шаг 1, изображение 3 из 3
    • Place your thumbs on the pack of the phone and slide them in a downward motion to remove the cover.

  2. Kyocera Marbl K127 Keyboard Replacement, Remove the battery: шаг 2, изображение 1 из 3 Kyocera Marbl K127 Keyboard Replacement, Remove the battery: шаг 2, изображение 2 из 3 Kyocera Marbl K127 Keyboard Replacement, Remove the battery: шаг 2, изображение 3 из 3
    • Use your index finger at the top of the battery and pull it towards your body.

  3. Kyocera Marbl K127 Keyboard Replacement, Remove the phone backing.: шаг 3, изображение 1 из 3 Kyocera Marbl K127 Keyboard Replacement, Remove the phone backing.: шаг 3, изображение 2 из 3 Kyocera Marbl K127 Keyboard Replacement, Remove the phone backing.: шаг 3, изображение 3 из 3
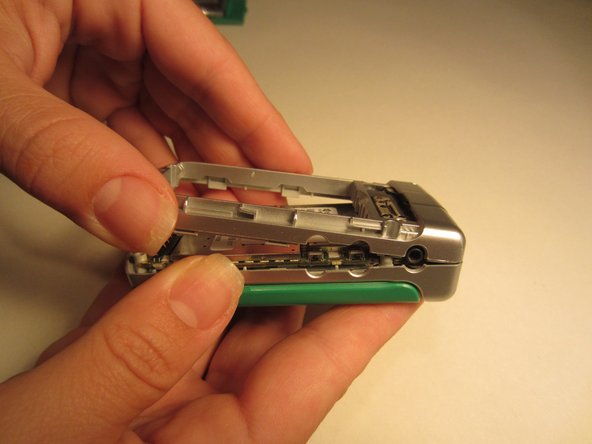
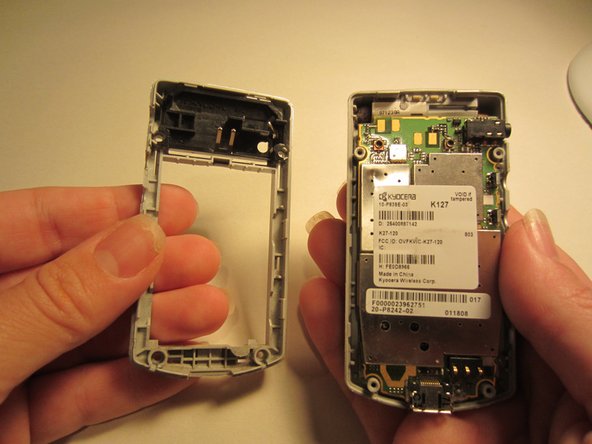
    • Use the Y1 tri-wing screwdriver to remove the four 2.4mm screws and then pry the entire backing off of the phone including the black clip attached to the top of the motherboard.

  4. Kyocera Marbl K127 Keyboard Replacement, Remove the existing keyboard.: шаг 4, изображение 1 из 3 Kyocera Marbl K127 Keyboard Replacement, Remove the existing keyboard.: шаг 4, изображение 2 из 3 Kyocera Marbl K127 Keyboard Replacement, Remove the existing keyboard.: шаг 4, изображение 3 из 3
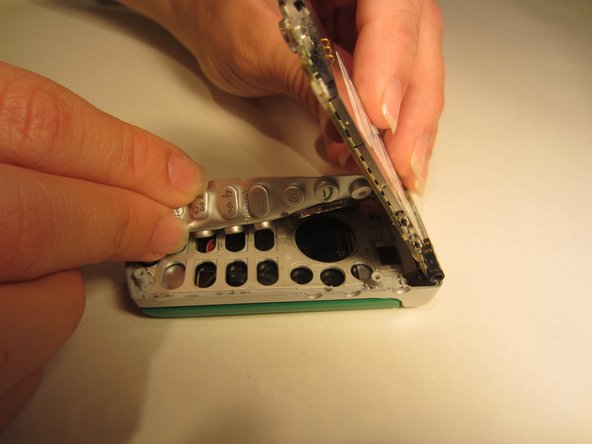
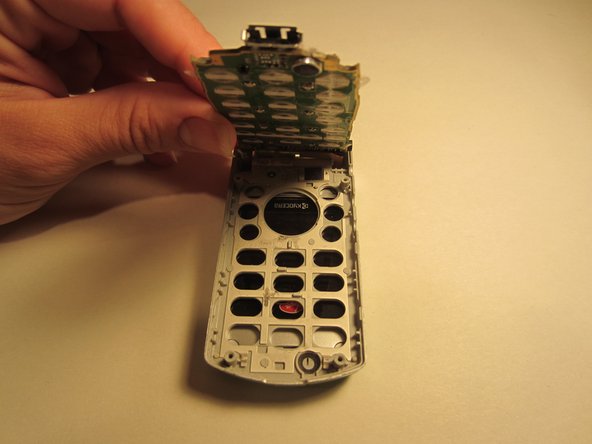
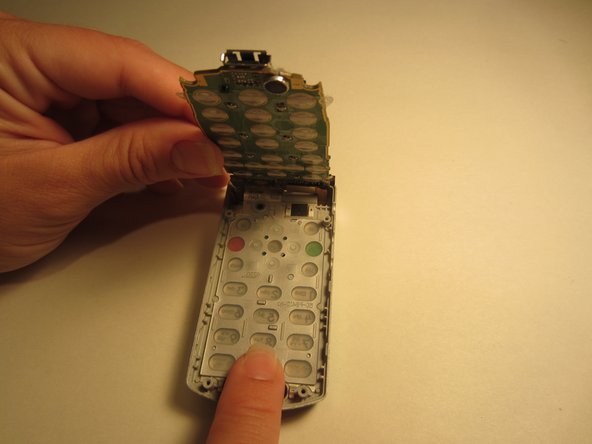
    • Lift the motherboard away from you to locate the existing keyboard and remove it.

  5. Kyocera Marbl K127 Keyboard Replacement, Install the new keyboard.: шаг 5, изображение 1 из 3 Kyocera Marbl K127 Keyboard Replacement, Install the new keyboard.: шаг 5, изображение 2 из 3 Kyocera Marbl K127 Keyboard Replacement, Install the new keyboard.: шаг 5, изображение 3 из 3
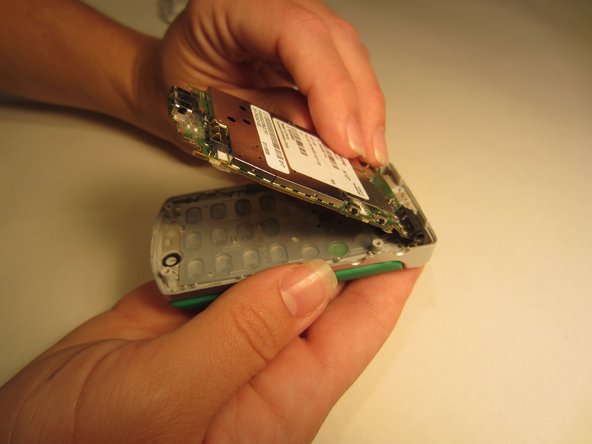
    • Hold the new keyboard in your hand facing you as it would look in your cell phone, lift the motherboard with your opposite hand, and then flip the keyboard face down and fit it in to place.

Заключение

To reassemble your device, follow these instructions in reverse order.

Brittany Mitchell

Участник с: 09/02/14

309 Репутация

Автор 3 руководств

Команда

USF Sarasota-Manatee, Team 1-2, Stewart Fall 2014 Участник USF Sarasota-Manatee, Team 1-2, Stewart Fall 2014

USFSM-STEWART-F14S1G2

3 членов

Автор 17 руководств

0 Комментариев

Добавить комментарий

Просмотр статистики:

За последние 24часов: 2

За последние 7 дней: 4

За последние 30 дней: 5

За всё время: 233