Перейти к основному содержанию

LG Aristo Screen Replacement

Выберете то, что вам нужно

  1. LG Aristo Screen Replacement, Screen: шаг 1, изображение 1 из 1
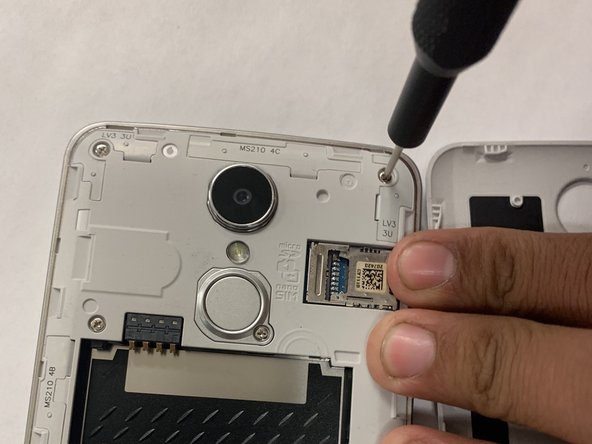
    • Turn off the device and make sure you are working on a flat, lit surface.

  2. LG Aristo Screen Replacement: шаг 2, изображение 1 из 2 LG Aristo Screen Replacement: шаг 2, изображение 2 из 2
    • Use an iFixit opening tool to pry off the back case.

  3. LG Aristo Screen Replacement: шаг 3, изображение 1 из 3 LG Aristo Screen Replacement: шаг 3, изображение 2 из 3 LG Aristo Screen Replacement: шаг 3, изображение 3 из 3
    • Remove the SD and SIM cards by sliding the cards out with your finger.

  4. LG Aristo Screen Replacement: шаг 4, изображение 1 из 3 LG Aristo Screen Replacement: шаг 4, изображение 2 из 3 LG Aristo Screen Replacement: шаг 4, изображение 3 из 3
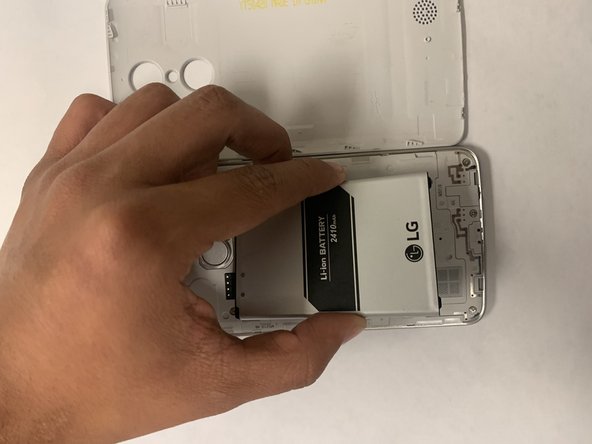
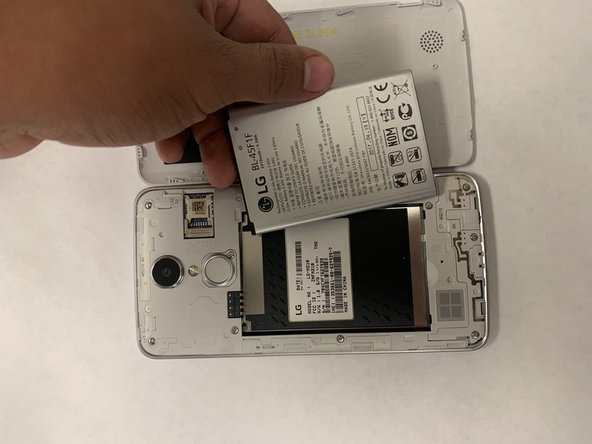
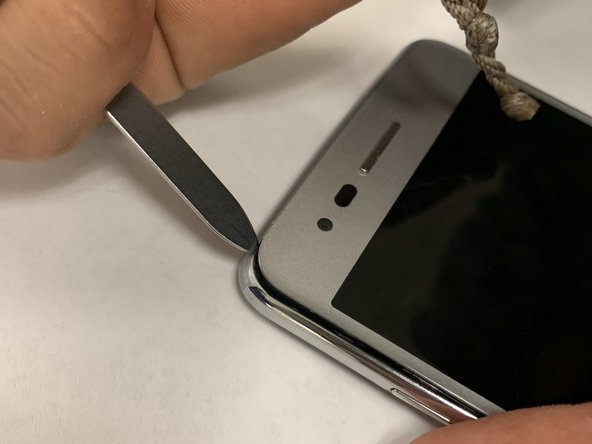
    • Remove the battery by prying it up with a fingernail or opening tool from the bottom edge.

  5. LG Aristo Screen Replacement: шаг 5, изображение 1 из 2 LG Aristo Screen Replacement: шаг 5, изображение 2 из 2
    • Remove the ten screws from the midframe with a Phillips #000 screwdriver.

  6. LG Aristo Screen Replacement: шаг 6, изображение 1 из 2 LG Aristo Screen Replacement: шаг 6, изображение 2 из 2
    • Pry up on the screen with a plastic opening tool.

    • Try to avoid using a metal spudger as shown in the images as it has the possibility to damage the screen.

  7. LG Aristo Screen Replacement: шаг 7, изображение 1 из 2 LG Aristo Screen Replacement: шаг 7, изображение 2 из 2
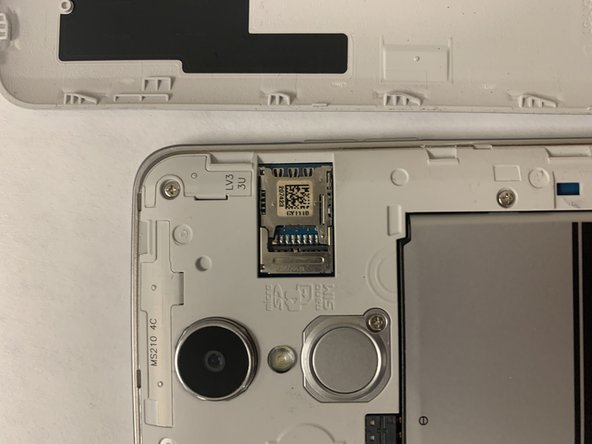
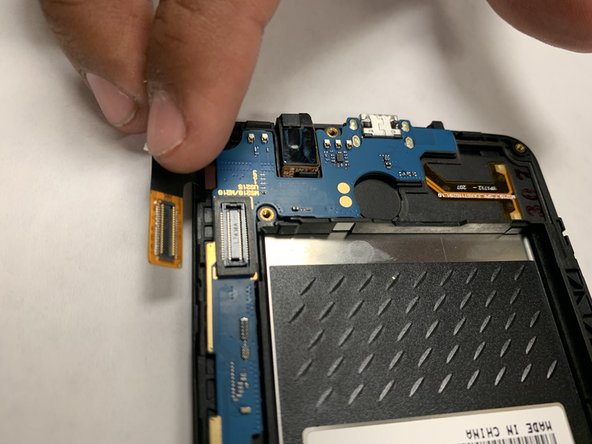
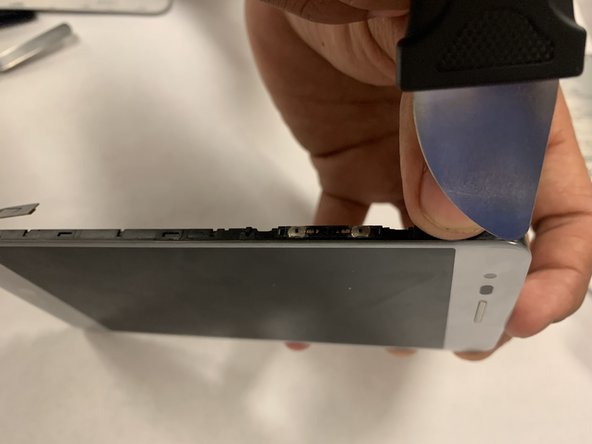
    • Detach the cables from the press fit connectors.

    • There are four connectors in total, they consist of two on the cameras, one on the ear jack, and the one attached to the motherboard.

    • You can lift them up with you finger or you can use tweezers (optional).

  8. LG Aristo Screen Replacement: шаг 8, изображение 1 из 2 LG Aristo Screen Replacement: шаг 8, изображение 2 из 2
    • Gently remove the motherboard.

  9. LG Aristo Screen Replacement: шаг 9, изображение 1 из 1
    • Replace the screen.

Заключение

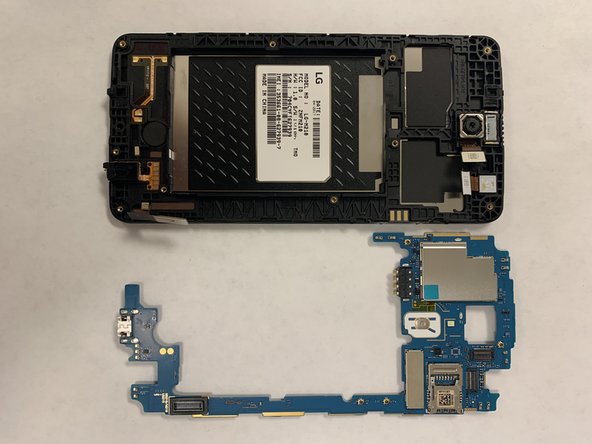
To reassemble your device, follow these instructions in reverse order. I hope that these steps have helped you with your issue.

2 участников успешно повторили данное руководство.

Geobanny Cardenas

Участник с: 08/26/19

184 Репутация

1 руководство автора

Команда

Gateway, Team S1-G5, Saknee Fall 2019 Участник Gateway, Team S1-G5, Saknee Fall 2019

GCC-SAKNEE-F19S1G5

4 членов

Автор 1 руководств

Один комментарий

Do i need Loca Glue to replace the outer Glass?

chuck - Ответить

Добавить комментарий

Просмотр статистики:

За последние 24часов: 1

За последние 7 дней: 5

За последние 30 дней: 12

За всё время: 1,329