Выберете то, что вам нужно
-
-
Find a sliding button on the lower back side of the device and with your finger, slide it to the left firmly.
-
-
-
Use a Phillips #00 screwdriver to unscrew the four Phillips #00 screws on the four corners under the battery to unfasten the back case from the phone.
-
-
-
Take the case off by using a plastic opening tool.
-
Continue using the plastic opening tool around the sides of the device, unhooking the eight tabs securing the back cover to the rest of the phone as shown in the second photo.
-
The back speaker will be connected to the motherboard, and must be disconnected to remove the case.
-
-
-
-
Unscrew the 4 Phillips 00 screws that connect the two halves of the phone together.
-
-
-
Between the two halves is a ribbon. Use a plastic opening tool to flip up the lock and disconnect it.
-
-
-
Pry off the plastic tabs that cover two screws, as shown in the first picture.
-
Then, remove the 6 Phillips 00 screws from the back of the case, as shown in the second picture.
-
-
-
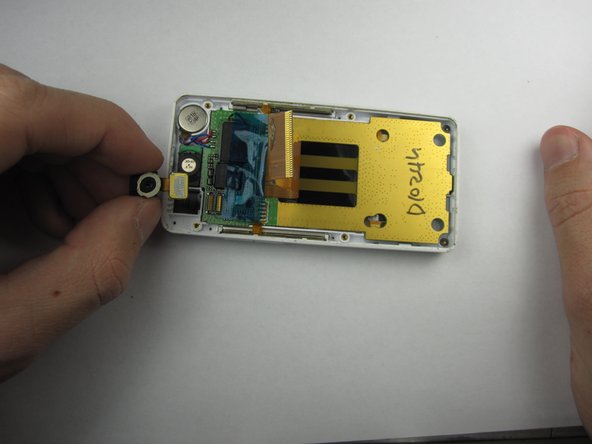
Carefully pry the connecting cable between the camera and the motherboard off of the board.
-
-
-
Using a small screwdriver, carefully pry the camera out of its position.
-
The camera will seem stuck to the board because of its tape. Don't be afraid to pry it.
-


To reassemble your device, follow these instructions in reverse order.
To reassemble your device, follow these instructions in reverse order.
Команда

Cal Poly, Team 19-46, Regan Winter 2013 Участник Cal Poly, Team 19-46, Regan Winter 2013
CPSU-REGAN-W13S19G46
4 членов
Автор 22 руководств