Введение
If your LG Cinebeam's (Model# PH150B) works only when plugged in and either dims out quickly or turn off while unplugged, your battery may be faulty. This guide will help you replace the device's battery.
The projector can work while plugged into a power source or unplugged using its rechargeable battery. Its battery lasts around 2.5 hours. The battery is only needed when the projector is unplugged, so it can still work if the battery is faulty while it is plugged in.
When replacing the battery, replace it with a similar Lithium-ion battery with a 7.4V.
You will have to remove the motherboard to access the battery. While removing it, make sure to use caution while replacing the ribbon cables as they could rip.
Before beginning, make sure to power off the projector completely and disconnect from any external power source.
Выберете то, что вам нужно
-
-
Remove three 6 mm screws on the bottom plate with a Phillips #00 screwdriver.
-
-
-
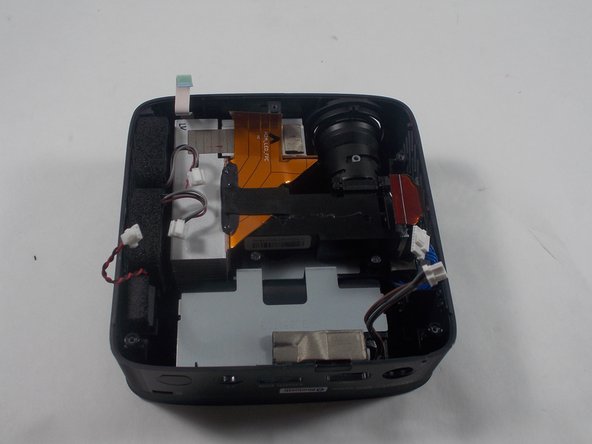
Using an iFixit opening tool, pry the bottom plate off of the device and remove it fully.
-
-
-
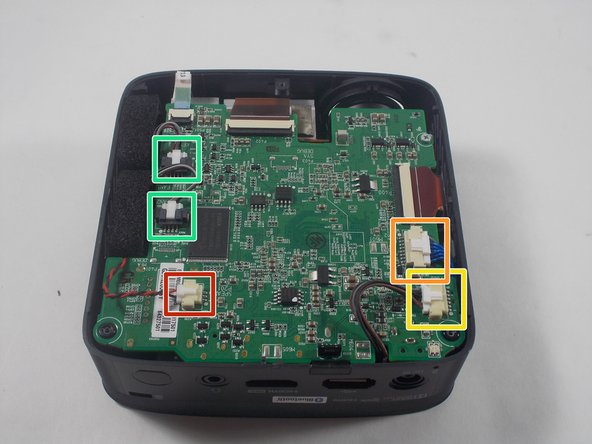
Using an iFixit opening tool, press down the lever on the top of the minilock connector for the speaker and pull the plug out gently.
-
Repeat this process to remove the WiFi/Bluetooth card connector.
-
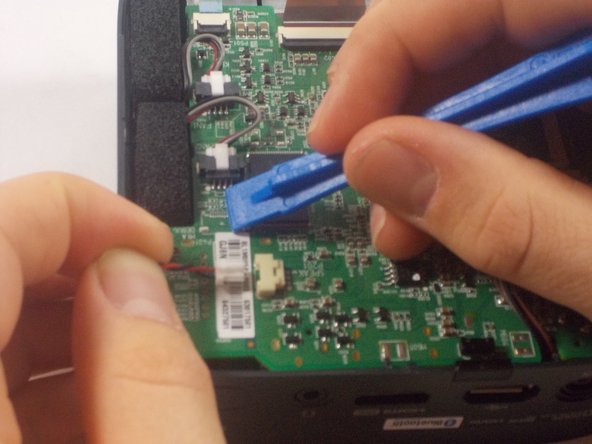
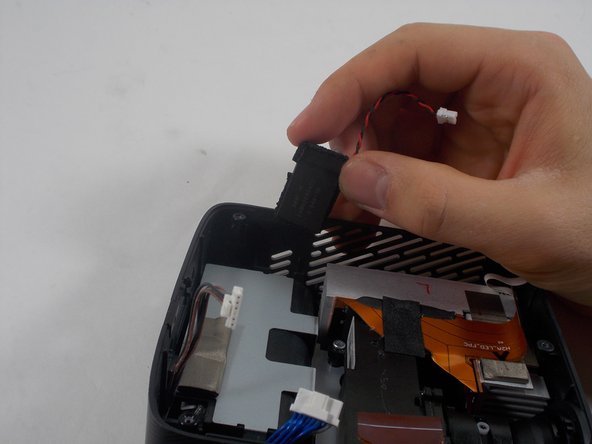
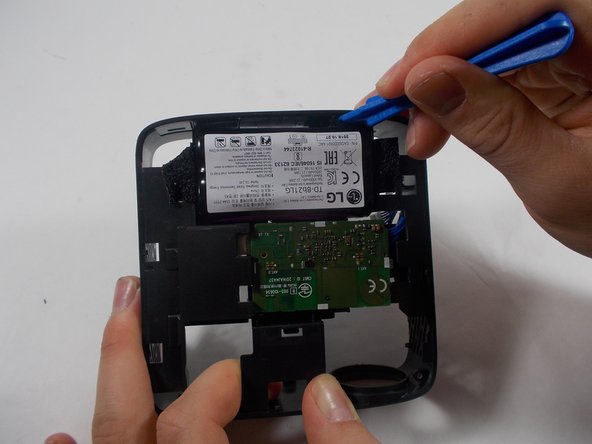
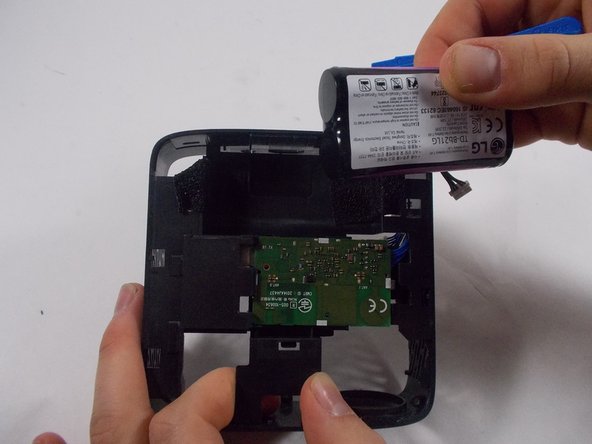
Remove the battery connector.
-
Remove the fan connectors.
-
-
-
-
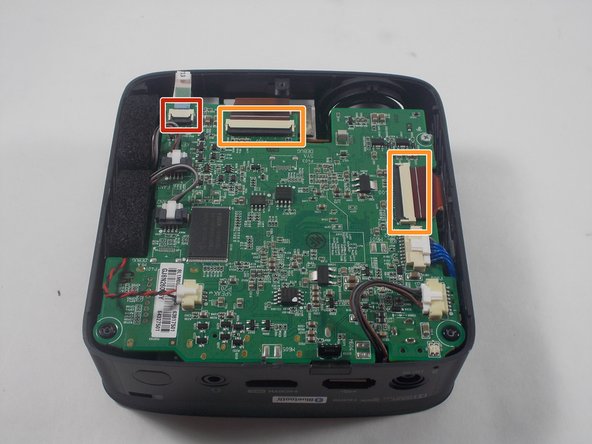
Using an iFixit opening tool, pry up the black plastic tabs on the back of the power button/joystick board cable.
-
Gently pull the ribbon cable out of the socket.
-
Repeat this process for the two display cables.
-
-
-
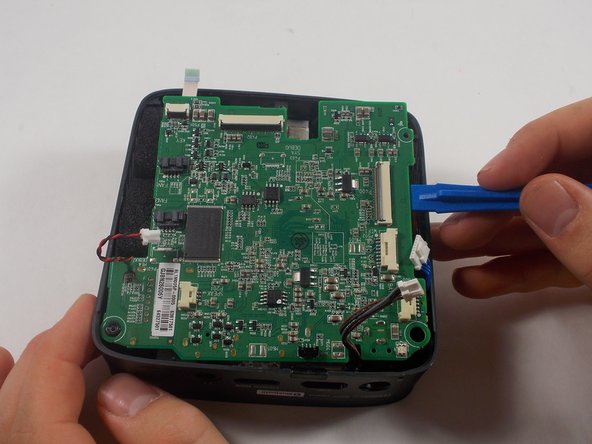
Turn the device over so the power button is facing up.
-
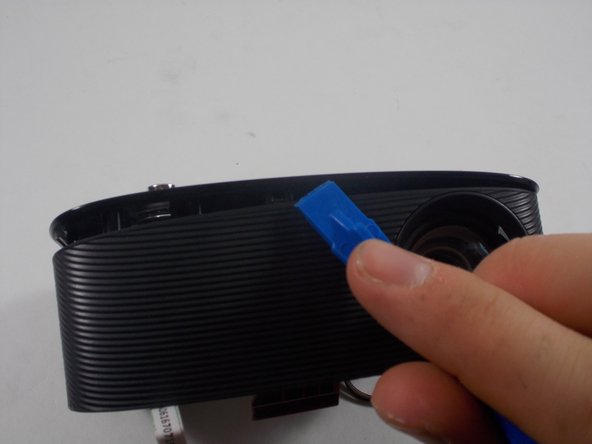
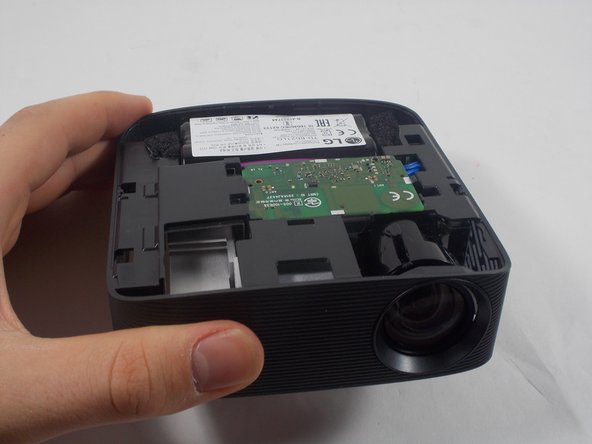
Using an iFixit opening tool, pry open the top of the plastic casing and remove it completely.
-


To reassemble your device, follow these instructions in reverse order.
To reassemble your device, follow these instructions in reverse order.
Отменить: Я не выполнил это руководство.
2 участников успешно повторили данное руководство.

Команда

UMass Dartmouth, Team 1-5, Botvin Spring 2022 Участник UMass Dartmouth, Team 1-5, Botvin Spring 2022
UMASSD-BOTVIN-S22S1G5
3 членов
Автор 6 руководств