Введение
If you are having problems with the audio performance on your phone and you have determined that the speaker is the issue, this guide will walk you through on how to change the speaker part.
Выберете то, что вам нужно
-
-
Remove the back cover by placing the plastic opening tool on the bottom left side of the device and gently prying up.
-
-
-
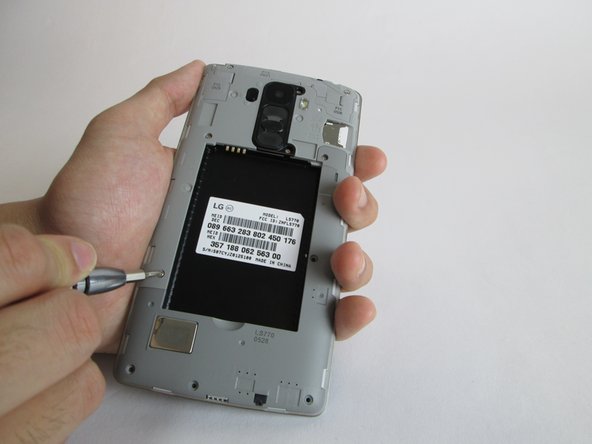
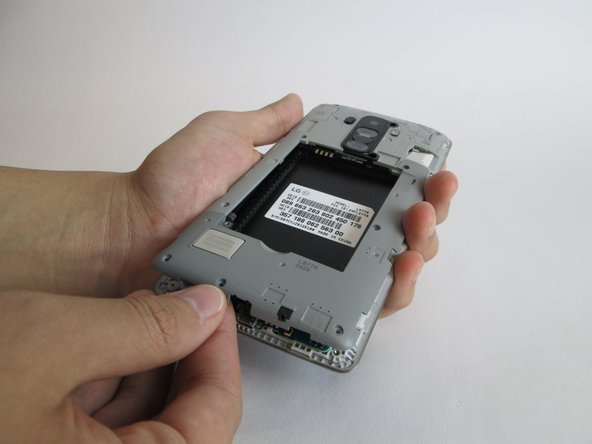
Insert the plastic opening tool into the indent at the bottom of the battery and lift up. Fully remove the battery with your fingers.
-
-
-
-
Carefully use the 3.9mm Phillips #00 screwdriver to remove the eleven visible screws found on the back. The screws to be removed are marked with the given indicators.
-
-
-
When you have finished removing all of the screws, place the plastic opening tool in the groove at the bottom left corner of the motherboard cover and lift up.
-
Once a clip is released, you can detach the motherboard cover with your fingers and set aside.
-
-
-
Once you have the plastic back cover exposed you can detach the speaker
-
Indicated on the back panel is where you will use your plastic prying tool to remove the top part from the speaker.
-


To reassemble your device, follow these instructions in reverse order.
To reassemble your device, follow these instructions in reverse order.
Отменить: Я не выполнил это руководство.
6 участников успешно повторили данное руководство.
Команда

USF Tampa, Team 11-7, Cheng Spring 2016 Участник USF Tampa, Team 11-7, Cheng Spring 2016
USFT-CHENG-S16S11G7
4 членов
Автор 14 руководств